
As a friend and myself built me a pair of quite nice – not to say wowzie – speakers for music production and DJing a few years ago i was now eager to try myself. To get the basic idea of craftsmenship and woodworking i started not by developing the speakers myself – as it was done by my friend for me back then – but go for a well known design by a guy from the german Hifi-Forum: The TenÖre Transmissionline Broadband-speaker. The name comes from german dialect/puns and roughly means “10-euro thingy”. A perfect object to train the techniques needed for more complicated work…
So, on we go. Even though this is pretty straightforward you need a bit of equipment to get it right. The basic equipment is glue – quality wood-glue, as sold by Ponal. The secondmost important thing is probaby some kind of grinder/sander, as you would go crazy doing all this by hand. Next would be a router (no, not the computer thingy but the power-tool…) and/or jigsaw… but more of that later.
!BIG FAT WARNING!
THIS IS NOT A HOWTO – IT IS A DOCUMENTATION ON HOW I BUILT THESE SPEAKERS. I AM NO EXPERT AND THIS IS NOT A ADVISE ON HOW YOU SHOULD DO IT. I MAY HAVE DONE SEVERAL THINGS WRONG/SUBOPTIMAL!
Okay, here we go:


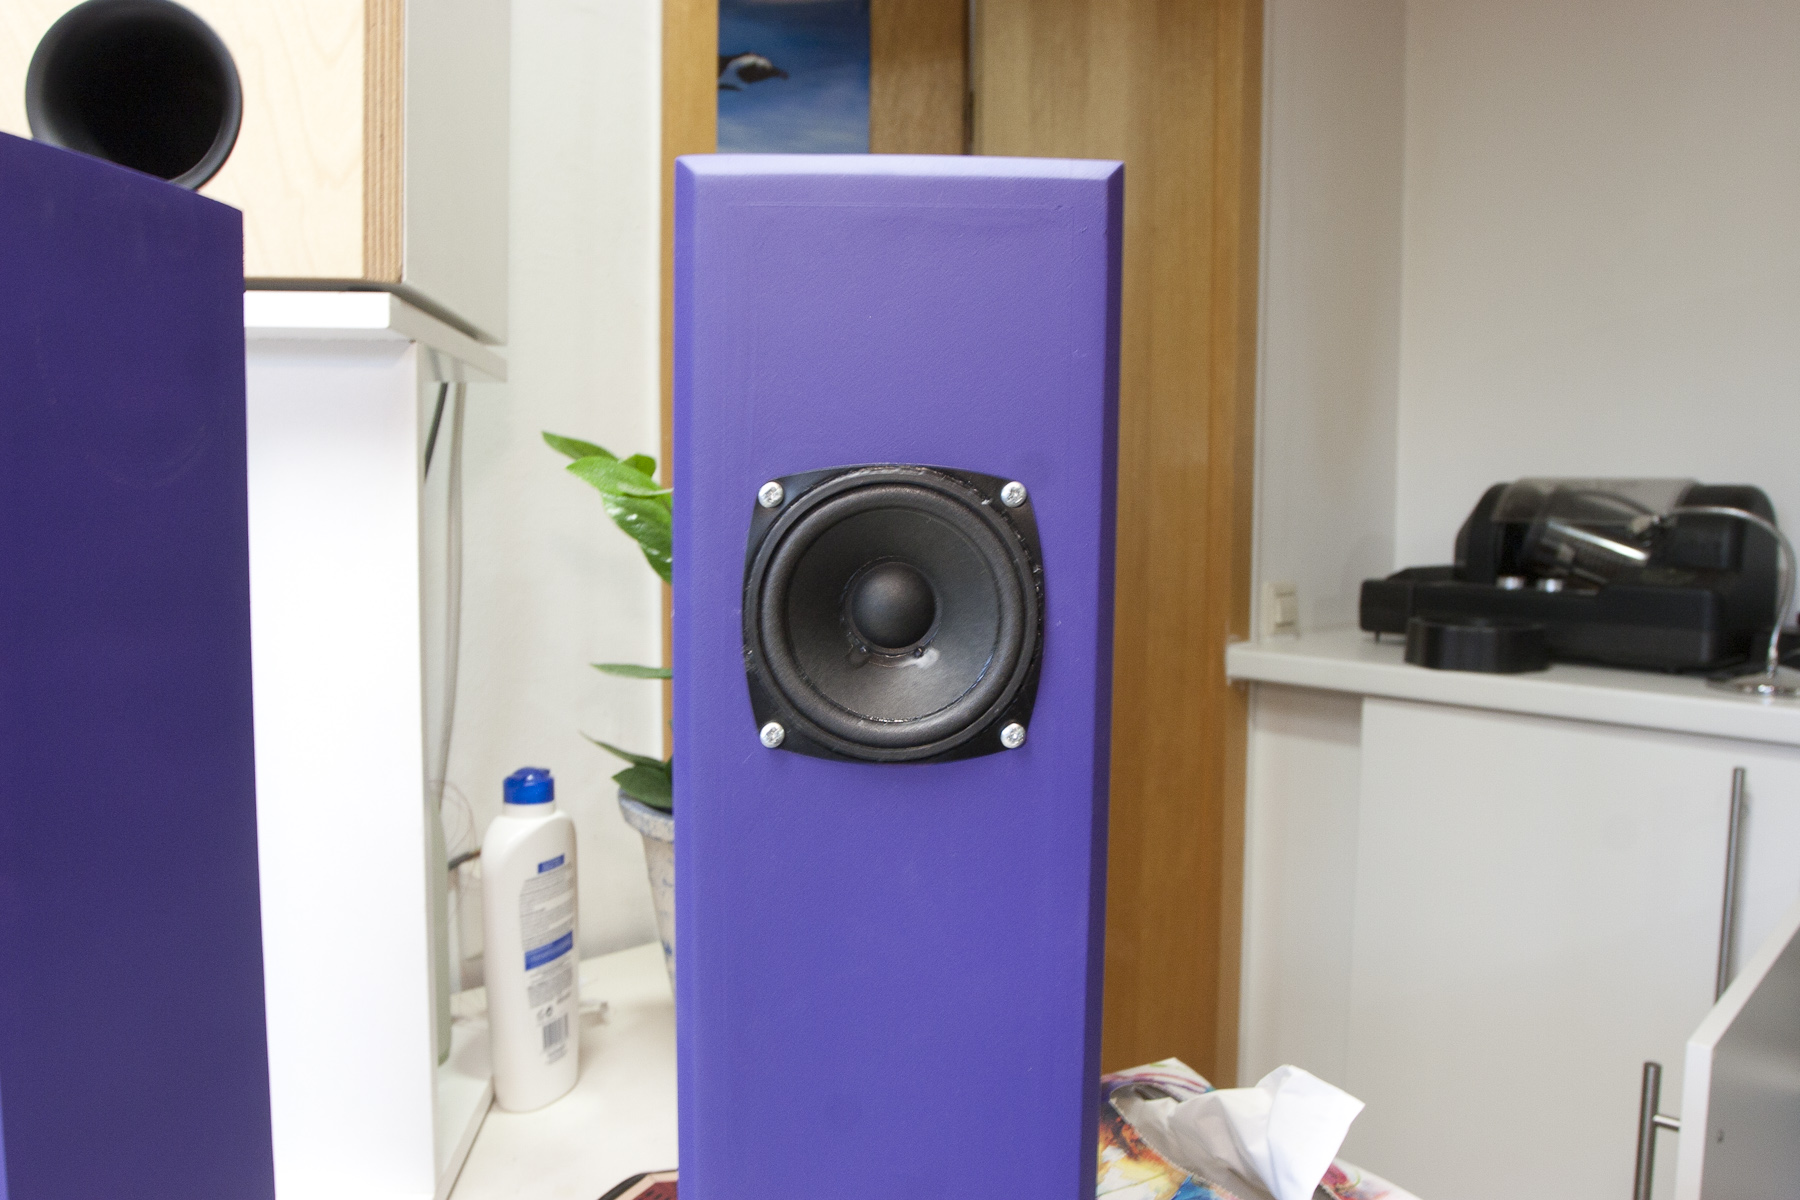
So – the final product seems okay, and for less than two days of work (not fulltime!) its a really nice speaker. It certainly lived up to my expectations of how good a 10eur (actually more 16-17eur) speaker can sound, and its hell better than most pc speakers you can buy out there for maybe as much as 30-40eur. Its – at least in my opinion – worth the time and effort – even if only to learn something, and have tried something new.
This project is – for me – a base to build upon – as in that i want to build more and more sophisticated speakers with better craftsmenship, so this is just a start. I hope you maybe drawn into Speakerbuilding yourself as it is a vast and interesting hobby – and you can start off with almost nothing still getting excellent results – especially if you’re not into looks it gets way easier :).