Okay, so what do we have here? As you may know from previous posts or the tag-cloud we are quite into the game of Mahjongg, playing Riichi rules. What we’ve been missing all the time was a fantastic automatic mahjongg table. Of course it is much too expensive and huge – on top of that those beasts of machanics engeneering need frequend service – which isn’t available in Europe (it seems like this one was a rumor and is not true for the ones linked above…). So we set out to build one Ourselves (of course no automatic one as we are no team of engeneers with a fully equipped work shop). Read on for details and building instructions.
So, the first part was some design … we tried to preserve the look and feel of the original design – which was done on many many sheets of scrap paper and … well, this is somehow alike, but i think the general ideas are made clear:
If you feel like having any question on the plan – or anything is unclear, please do not resist to leave a comment or contact us, we’d like to see mahjongg players all over the world, so we’ll gladly help you with your table 😛
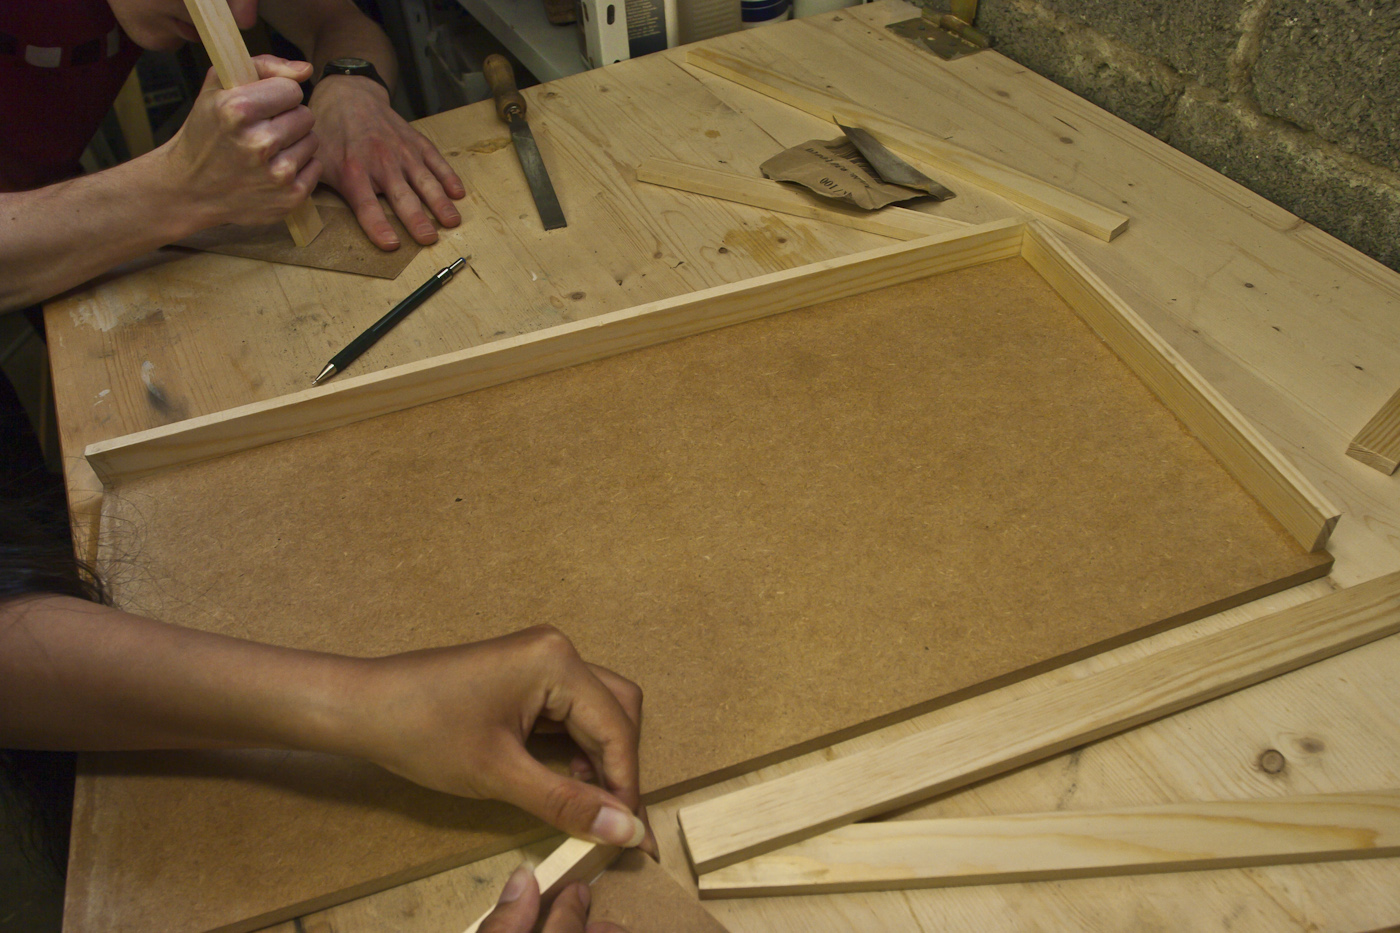
Now, we took our team of 4 to 5 desperate and eager-to-tinker mahjongg-players and started:
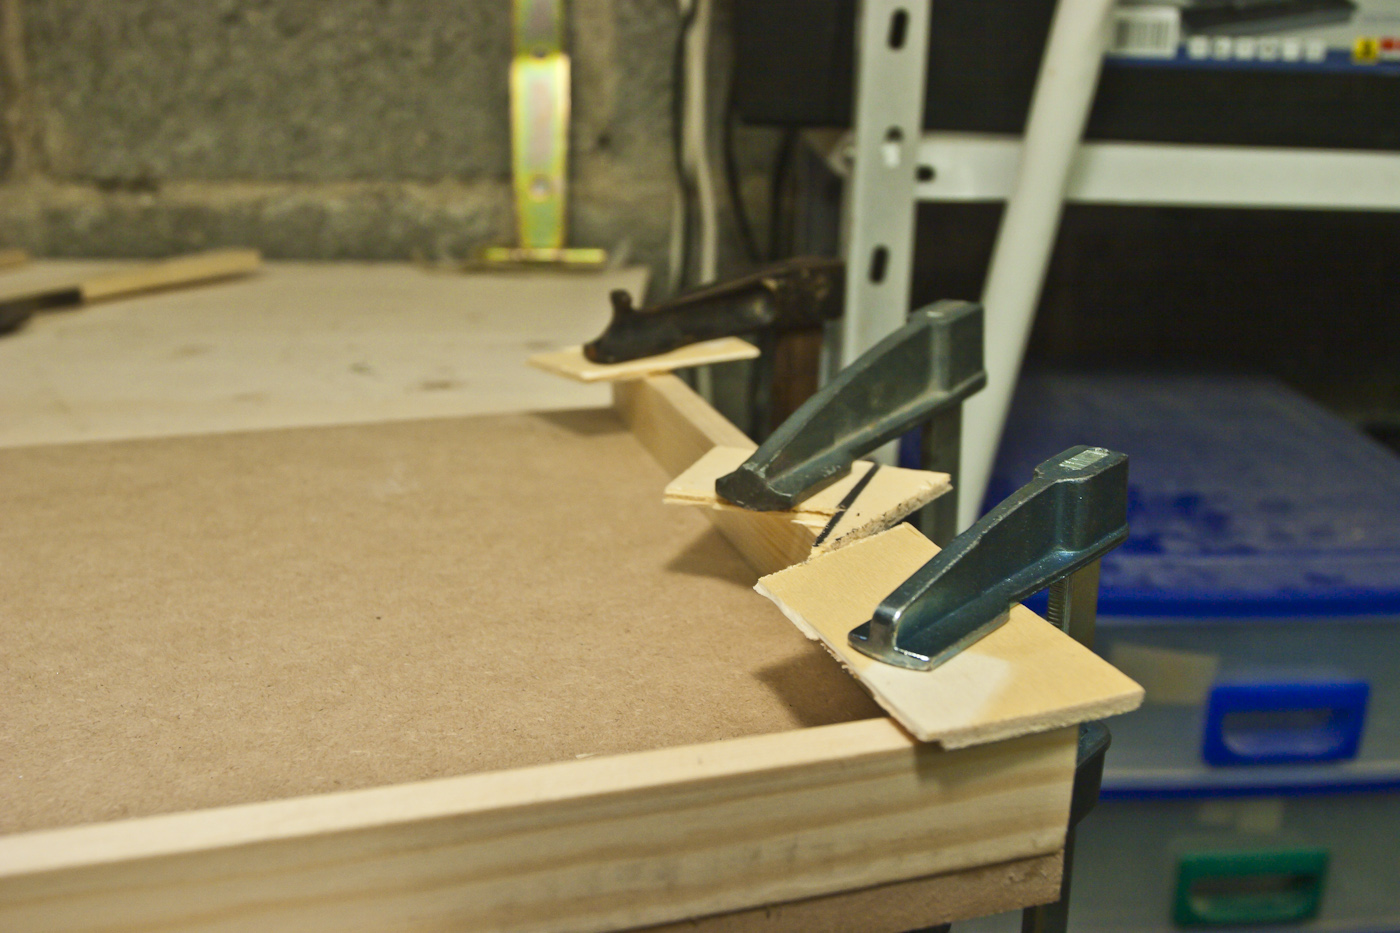
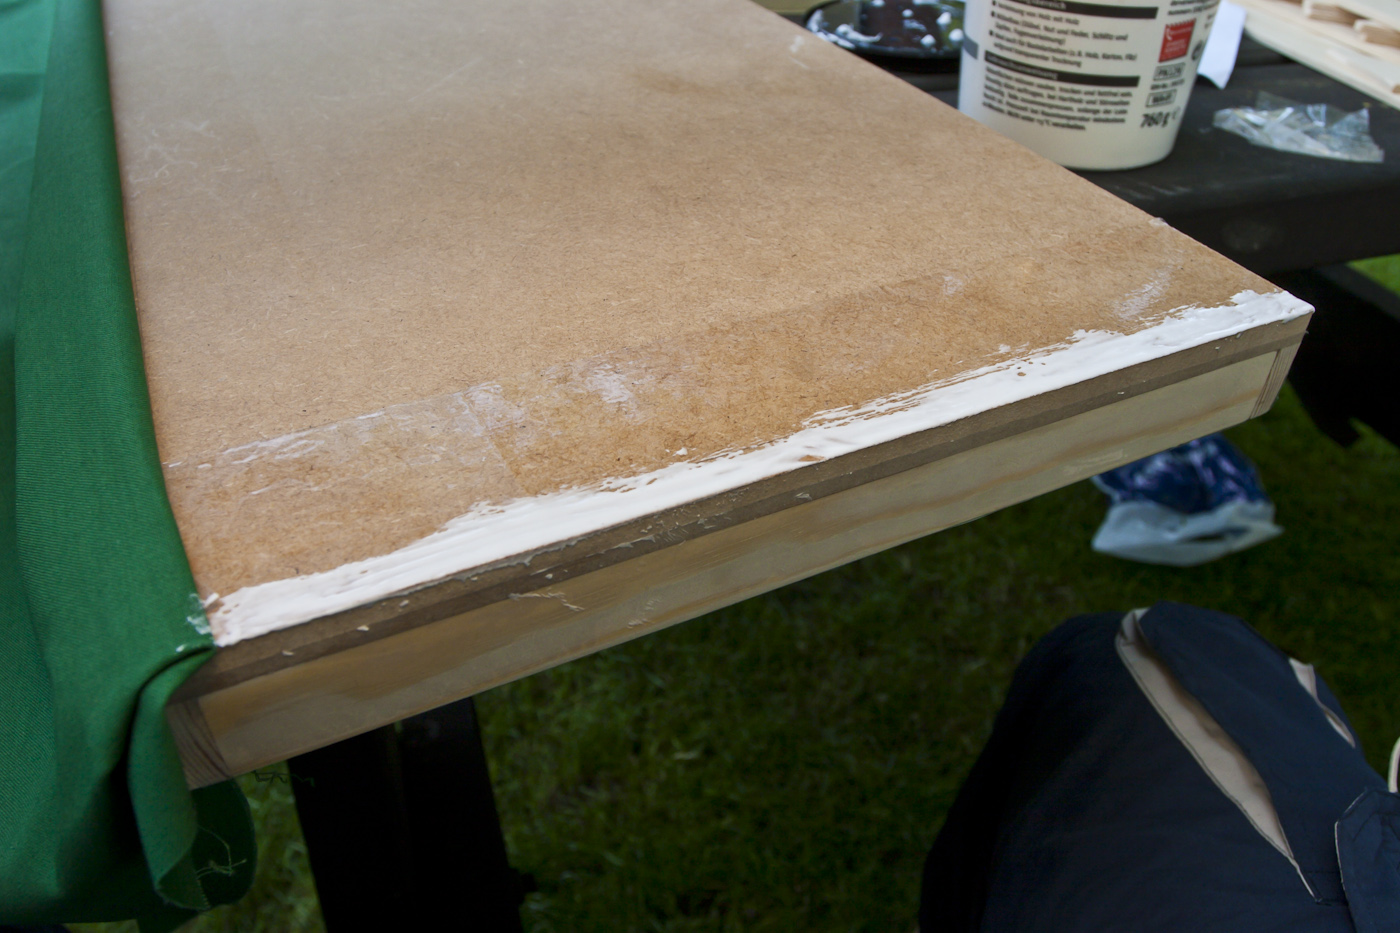
glueing the the border on the baseplate, remember to put some wood or cardboard under those clamps, else you will get nasty pressure marks
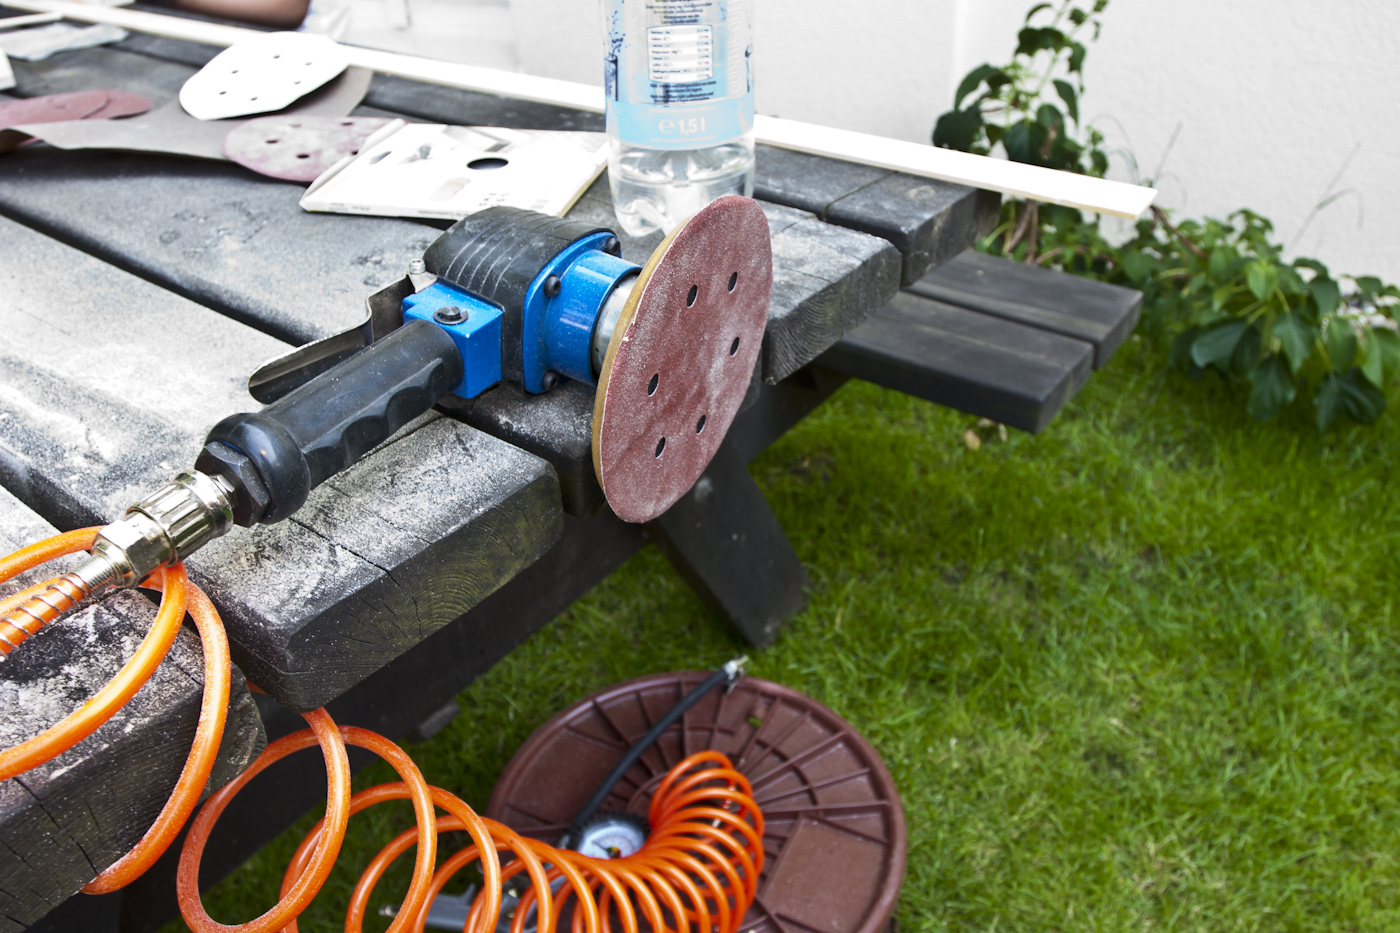
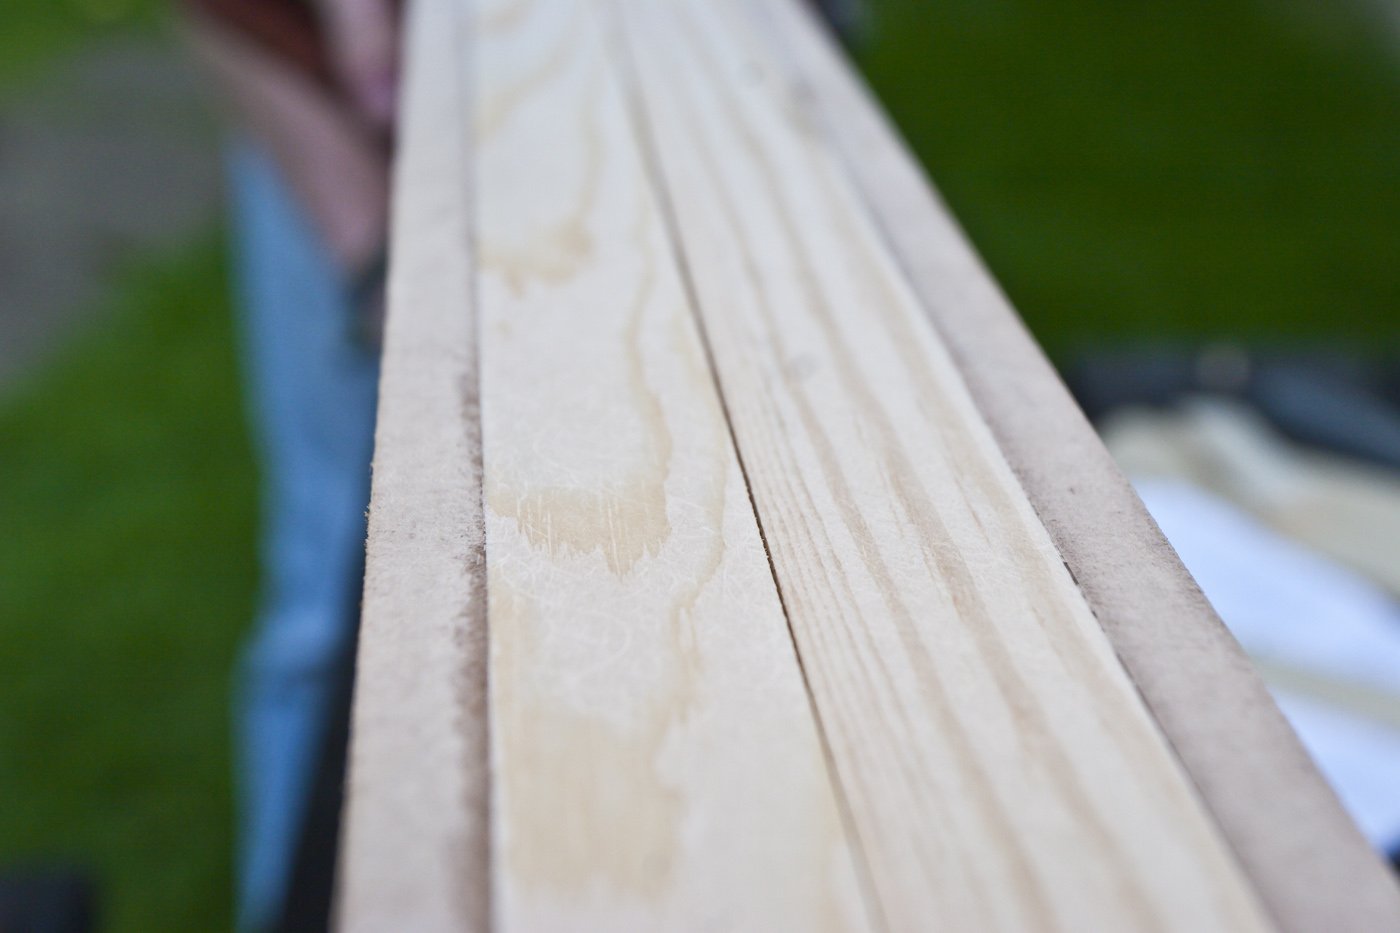
after grinding with 60, 120, 240 paper its as smooth as a babies bu... well, the smooth part of a baby
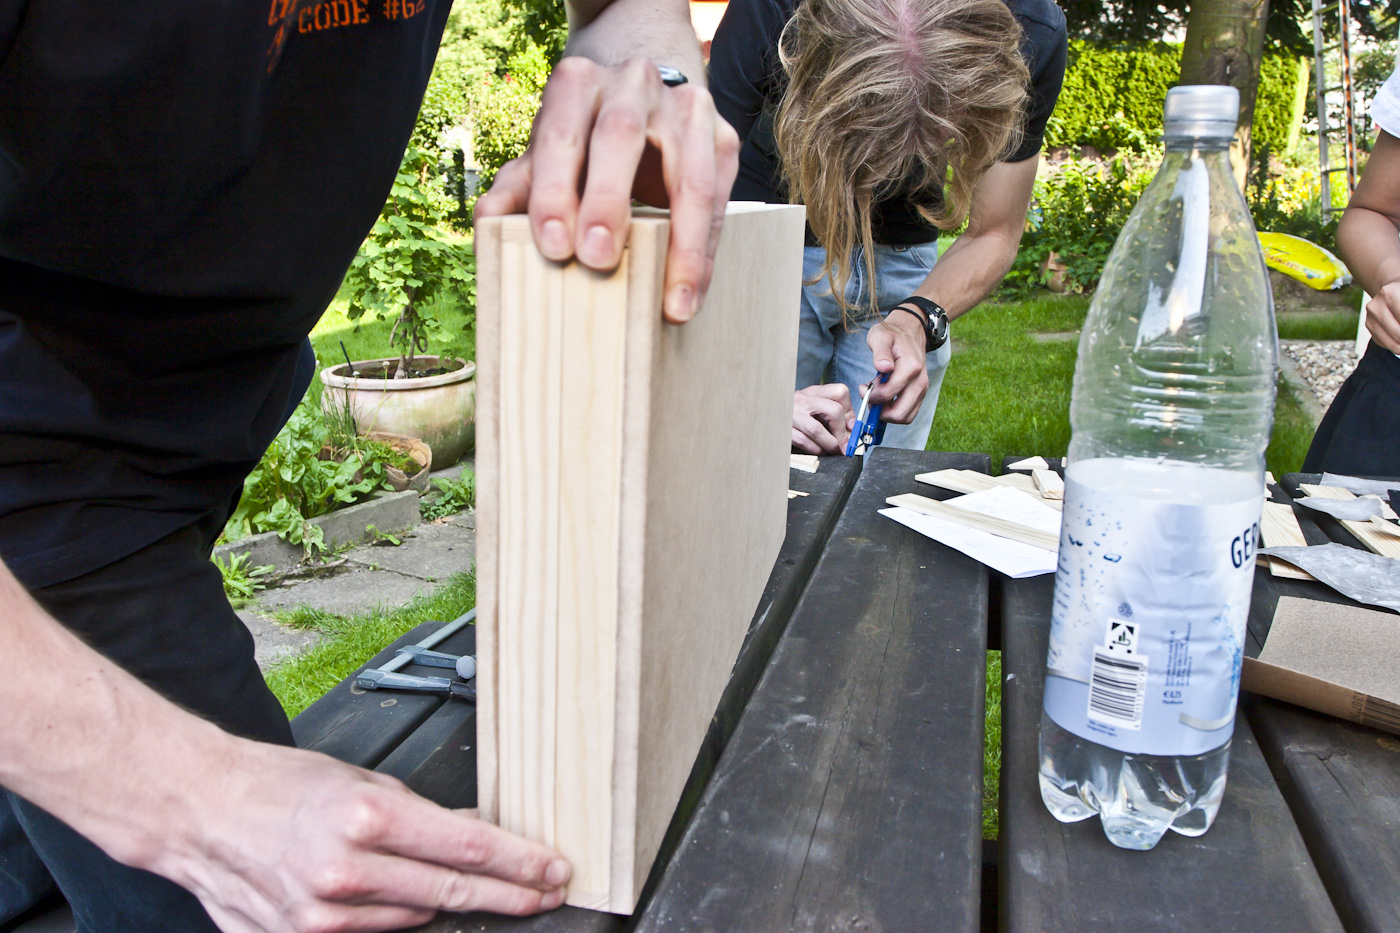
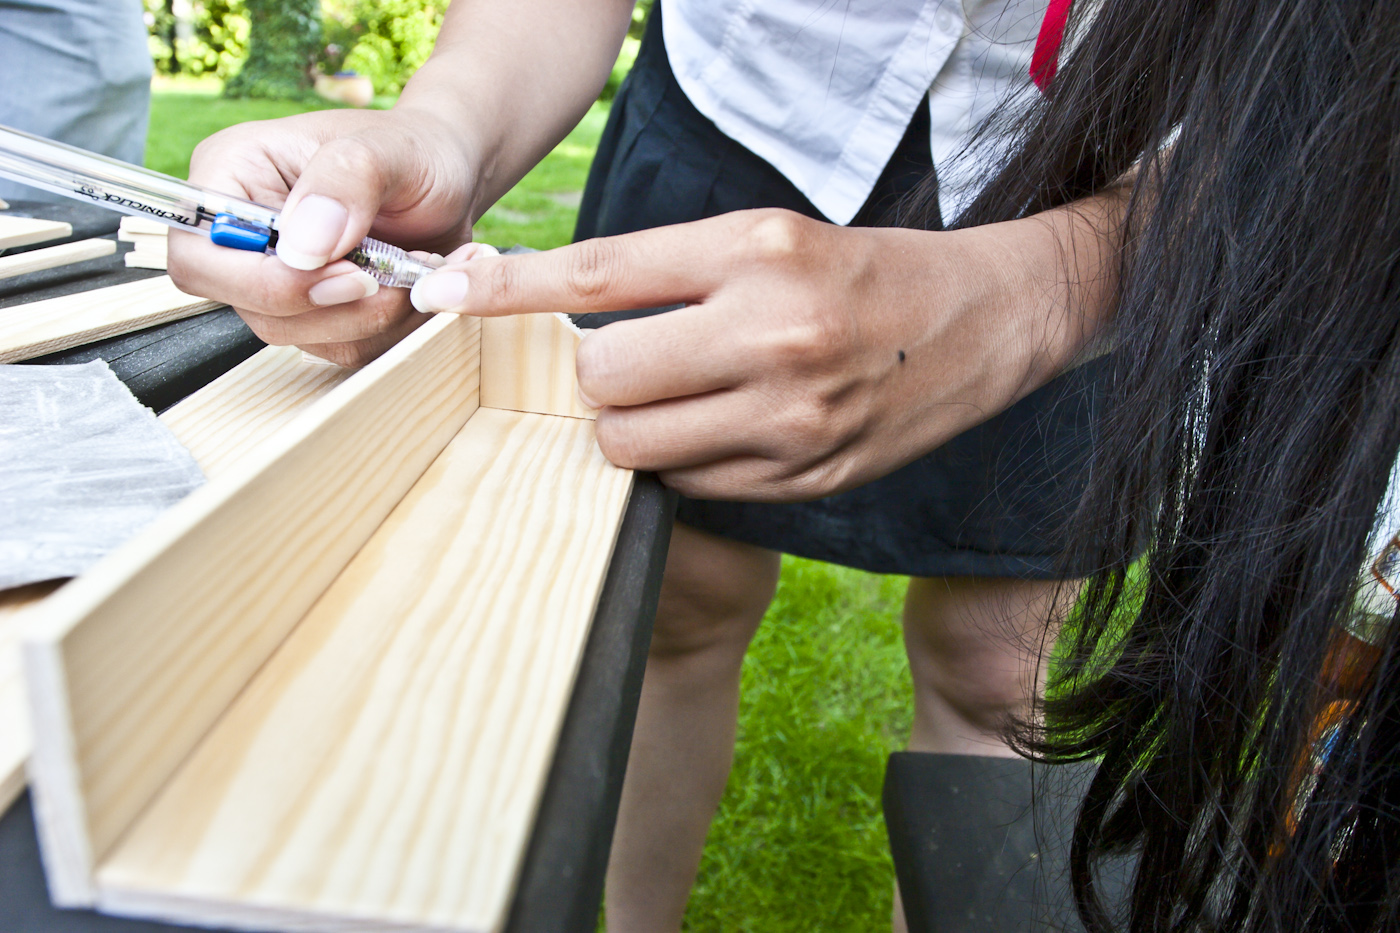
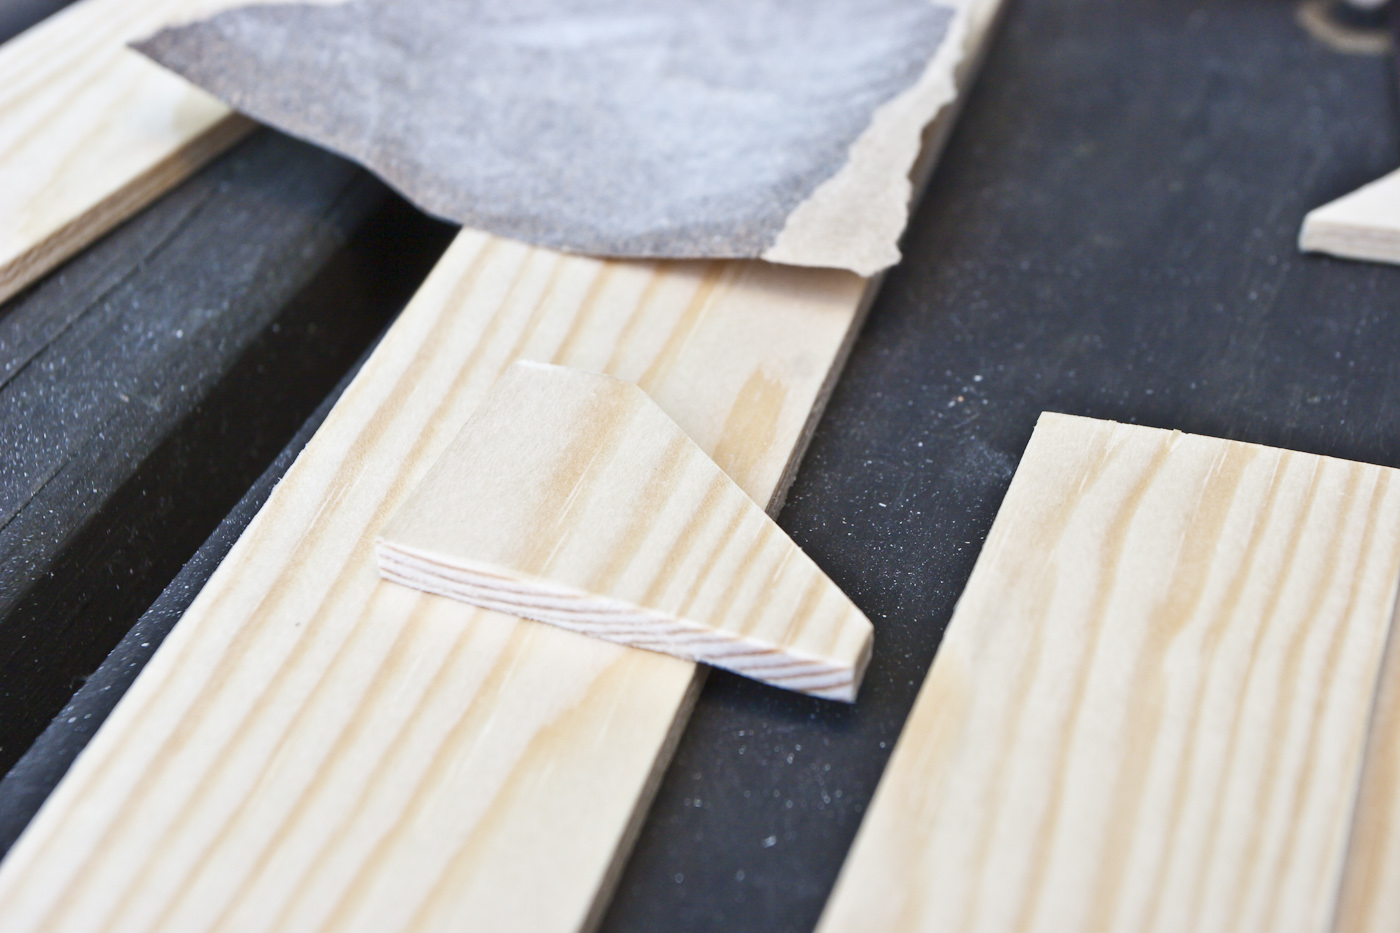
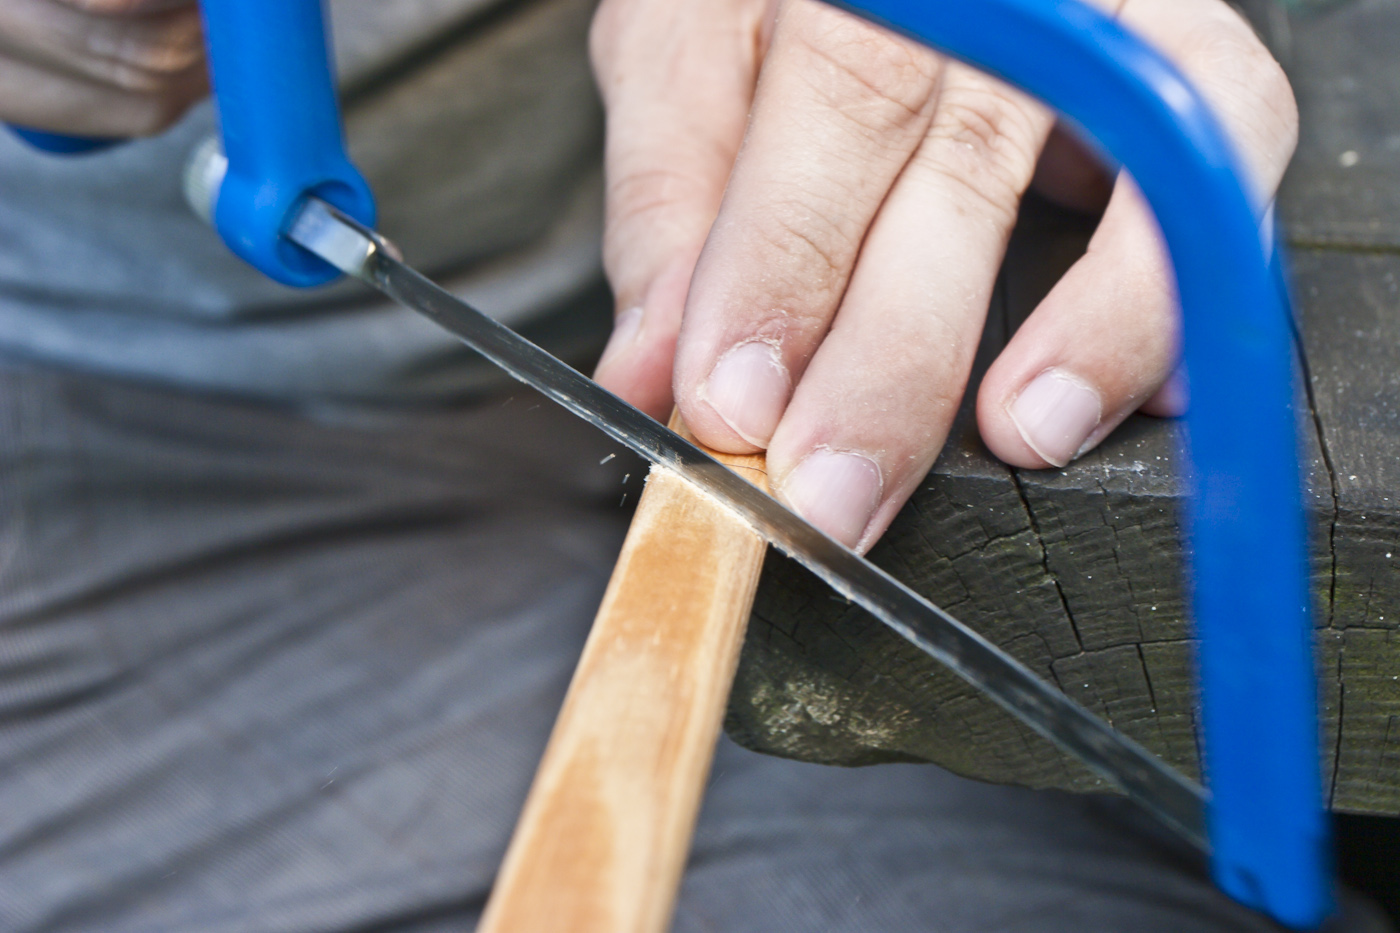
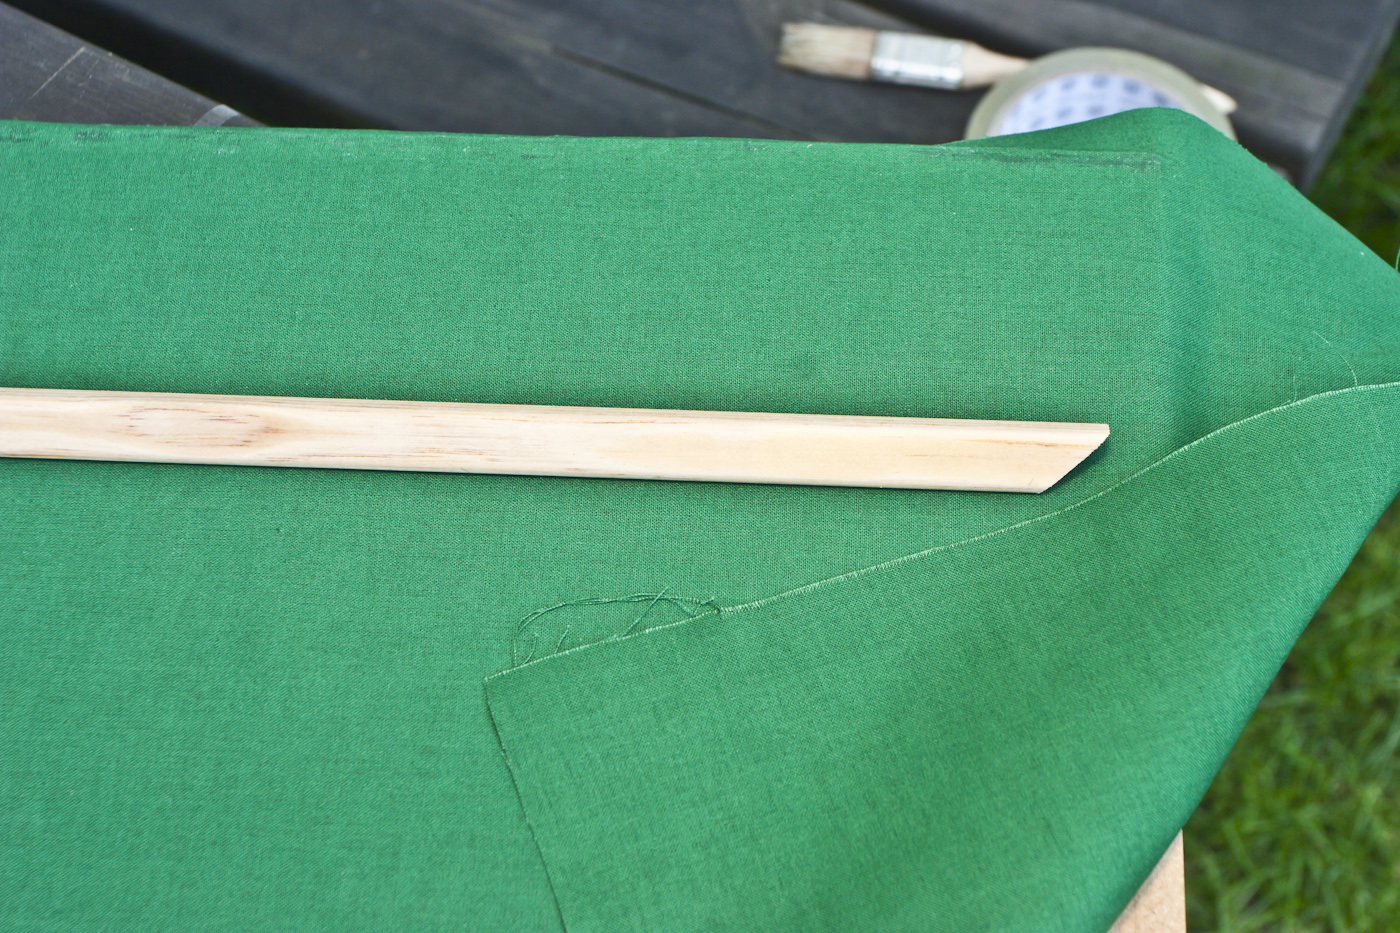
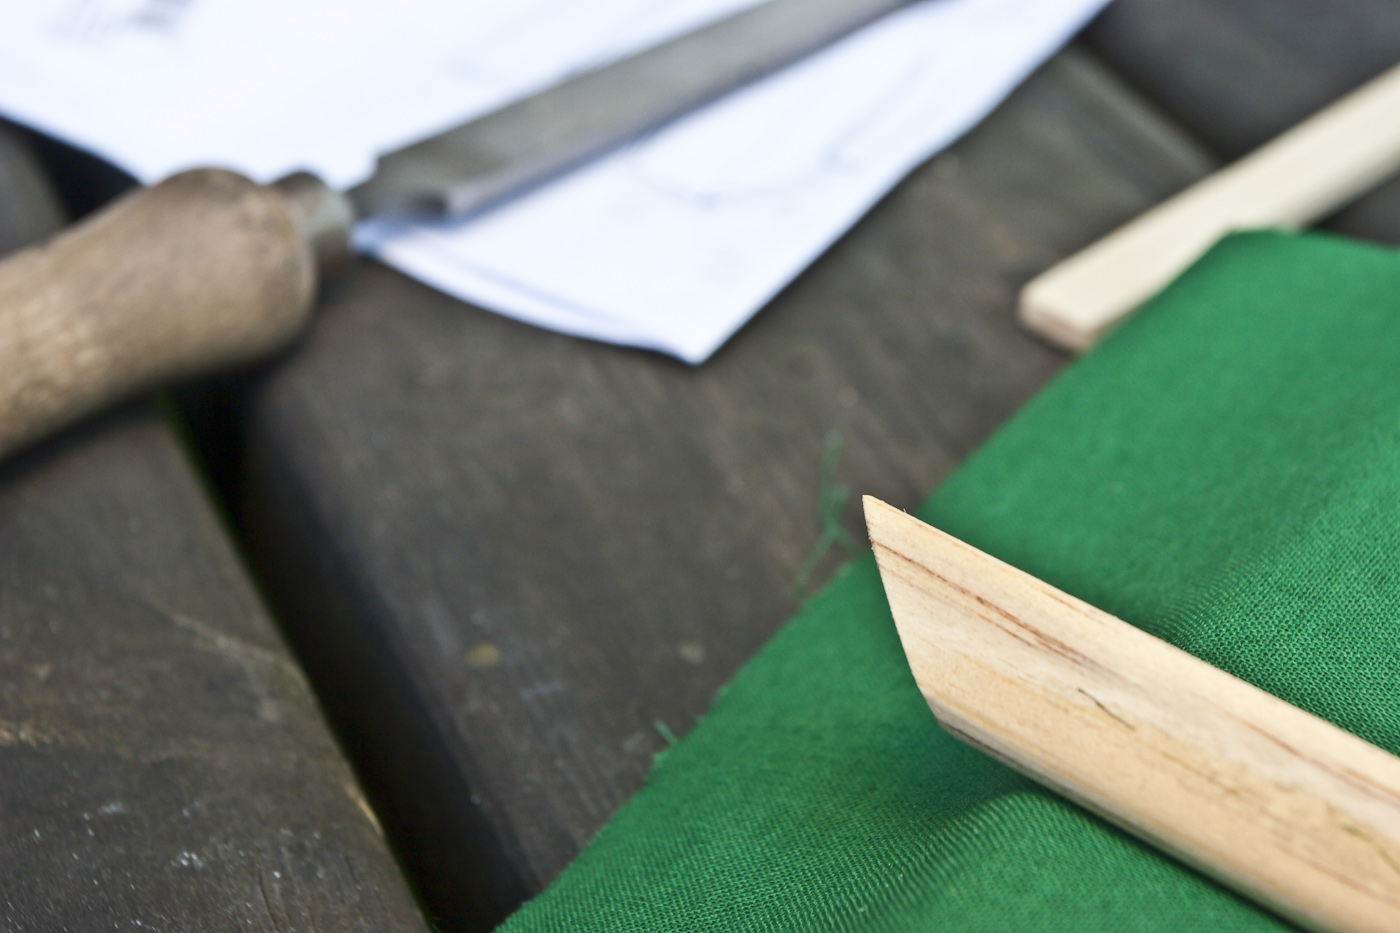
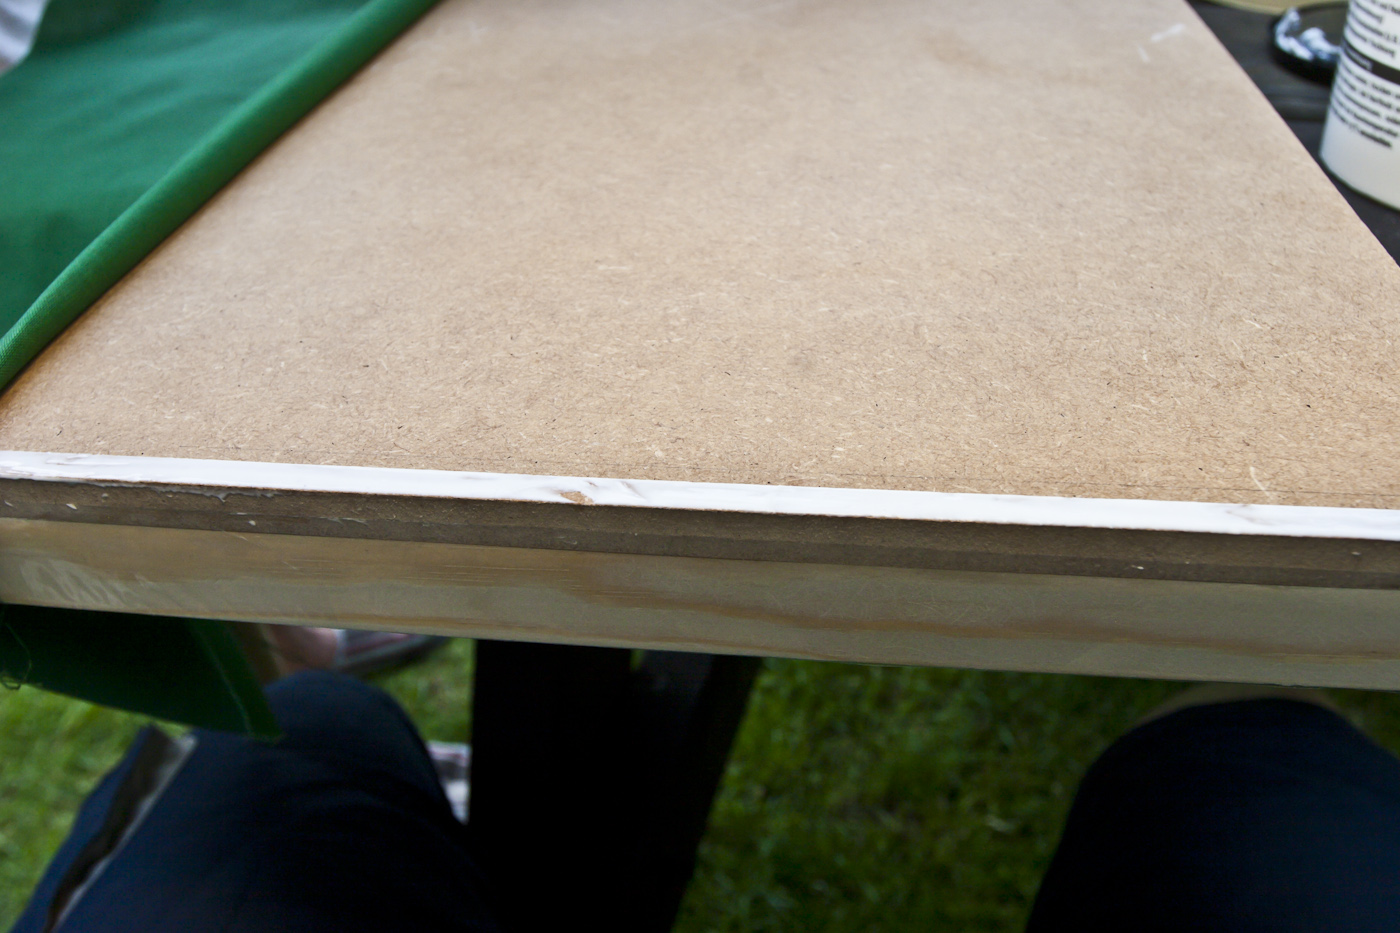
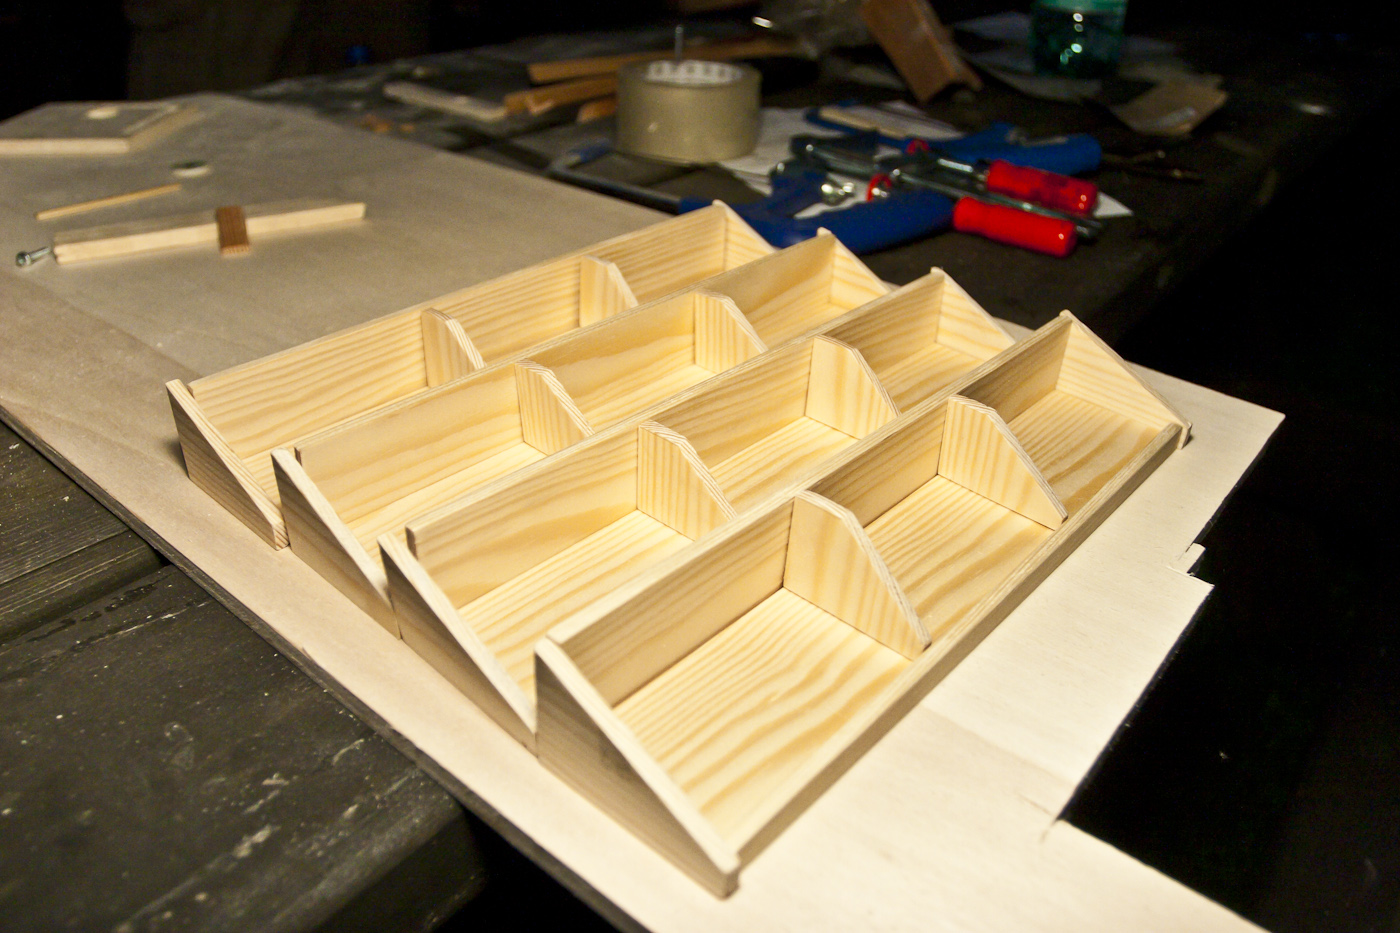
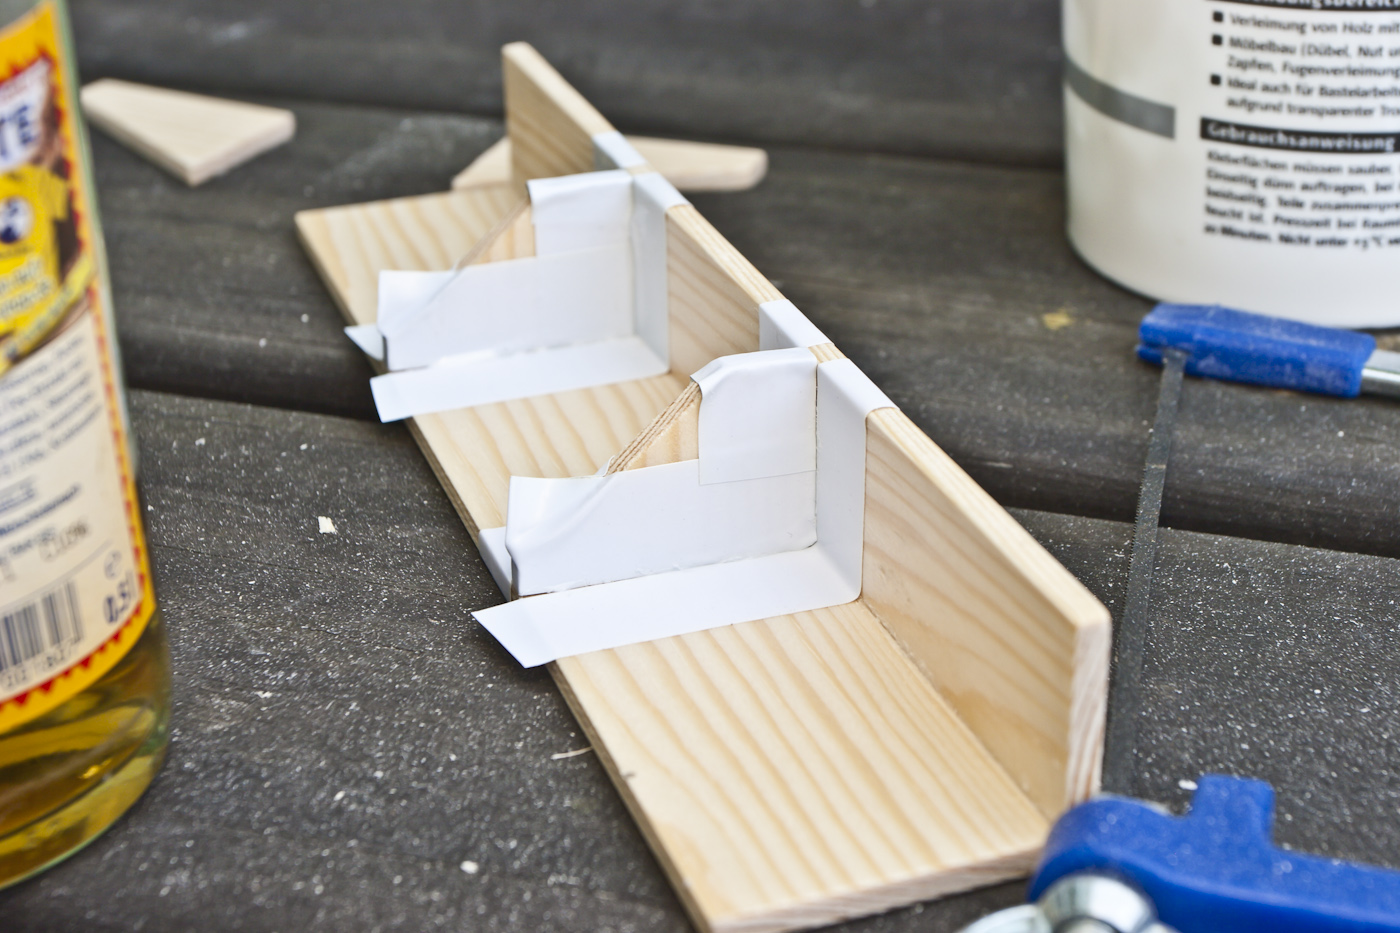
this applies to all the steps ... CHECK THE FIT, RECHECK IT, THEN CHECK AGAIN!meanwhile, after checking you can start with the point-stick cabinets... make marks for glueing to be sure to do it right...the seperator for the 3 compartments of the stick cabinet...for getting the fabric on the base-plates we've chosen not to glue everything but only have a small line of glue (regular wood-glue) along the edges. we achieve this by masking everything but that line with tape, smearing the glue on it, then removing the tape. the lines of glue go only there where the decorative cover goes afterwards....this is what the drying glue looks like - wouldn't be nice to have that everywhere, no?using a saw as well as a fine file to get the decorative cover to 45* at the edges (and the right length of course...)
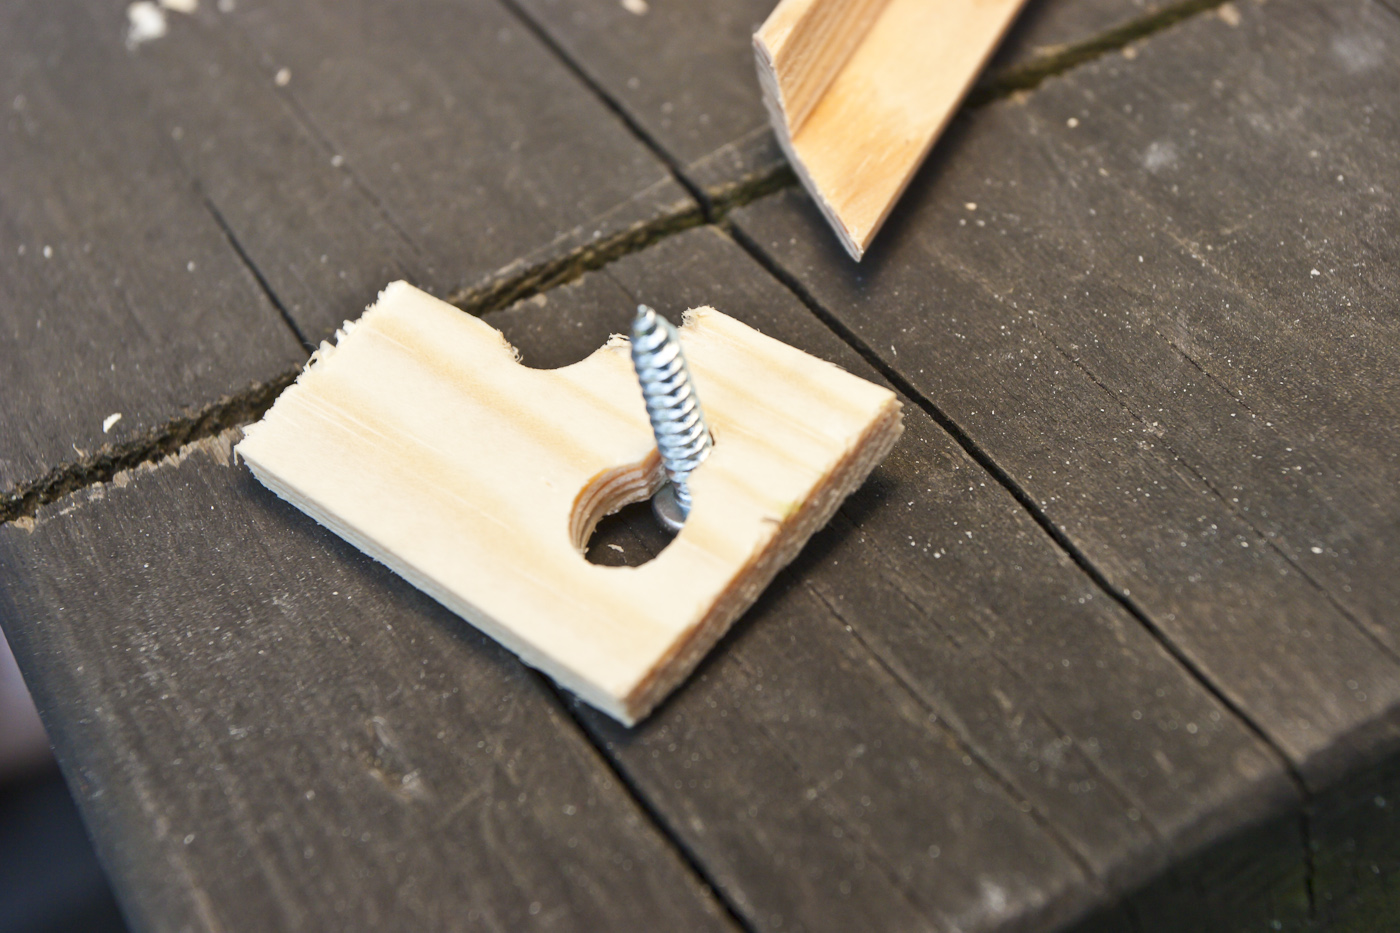
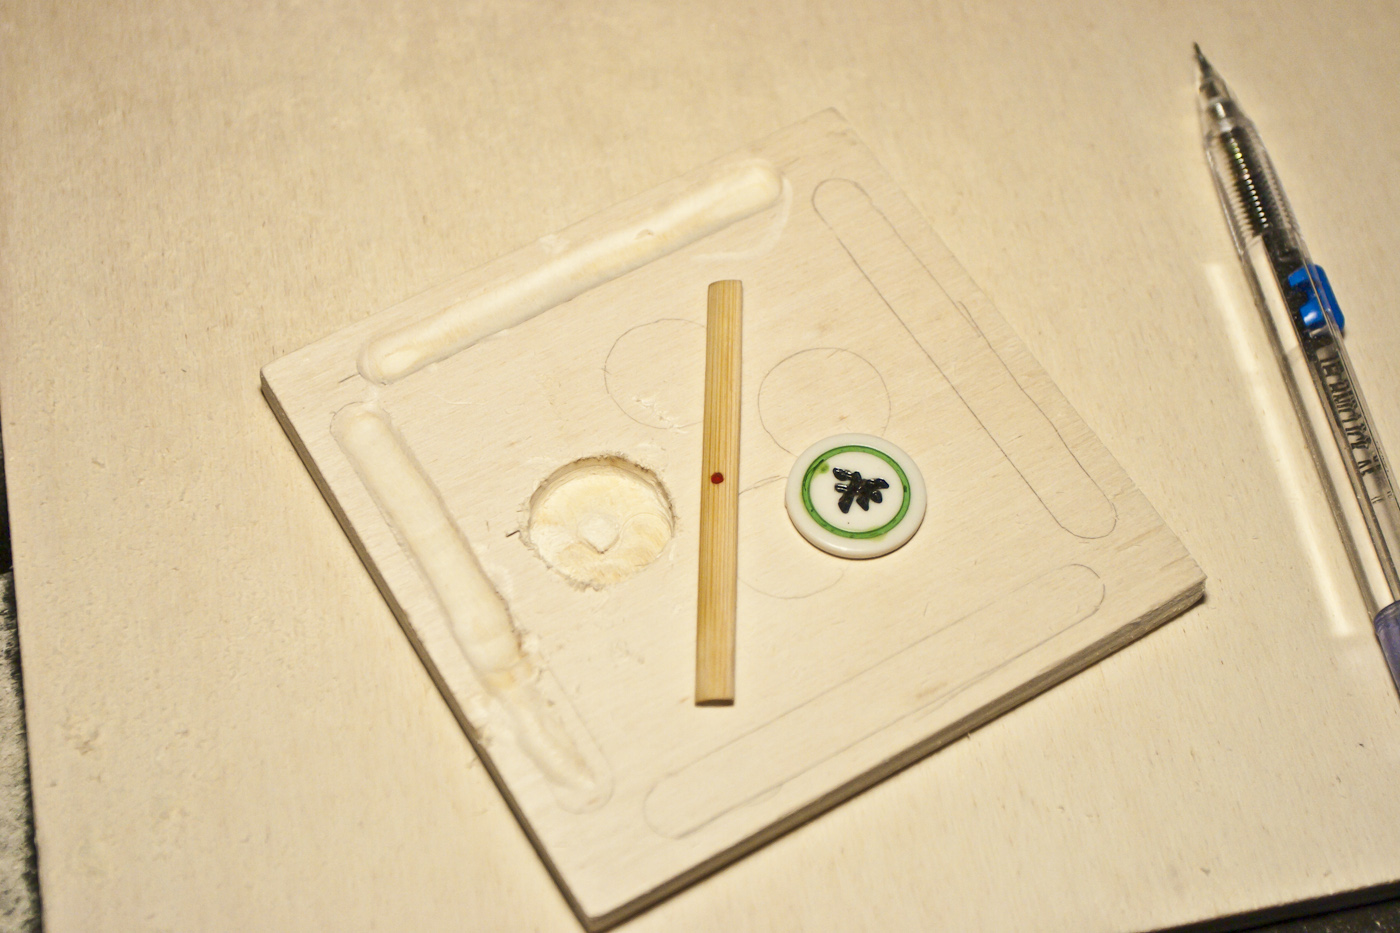
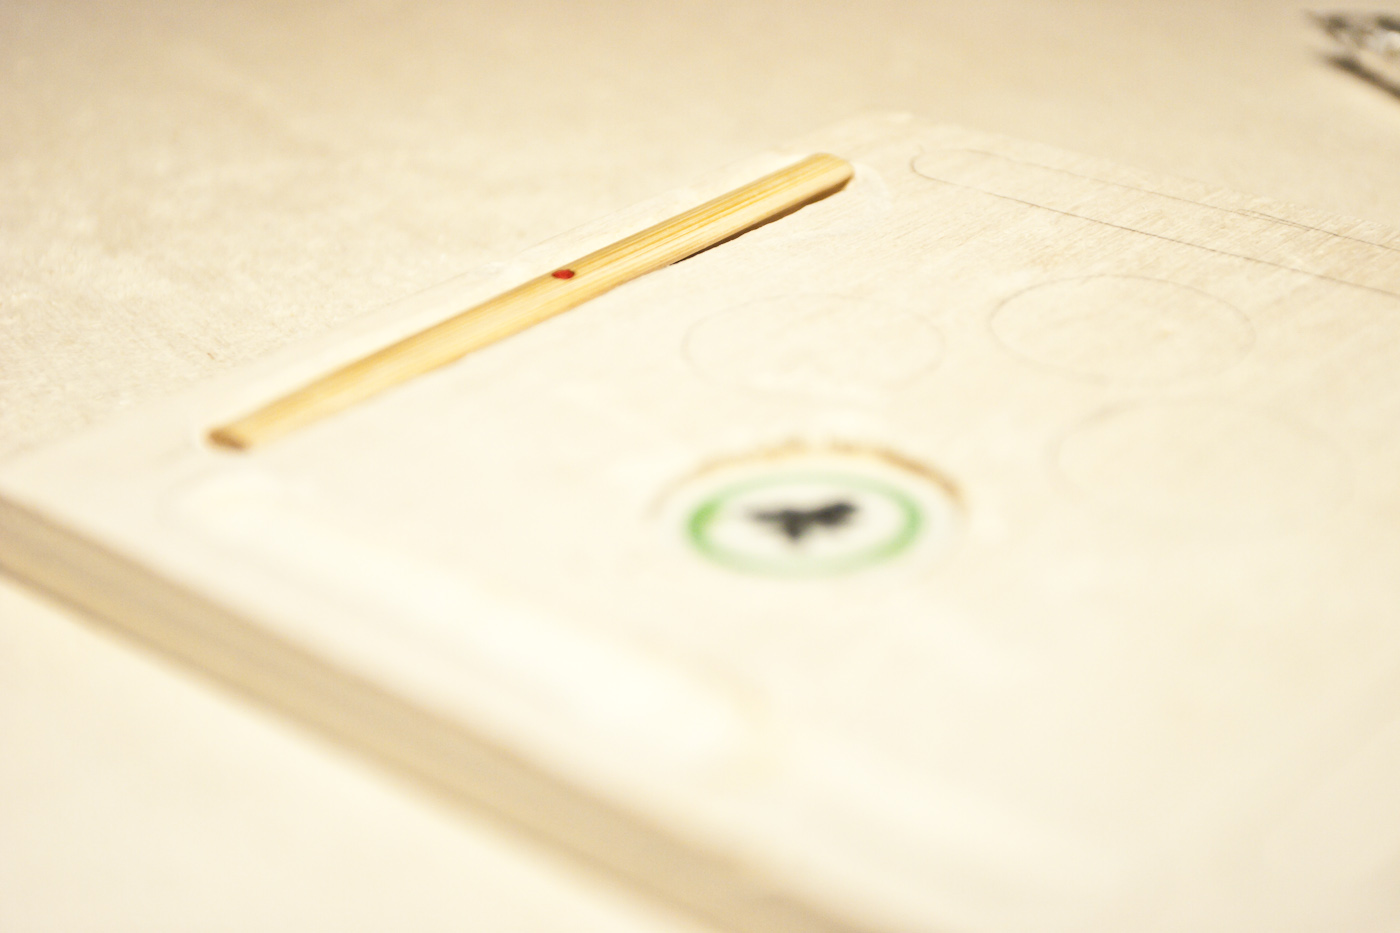
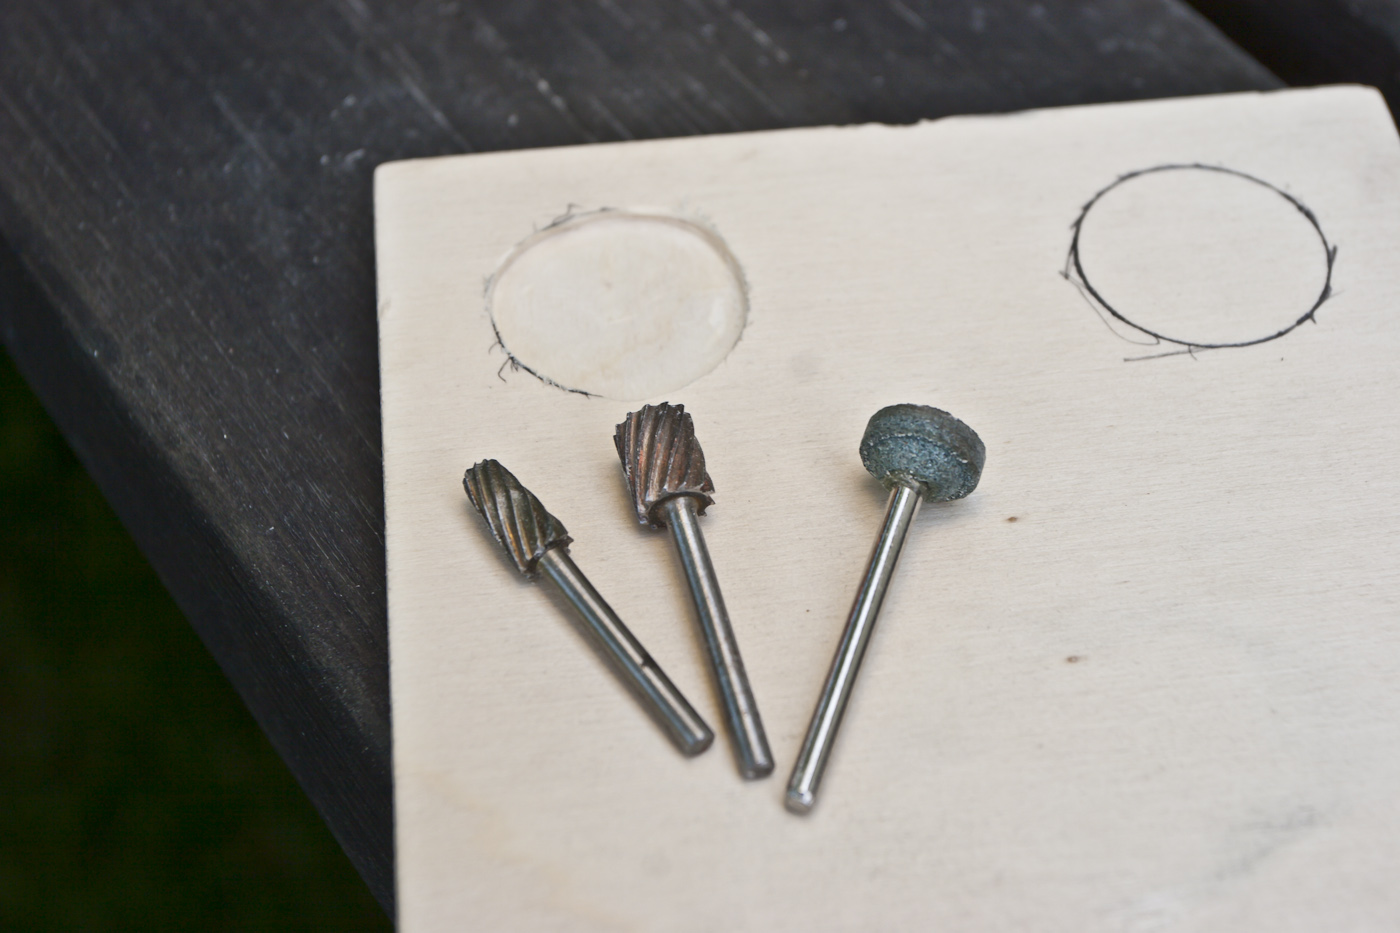
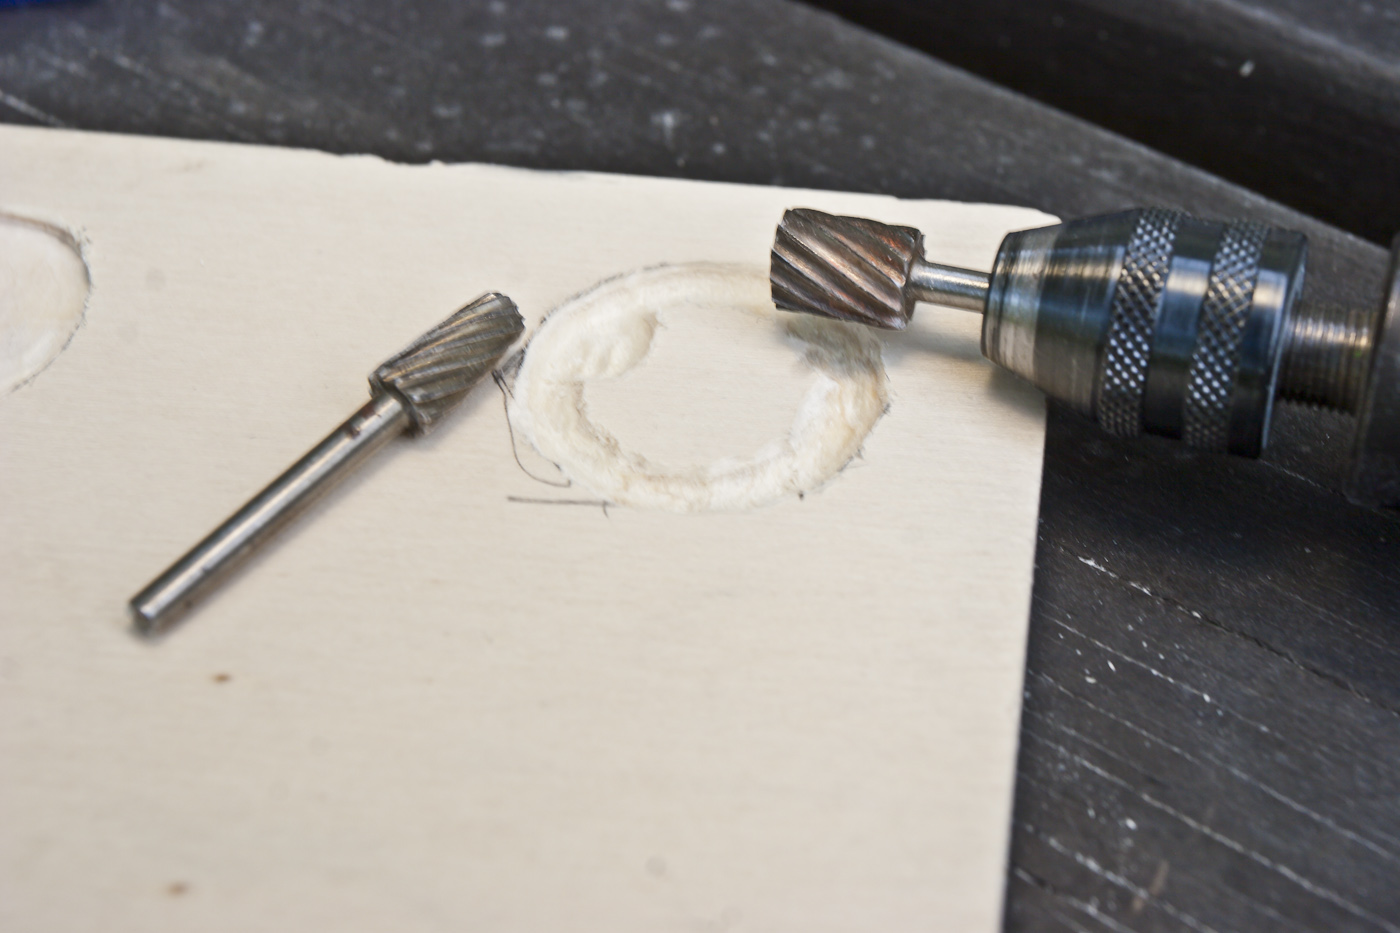
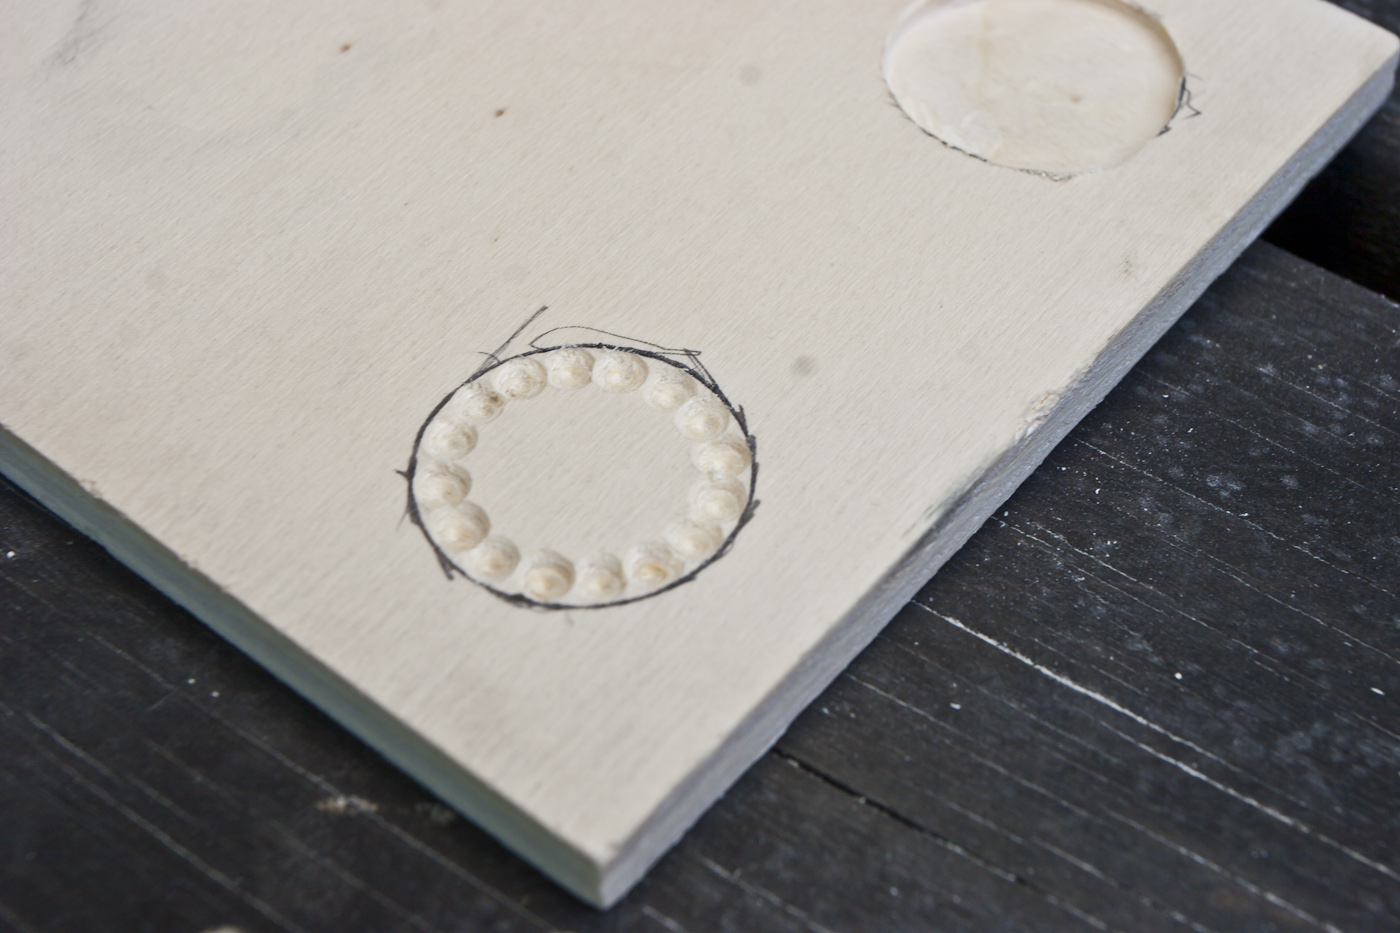
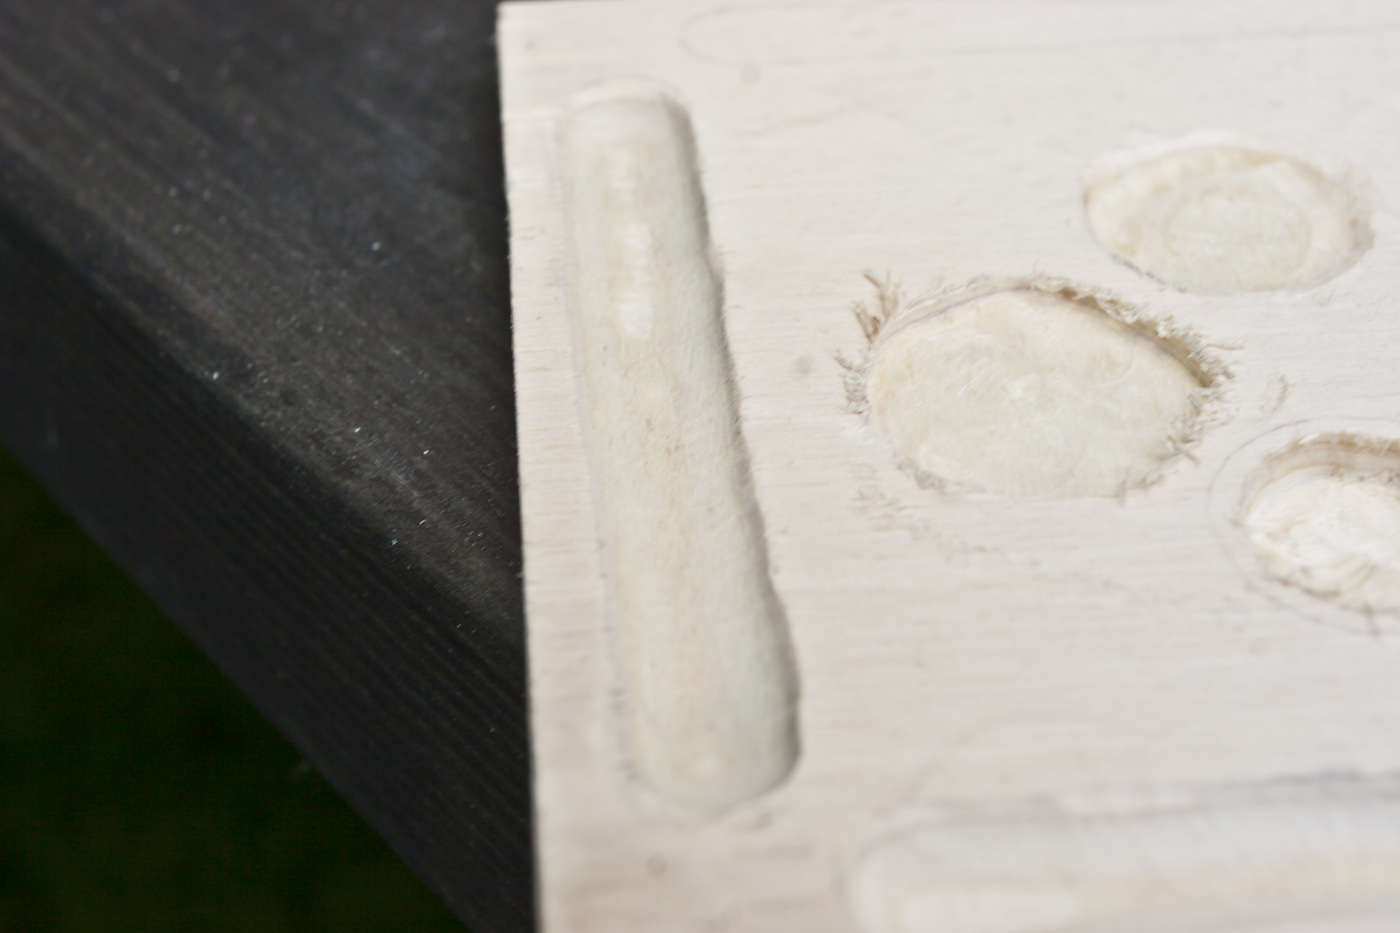
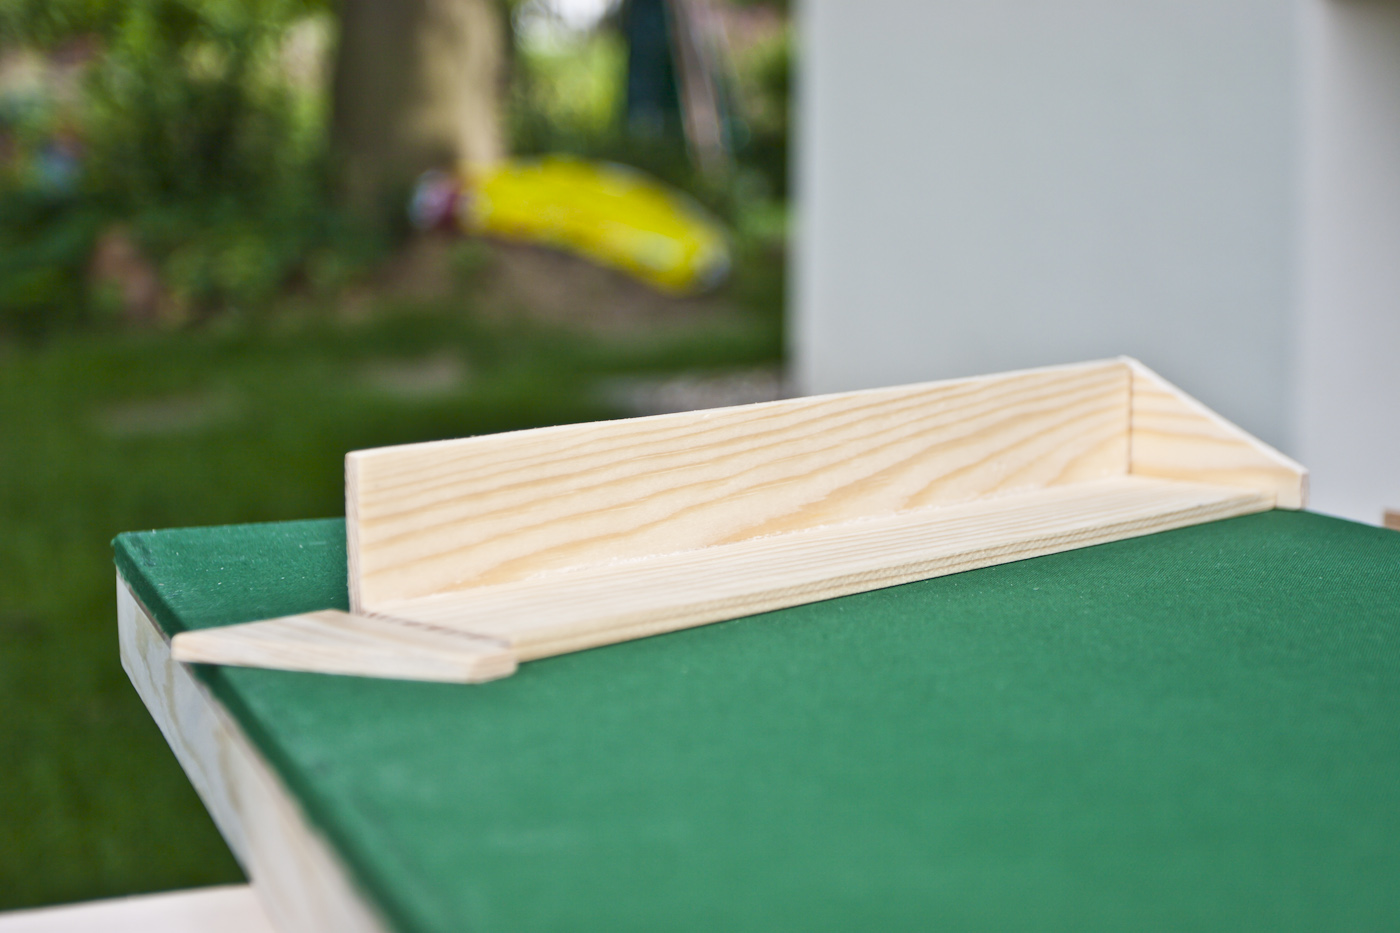
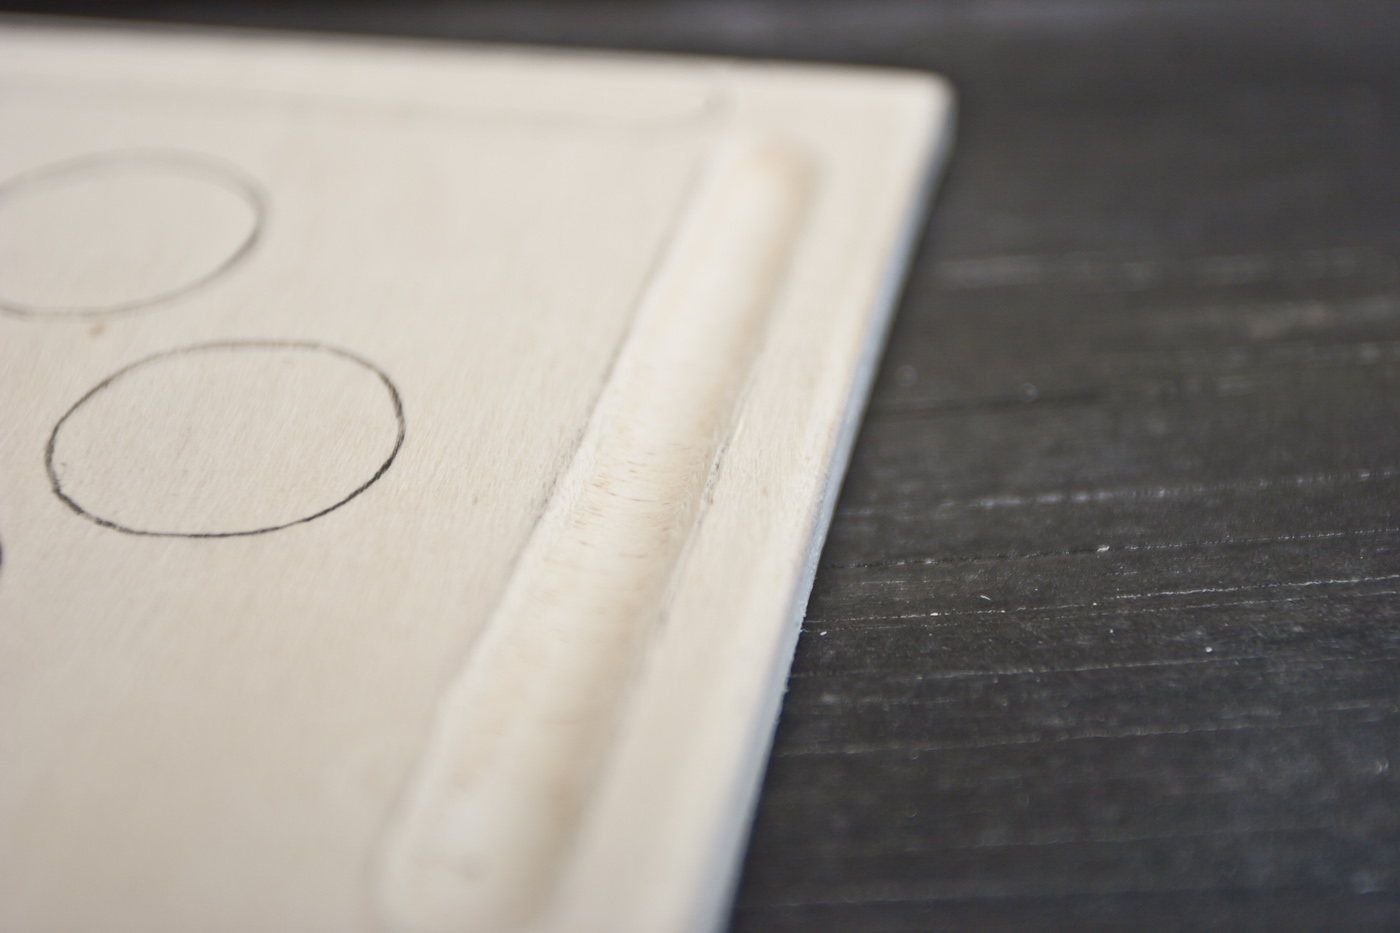
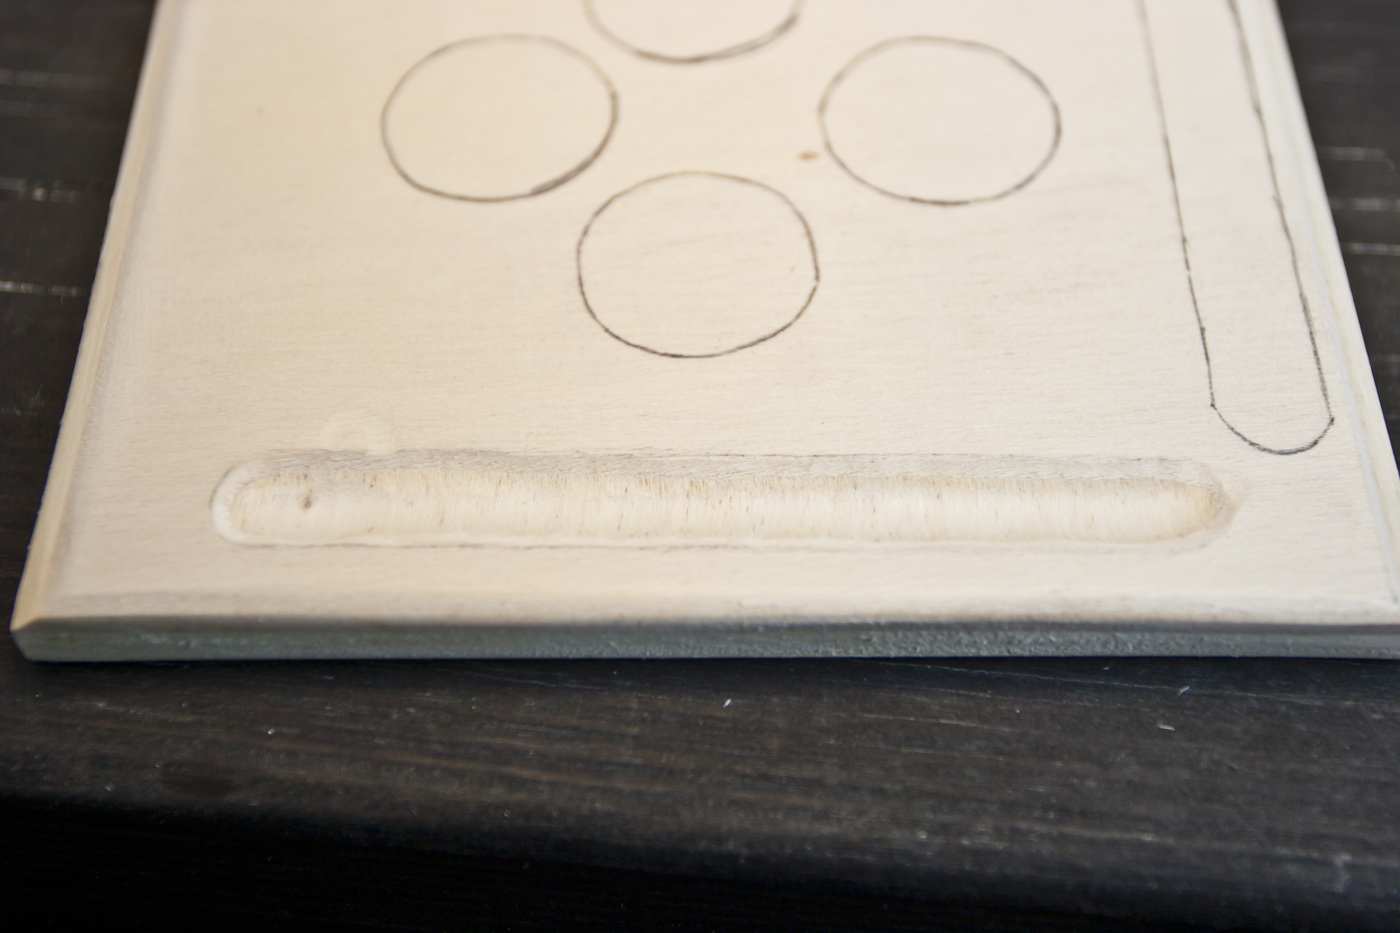
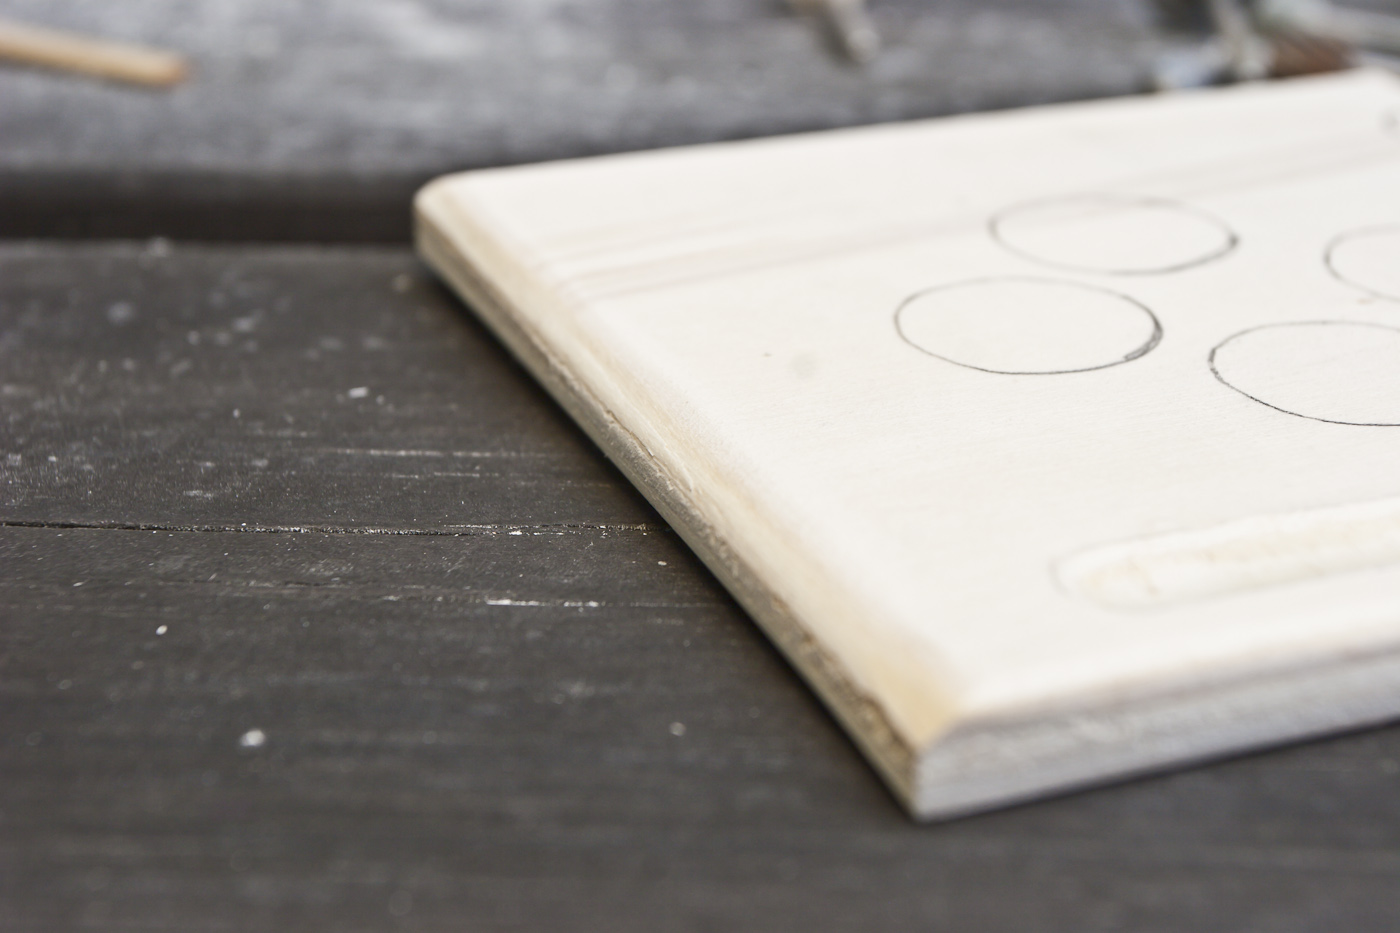
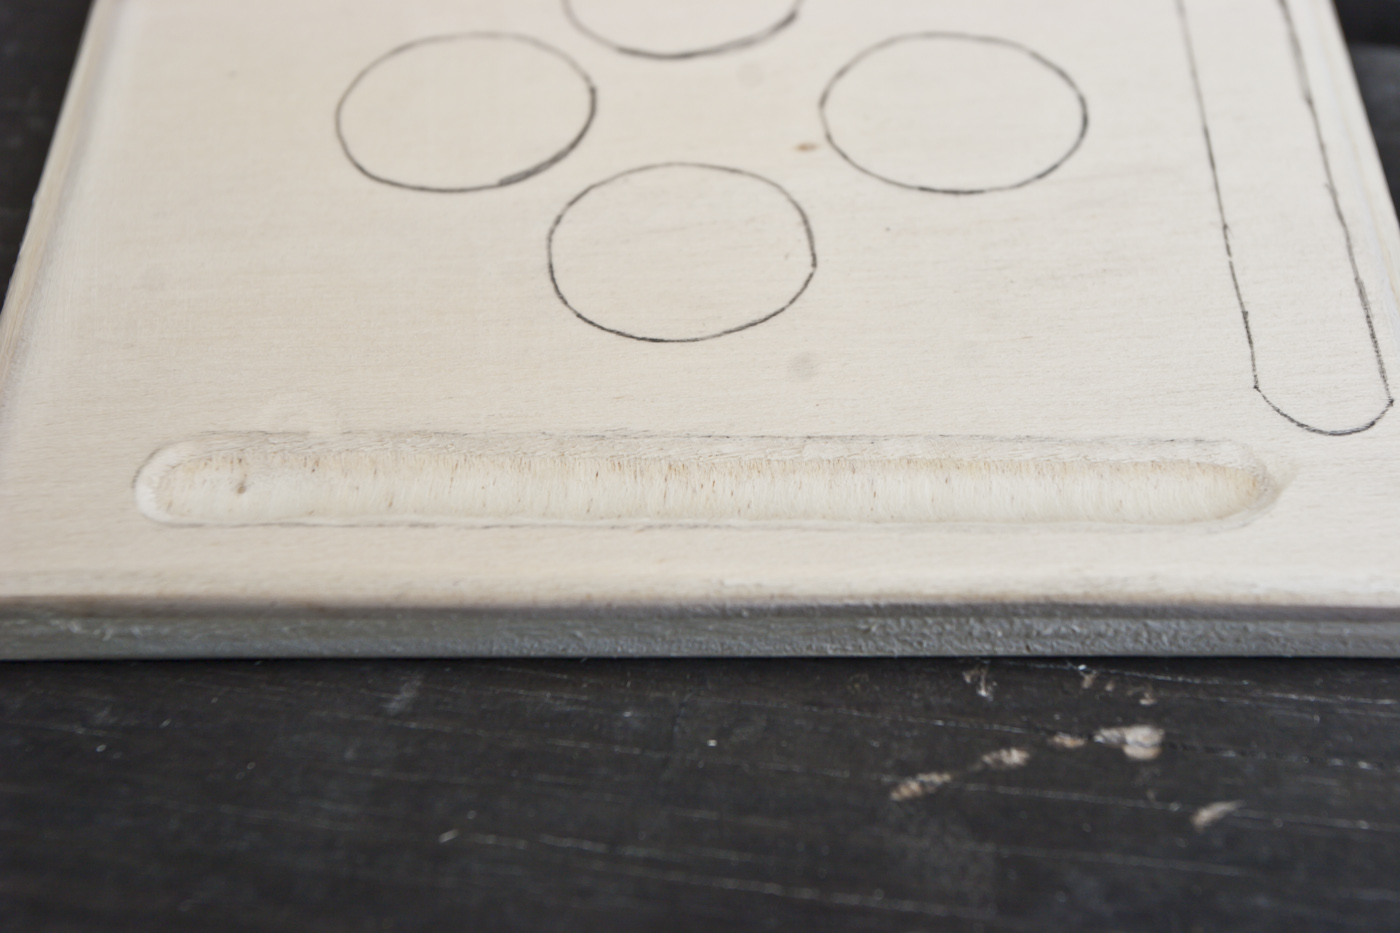
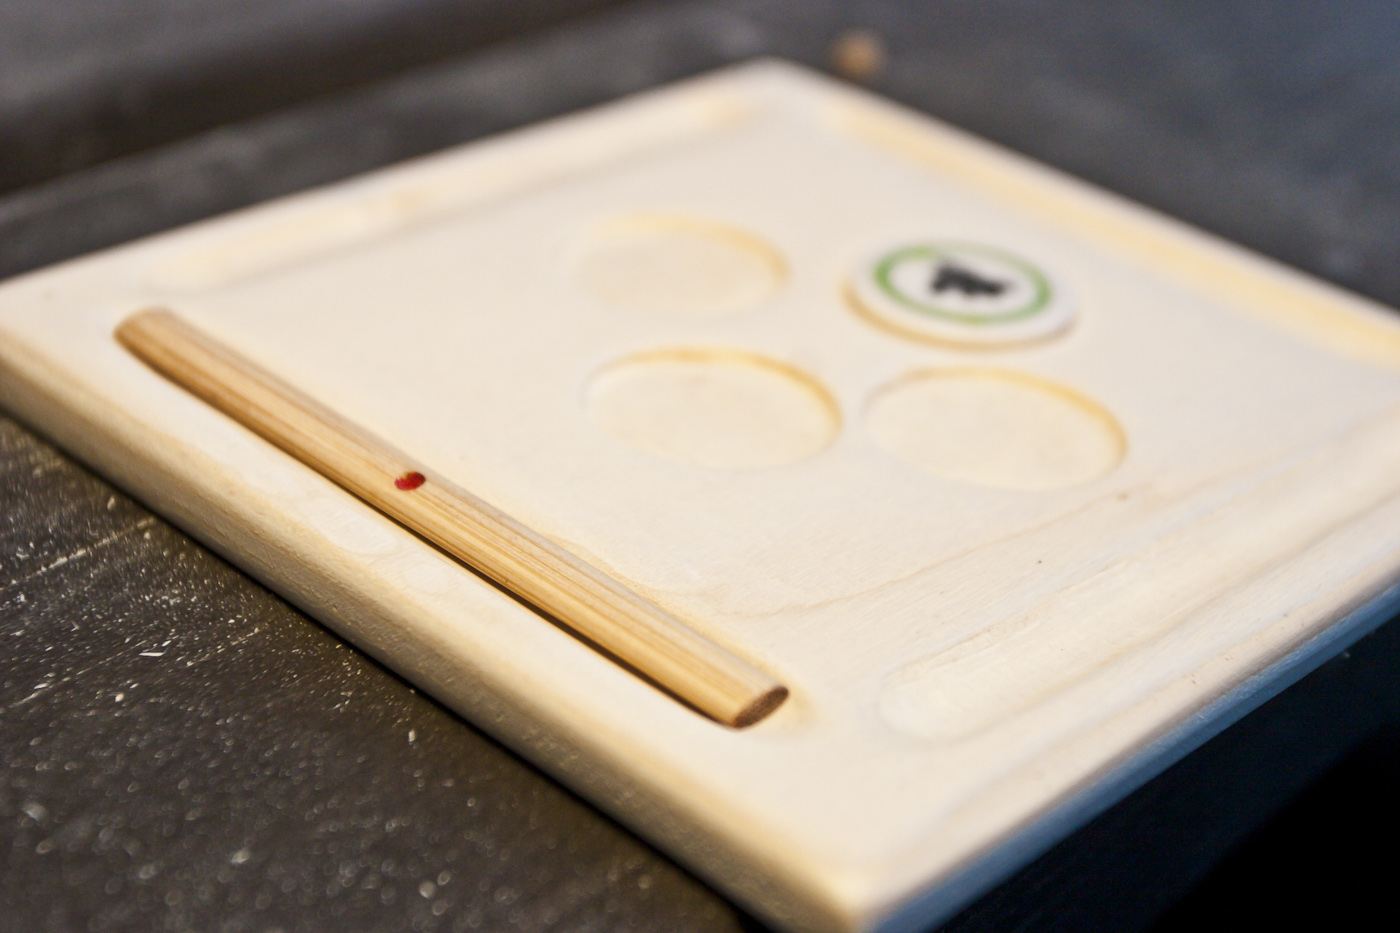
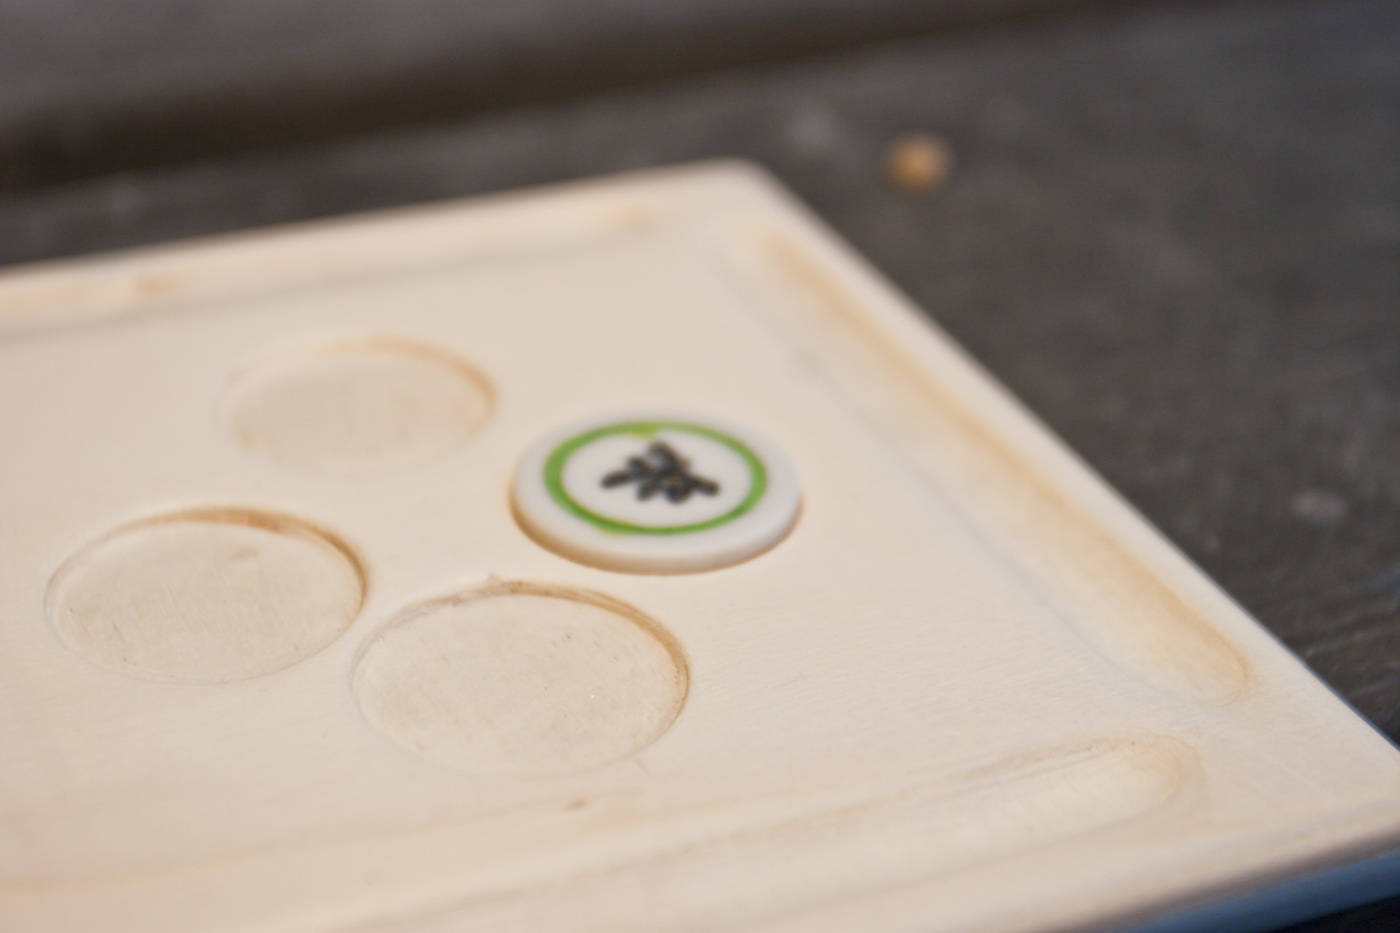
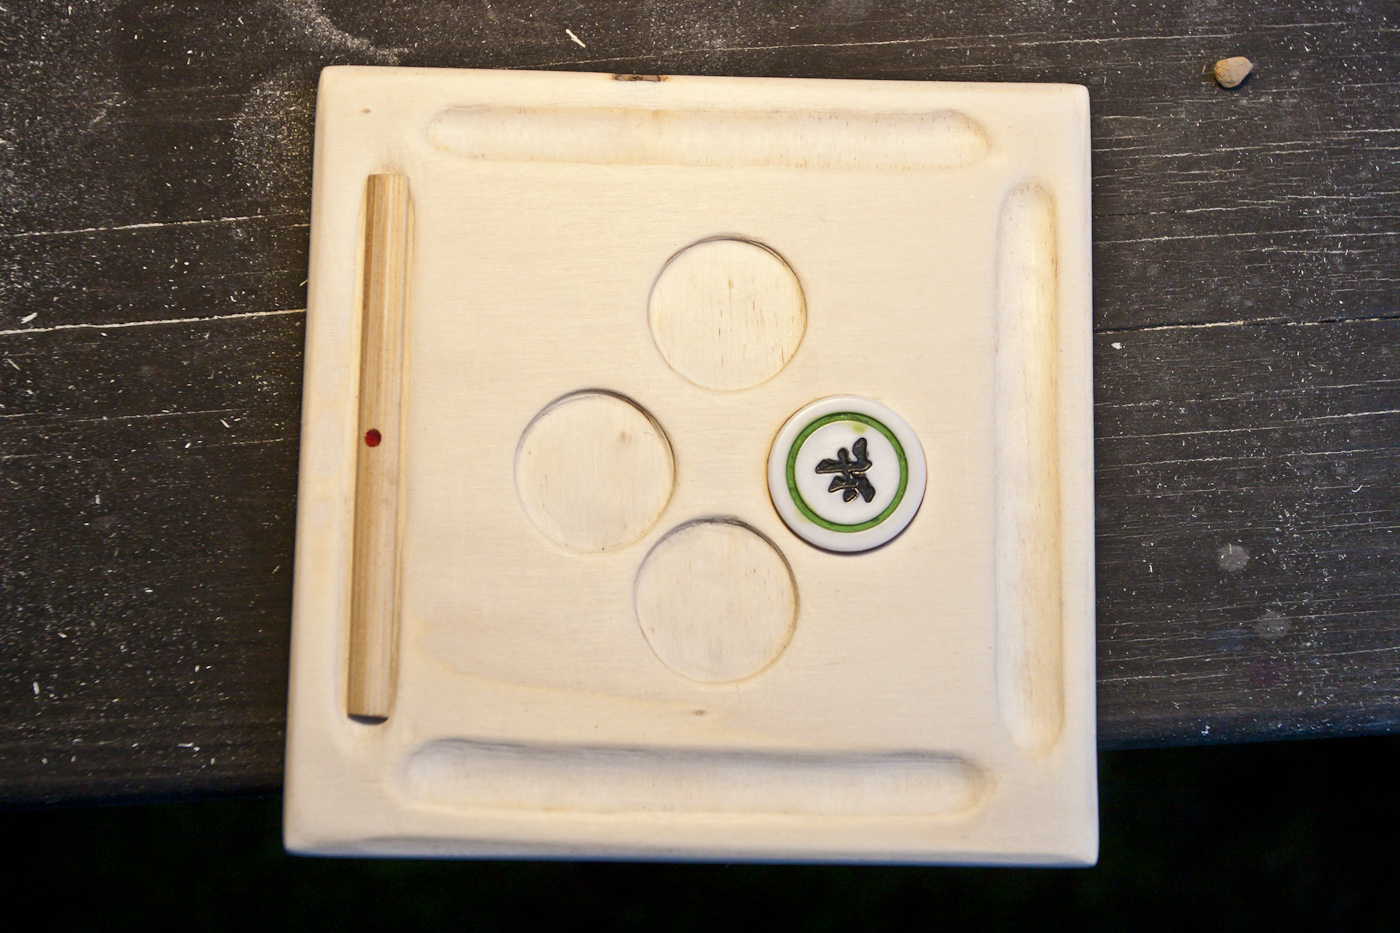
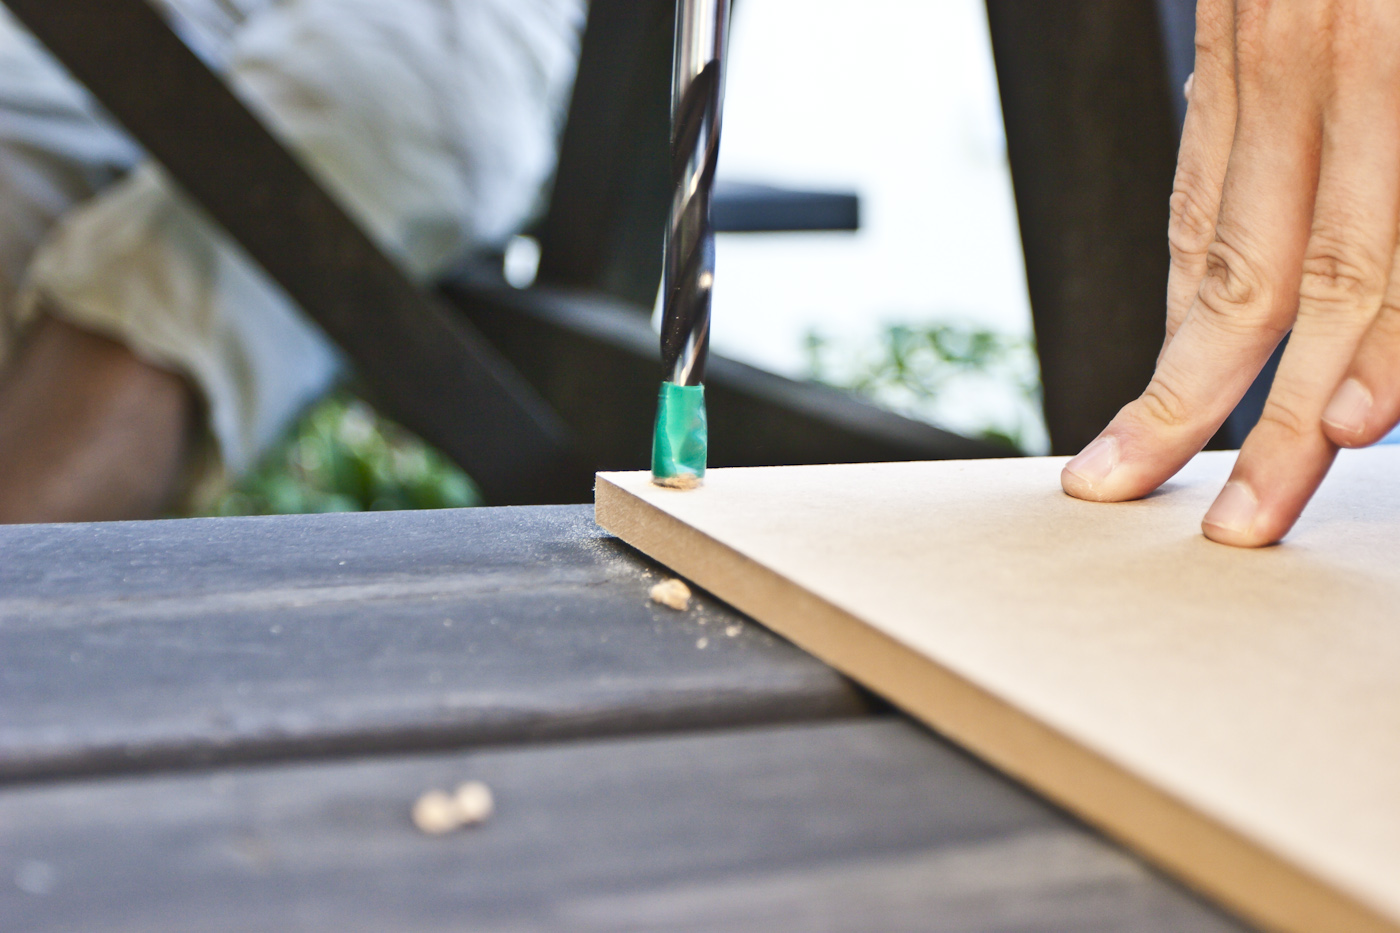
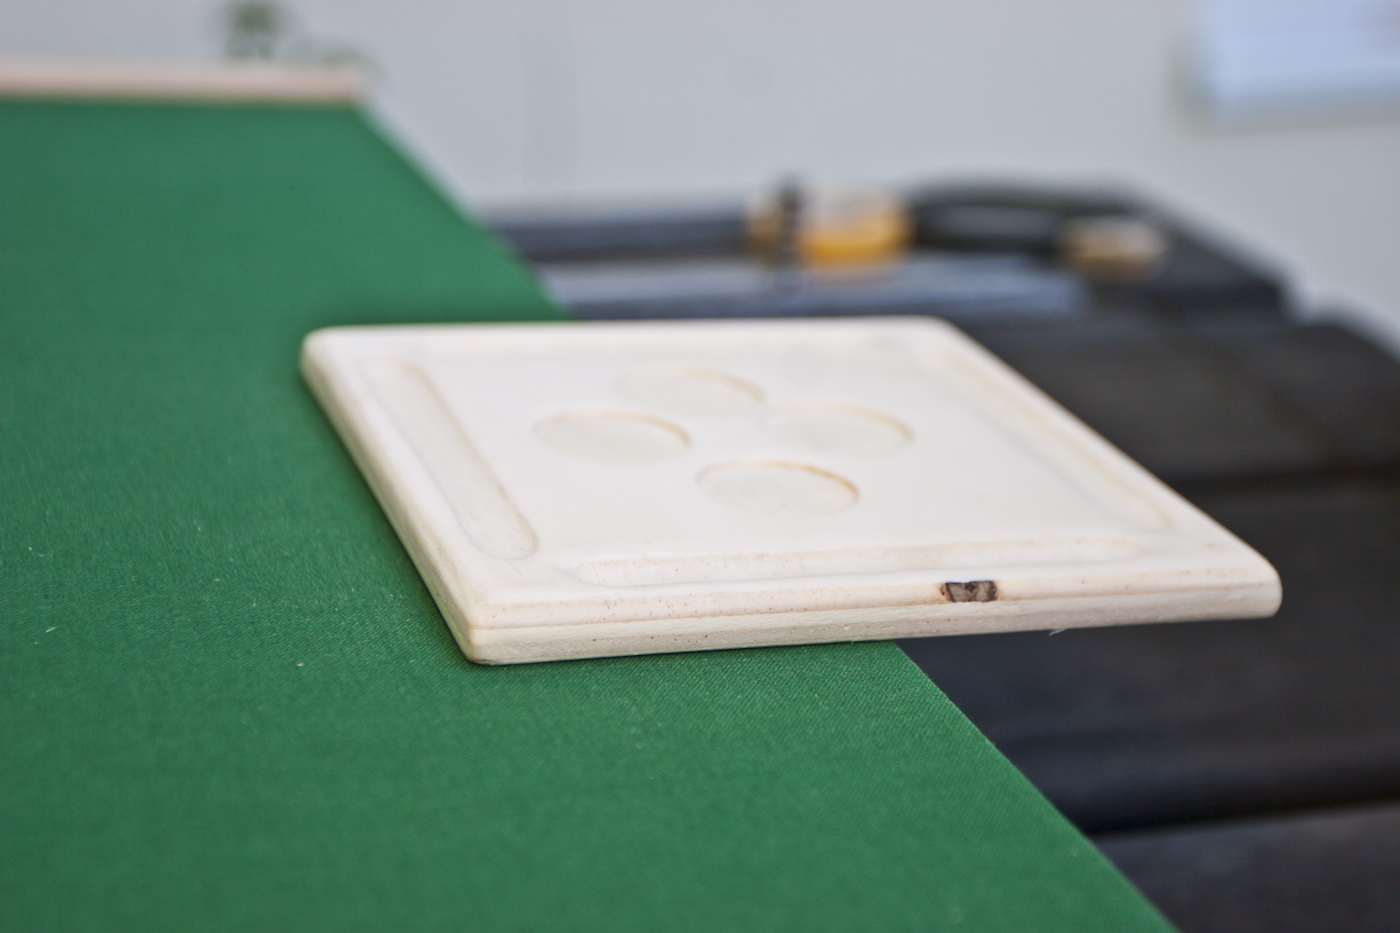
isn't that a nice 45*?meanwhile the other part of the team tested a way to fasten the point stick cabinets on the table ... this was done using two sizes of regular wood drillsagain the glue and masking-tape for getting the fabric onyay, smearing action!after removing the masking tape - a nice line of glueokay, now we get to make the middle-part of the table that will be used to smash discarded tiles against - as well as holding the wind- and riichi-markers. for this purpose i used a dremel (proxxon in this case - smaller and more quiet) to attack a regular thick piece of wood. DO SOME TESTS BEFOREHANDS, YOU WILL NOT GET THIS RIGHT THE FIRST TIME!the pattern/model for the depressions for the markersand a first test-piece. as you see you need to develop some technique... but the general principle seems to work out!While i was torturing mr dremel the other part of the team made some progress on the stick cabinets...More Chaos! Now we were cutting the leftover of the fabric mat to fit underneath the decorative covers...meanwhile i've worked out a technique for dremeling the holes for the point sticks.... you need those toolsthen - holding the small drill at a sharper angle - drill out the remains between the holes of the perforationfirst perforate the hole, careful not to drill beyond the mark...then with the large drill/mill take off the rest in the middle of the ring you just made. here you also see the next try for a riichi-stick hole....aaand, the first glued beta of the stick cabinets...after two test-pieces i started working on the final version of the middle part - first riichi stick hole drilled and sanded...looks okay, no?we also tried around with the corners - this is the idea of holding it on a belt sander and changing the angle rapidly... with a bit of practice it comes out nicely!okay corner, no? 😛again working on the stick cabinets - we decided to mask the parts near the glue when glueing to prevent stains...and with this tools you get a perfect riichi stick hole - first use the conical mill at a sharp angle sliding through the whole shape - then, using the sphere, make it smooth and wider. you need to switch sides to get a good results on both sides, as rotation direction dictates the side where more wood is taken off...glueing the front bar of the cabinets...aaand, ladies and gentleman - the finished middle part. its so lovely and smooth after some fine sanding!
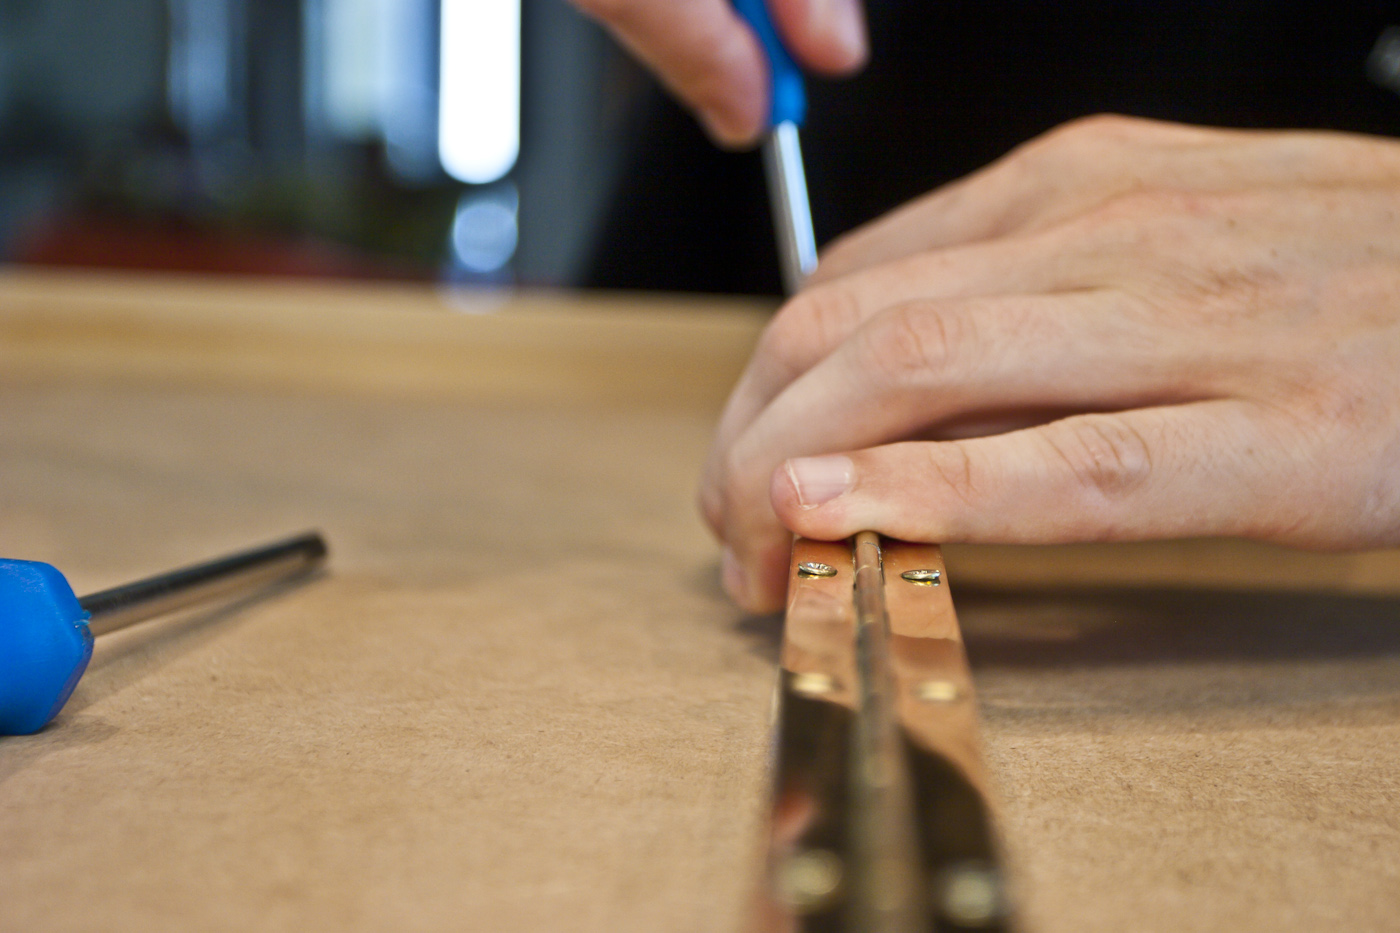
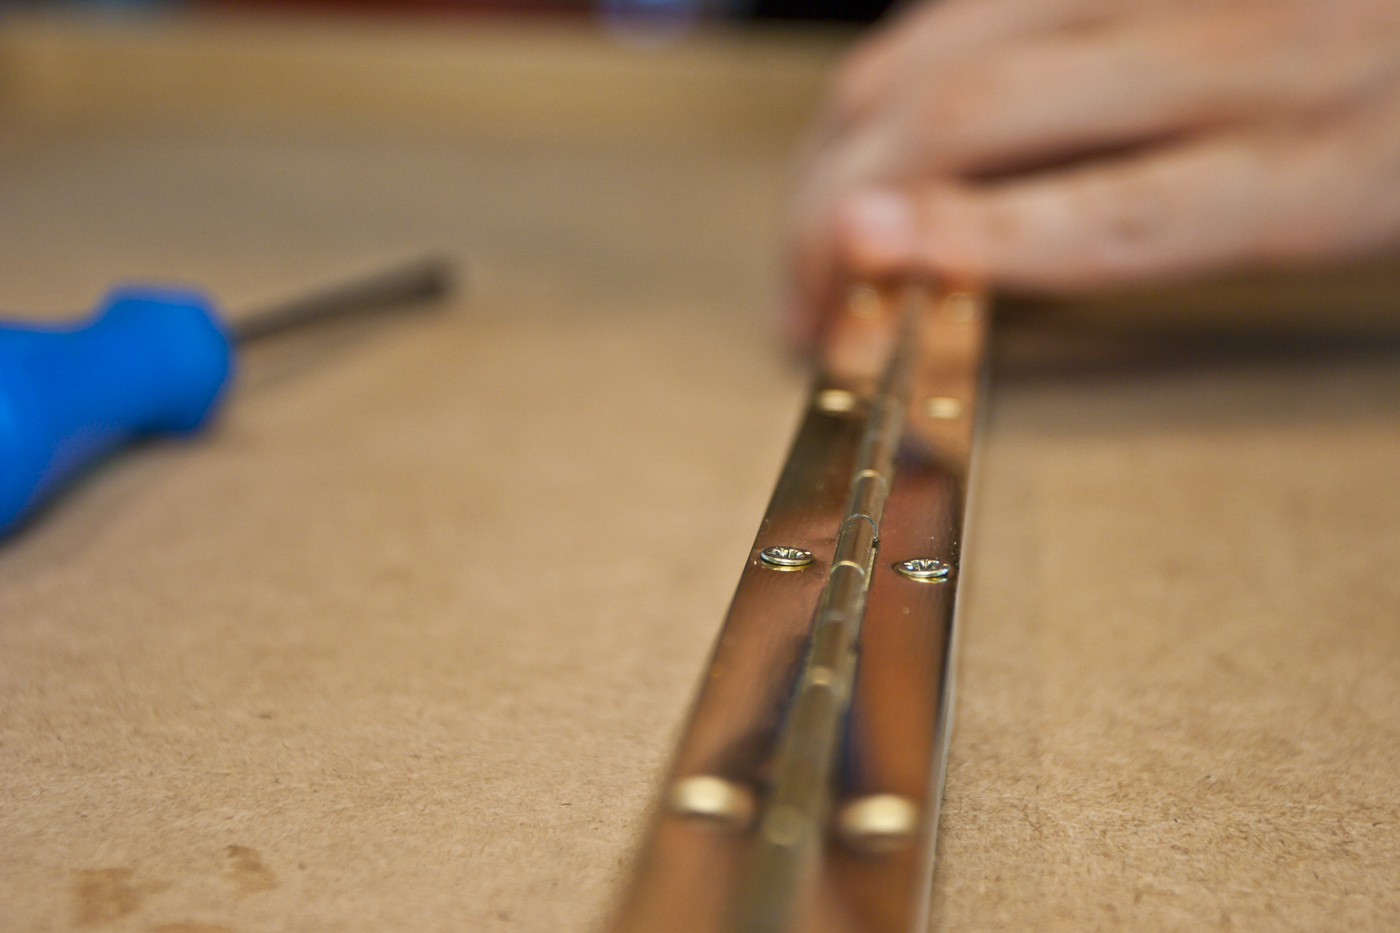
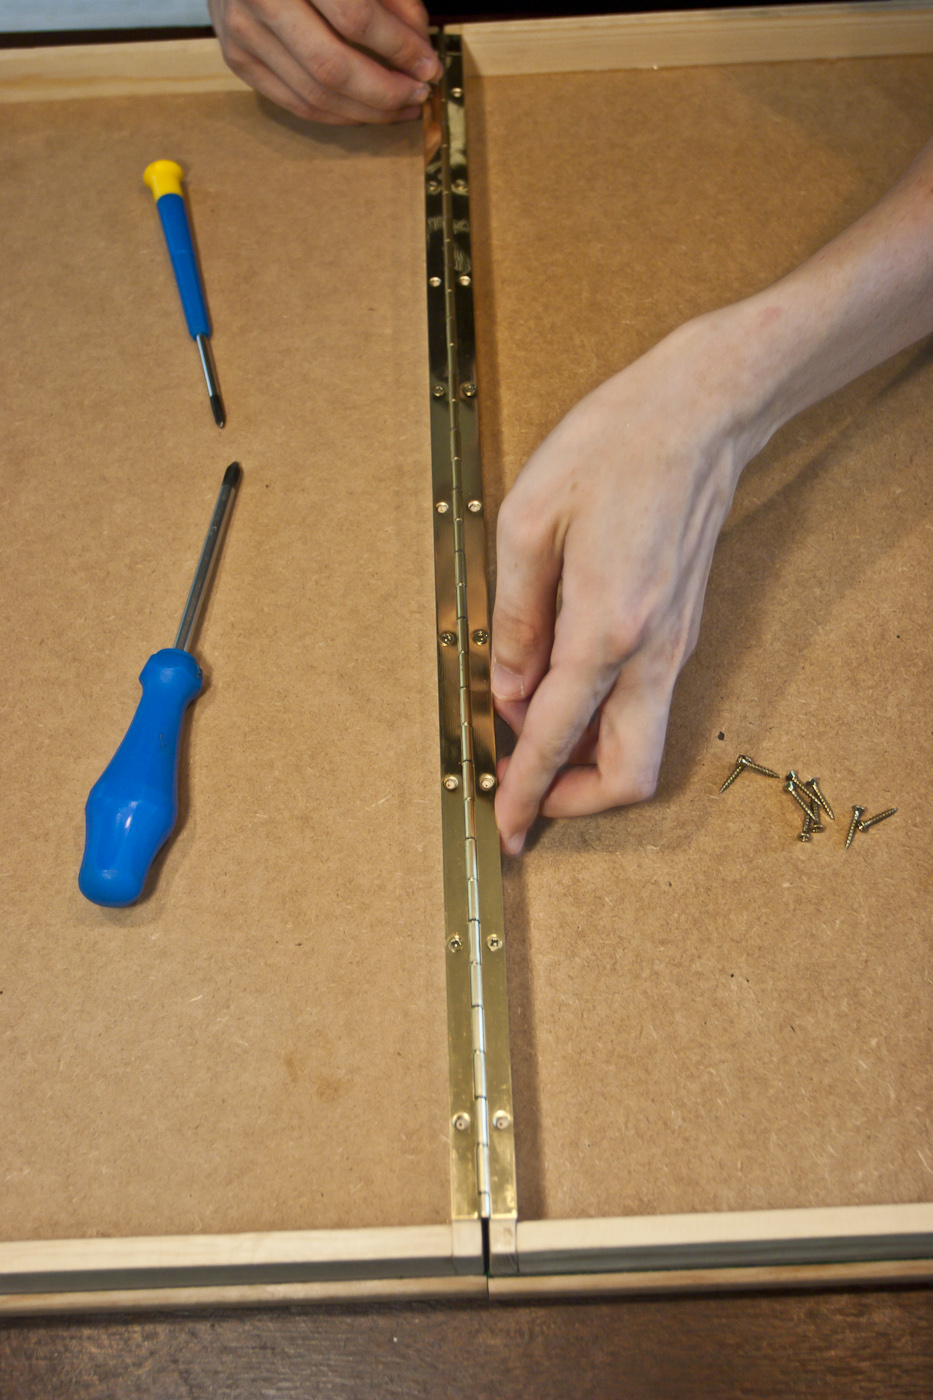
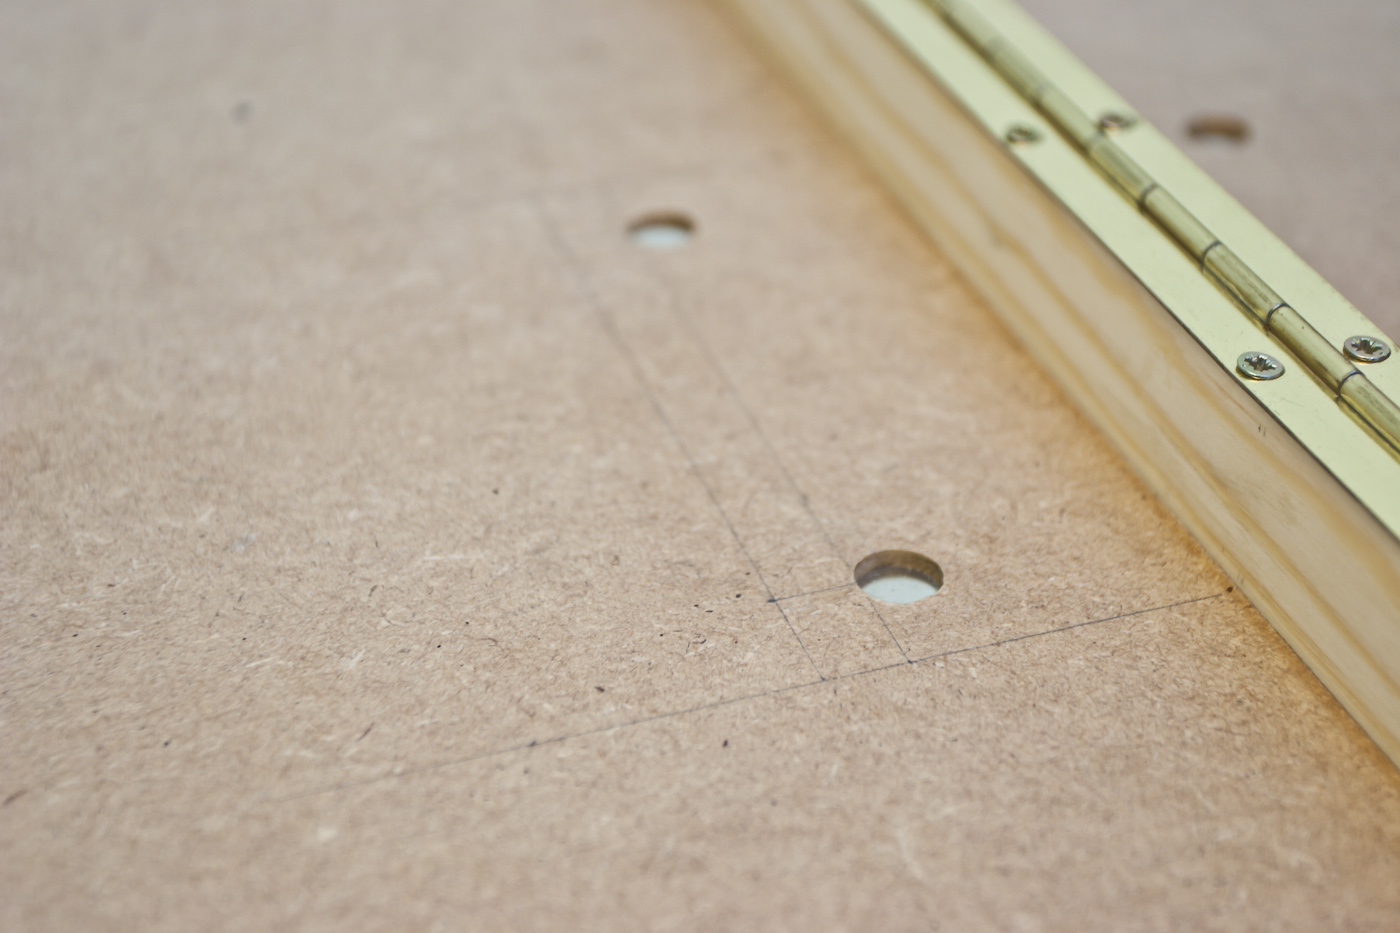
okay, back to the base plates where the glue is dry now. put them together and screw on the hinge...
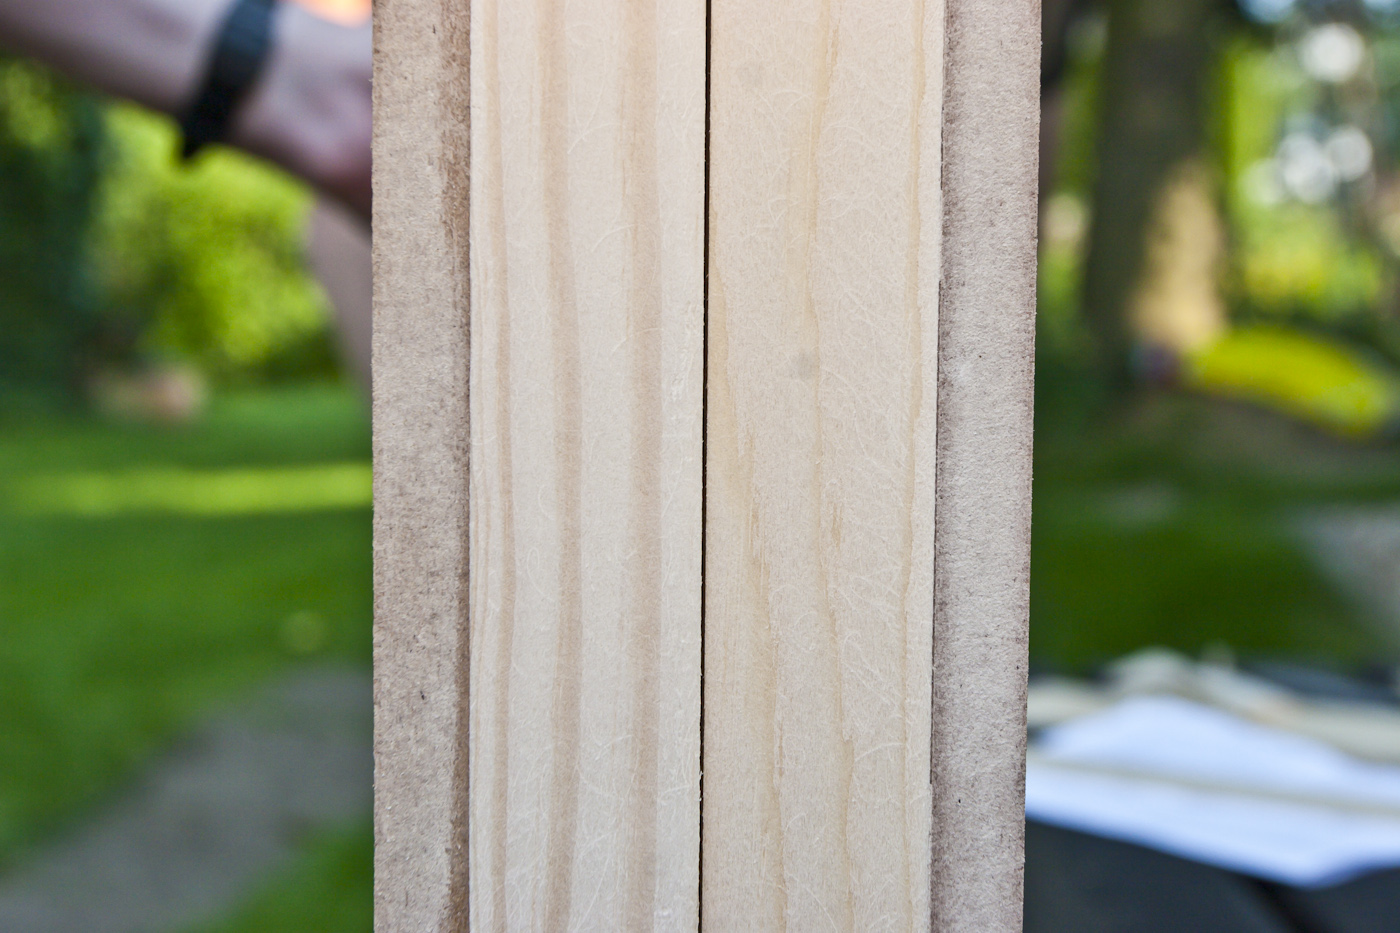
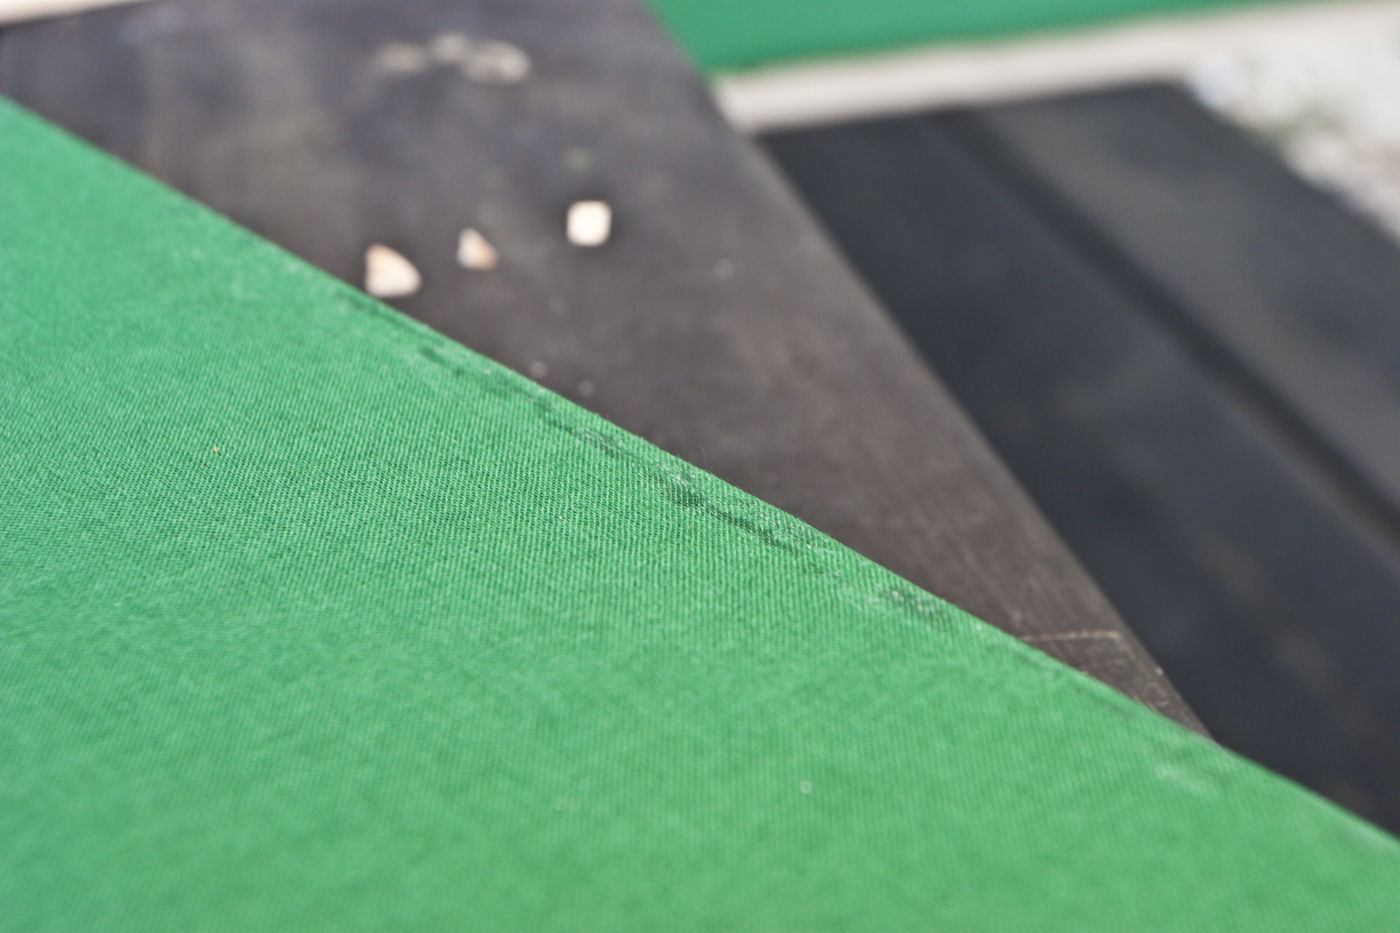
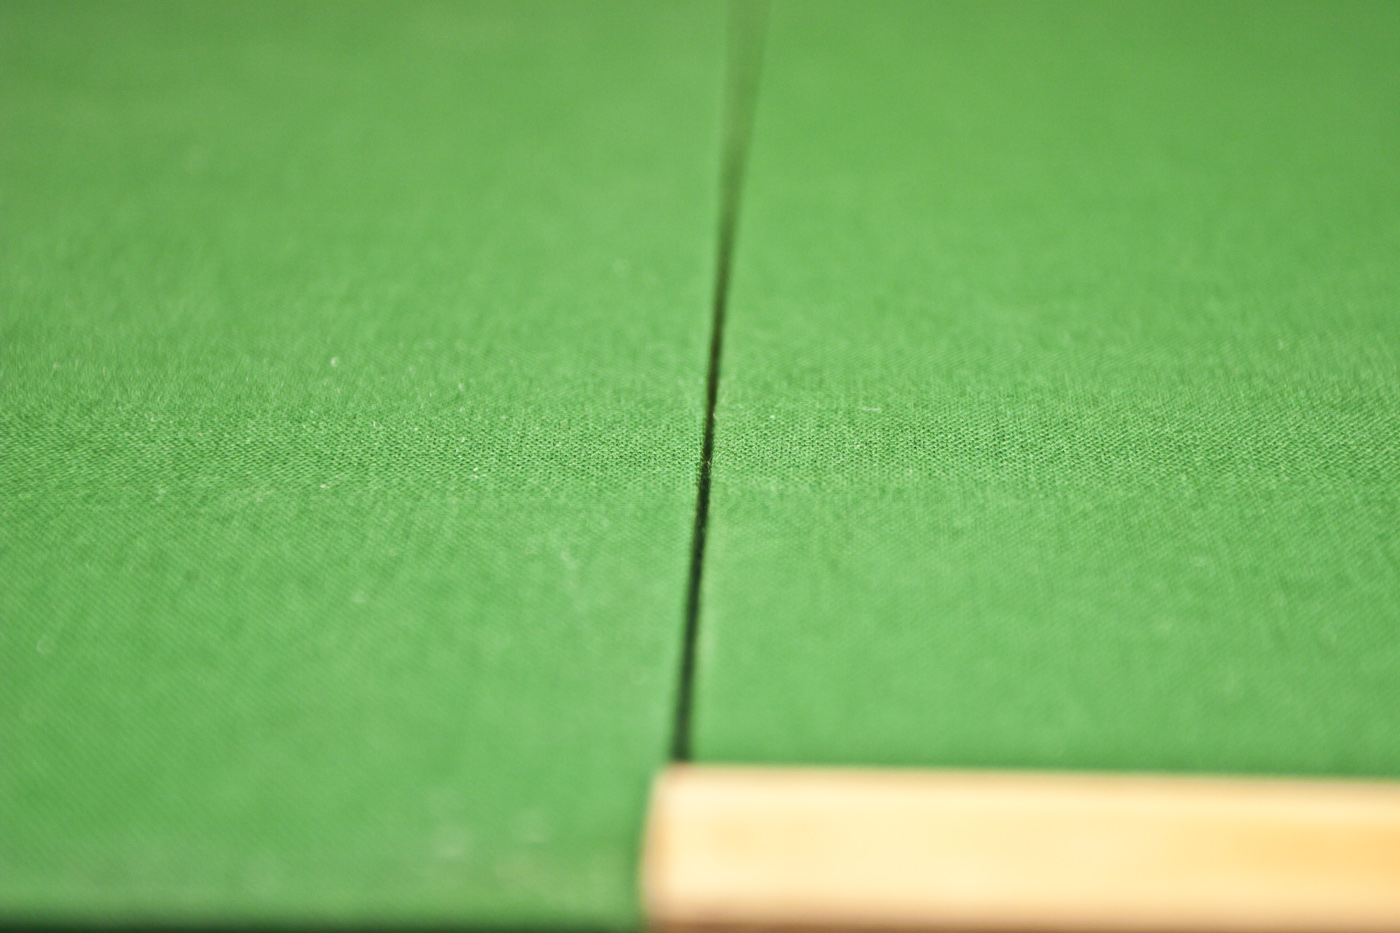
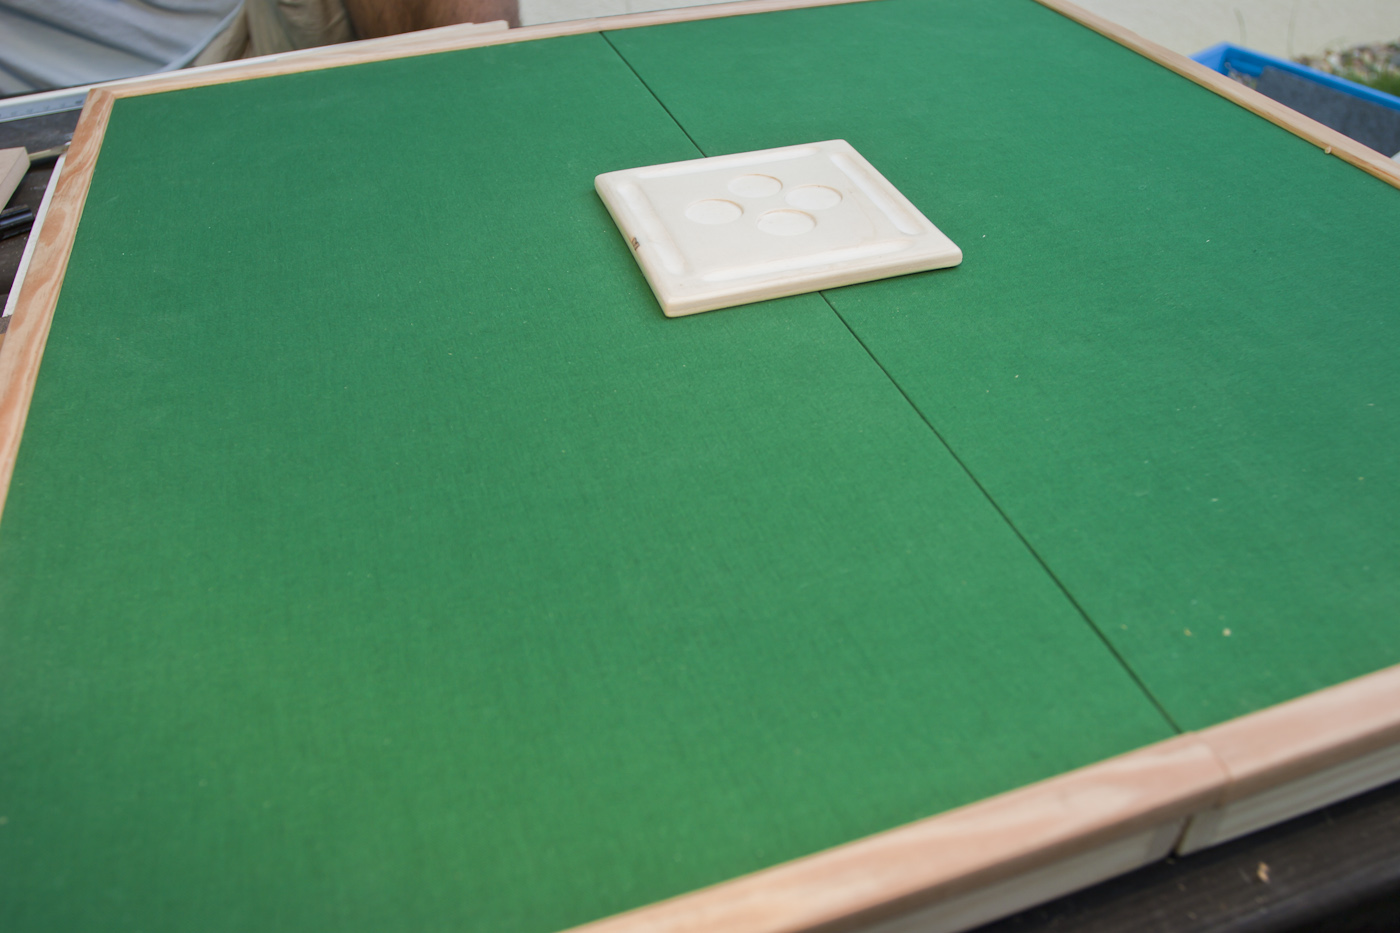
looks okay...yeah, thats it, nice one!the gap is smaller than we expected, but quite what we anticipated. fine working pays off after all!
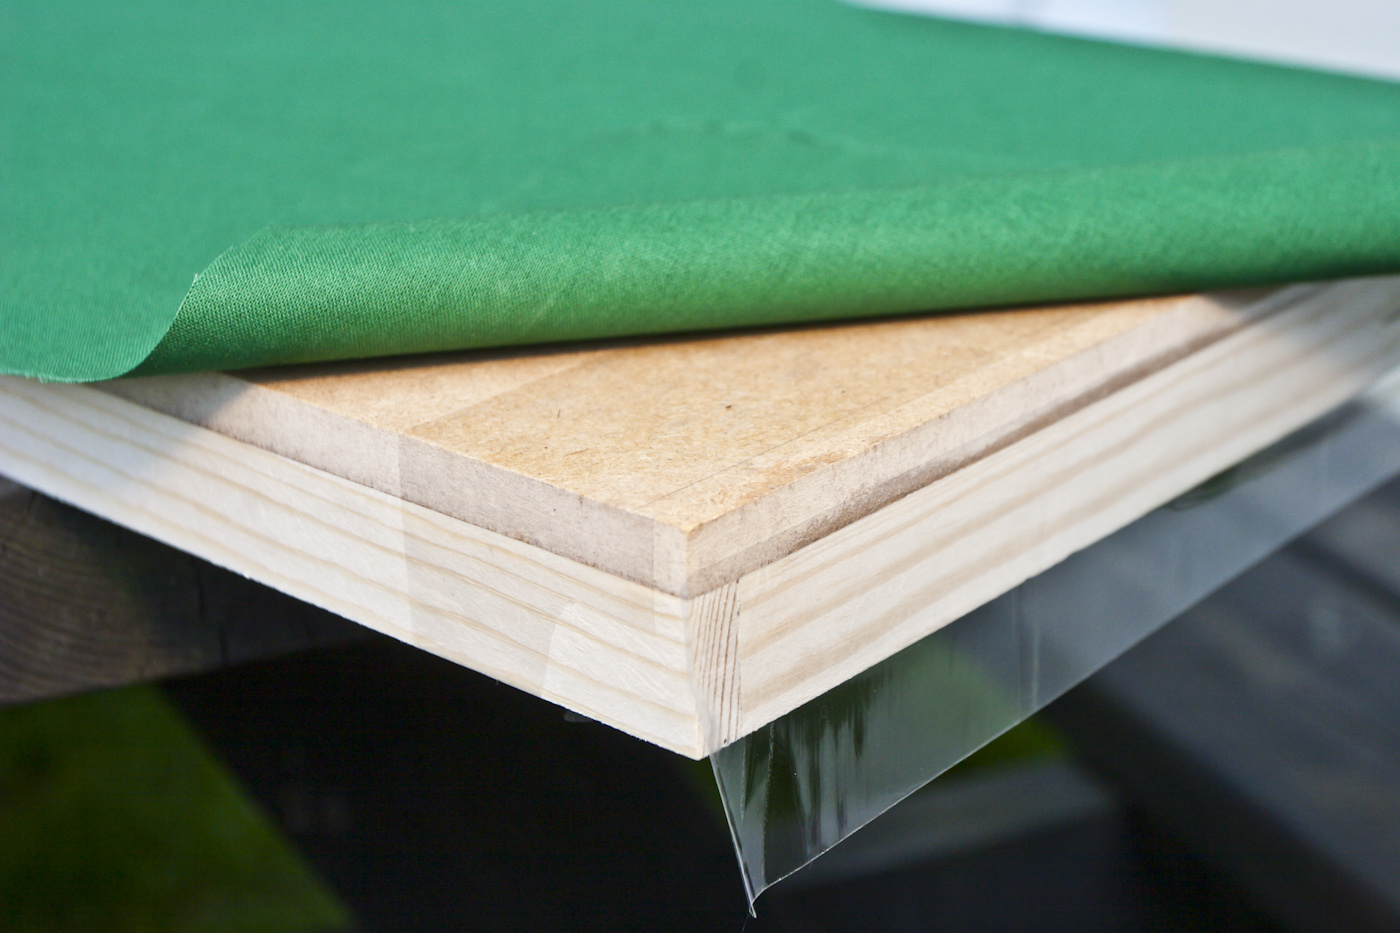
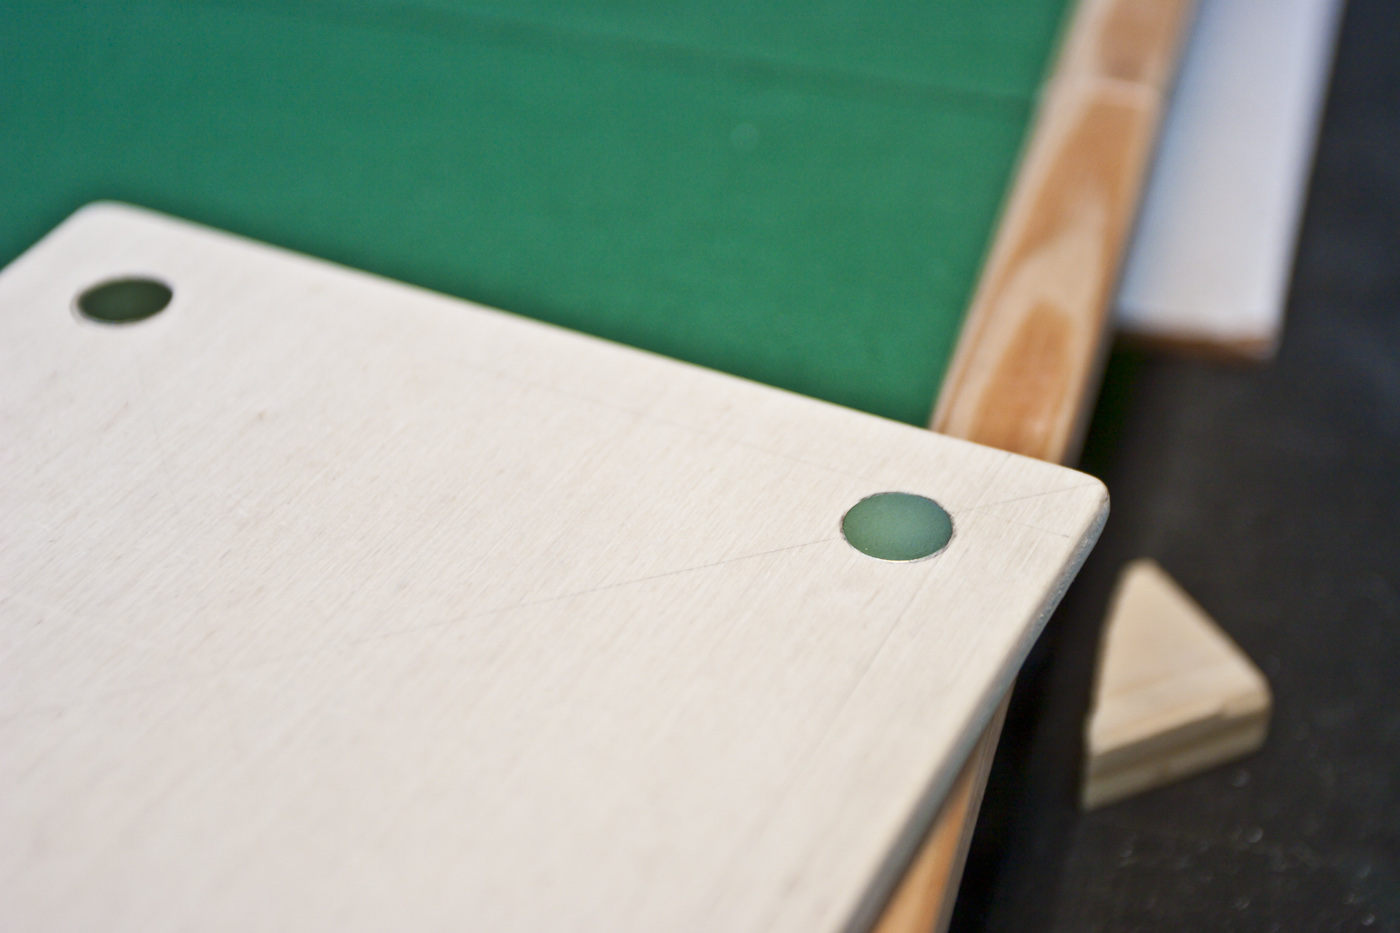
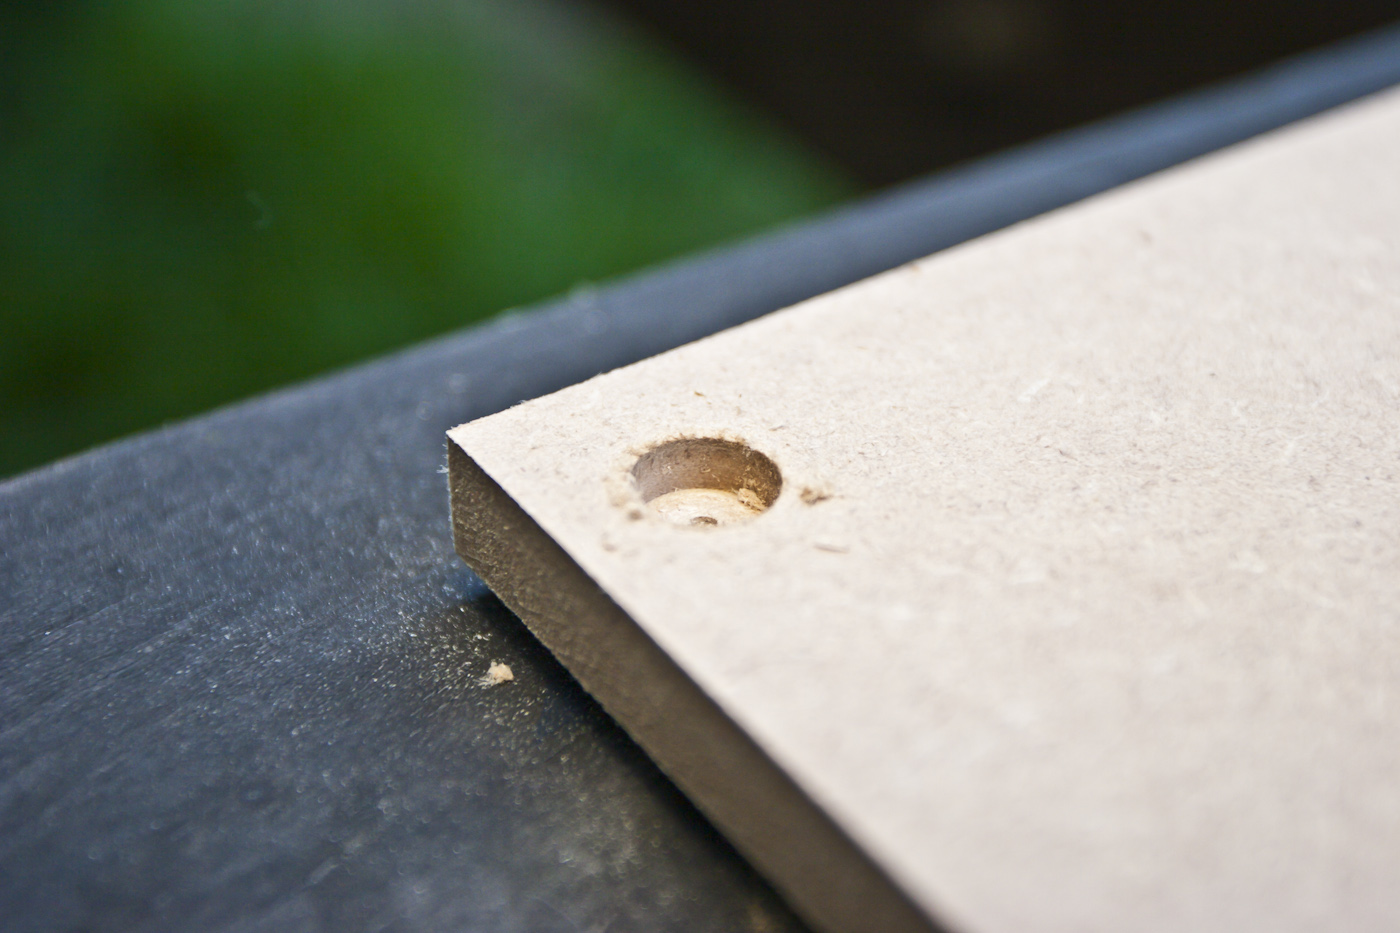
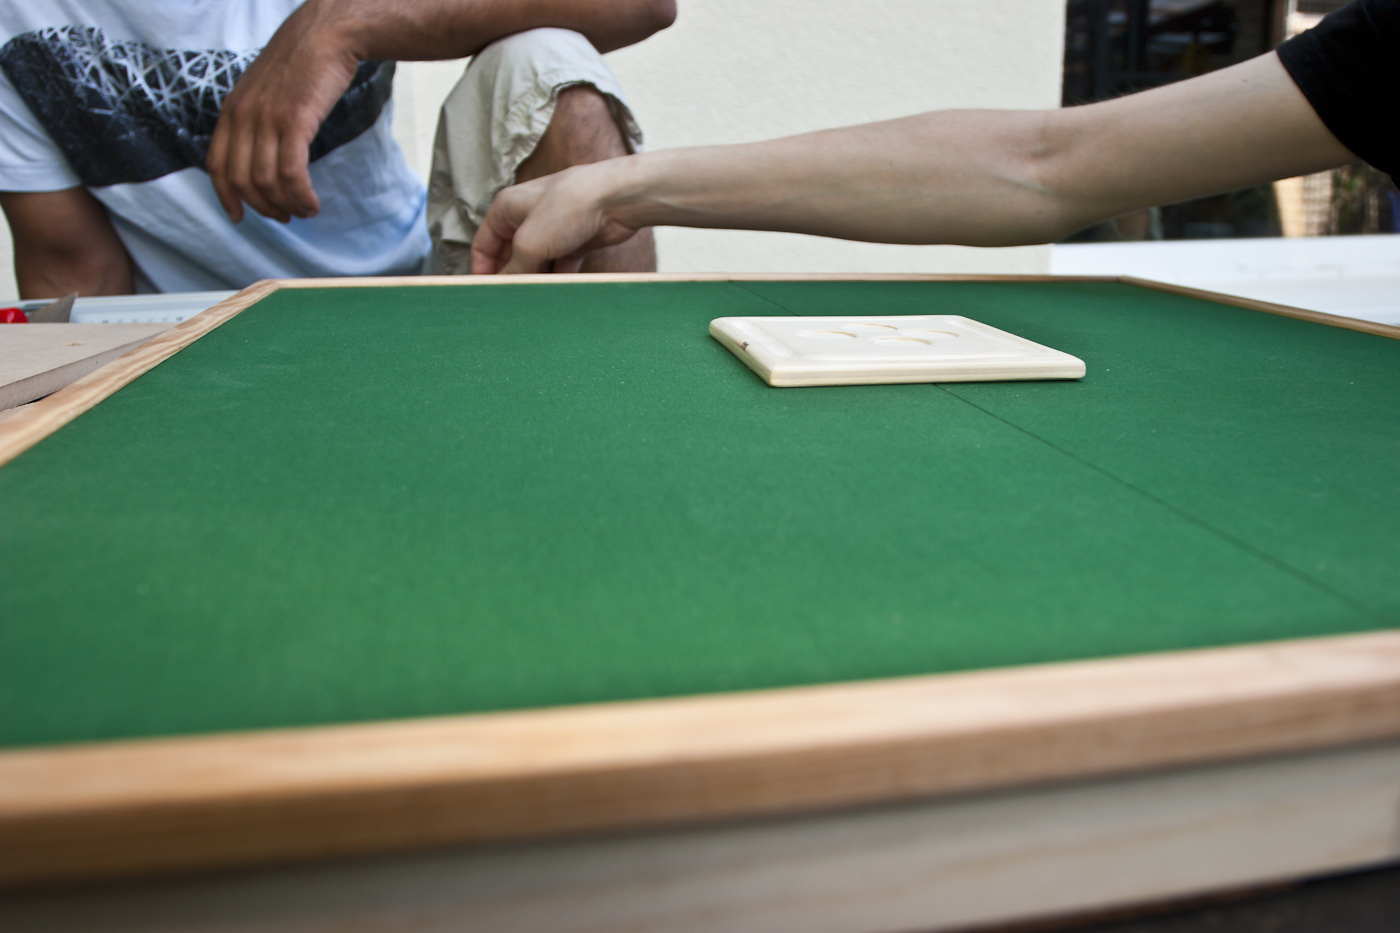
this is a almost perfect fit for the decorative covers, we achieved this by filing then down the last 10th of millimeters. the glueing was hard too as no small drop of glue should touch the fabricas for mounting the middle part on the table, we decided to use friggin strong magnets, looted from supermagnete.de, a german shop. drill a hole with a tight fit, we used regular UHU glue for fastening
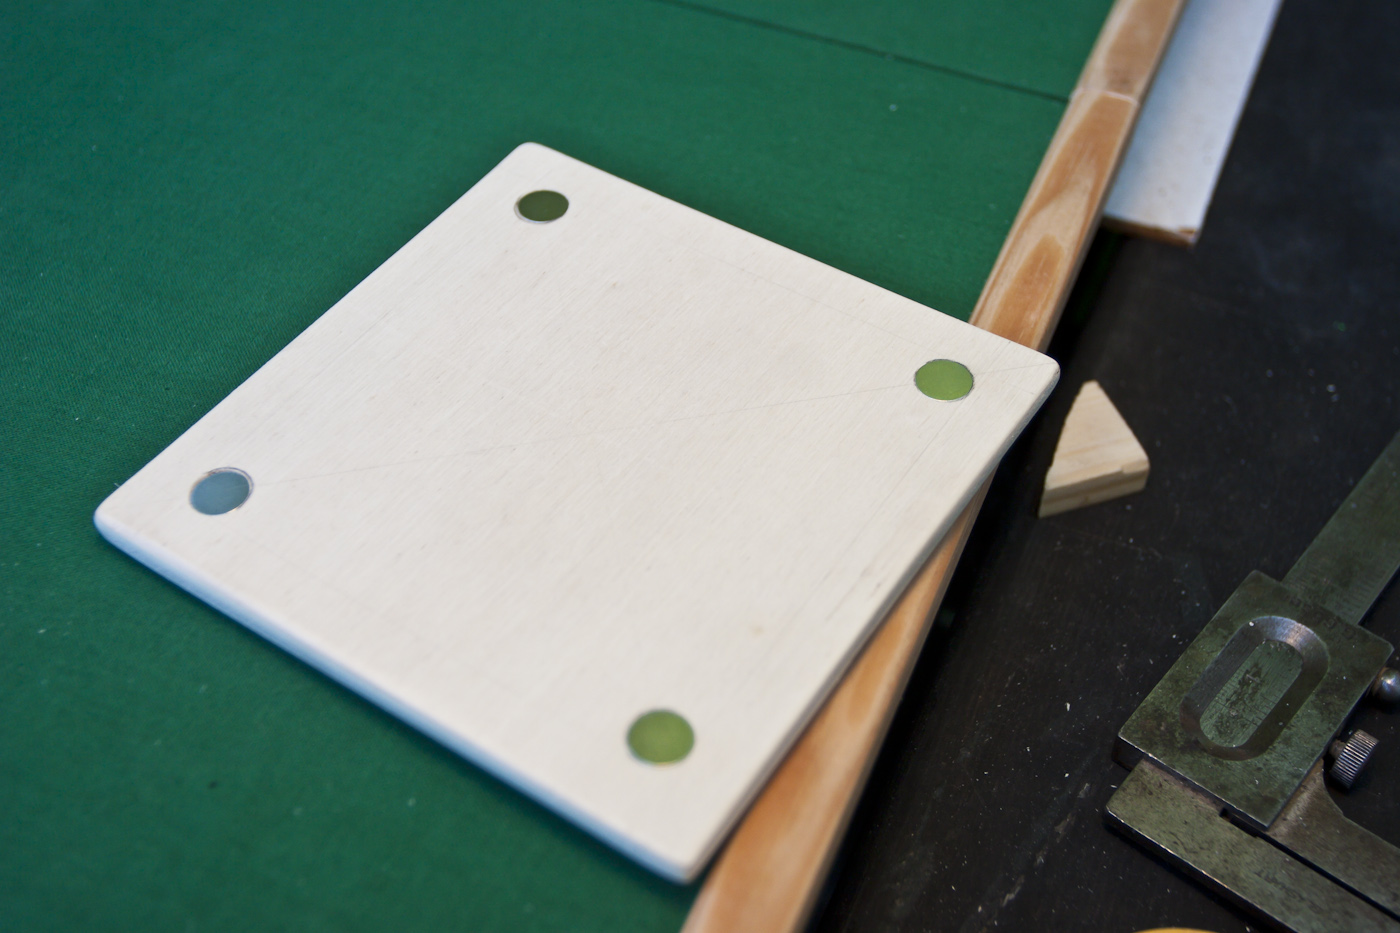
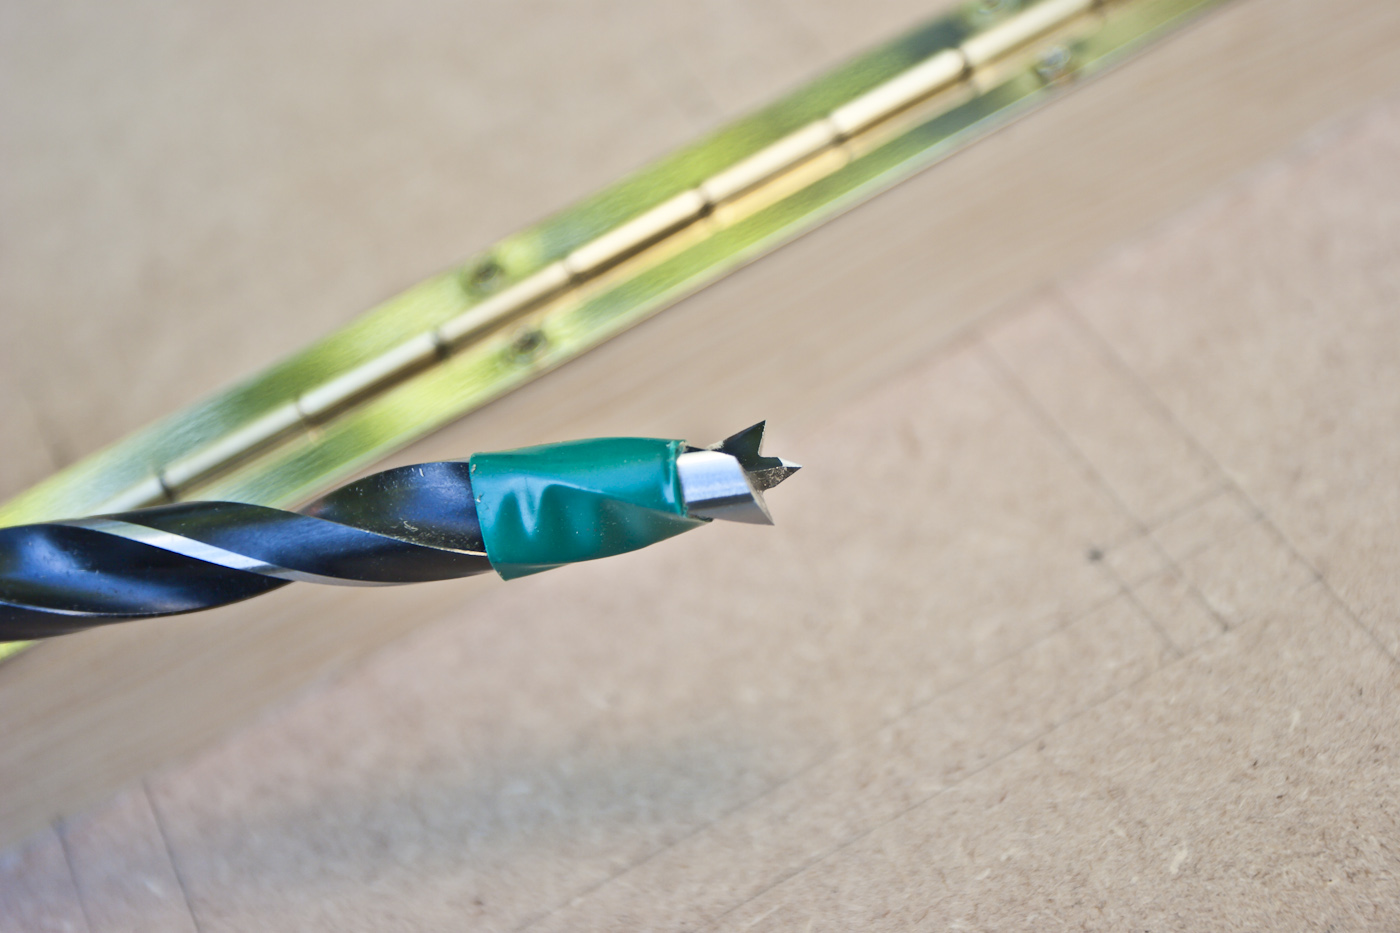
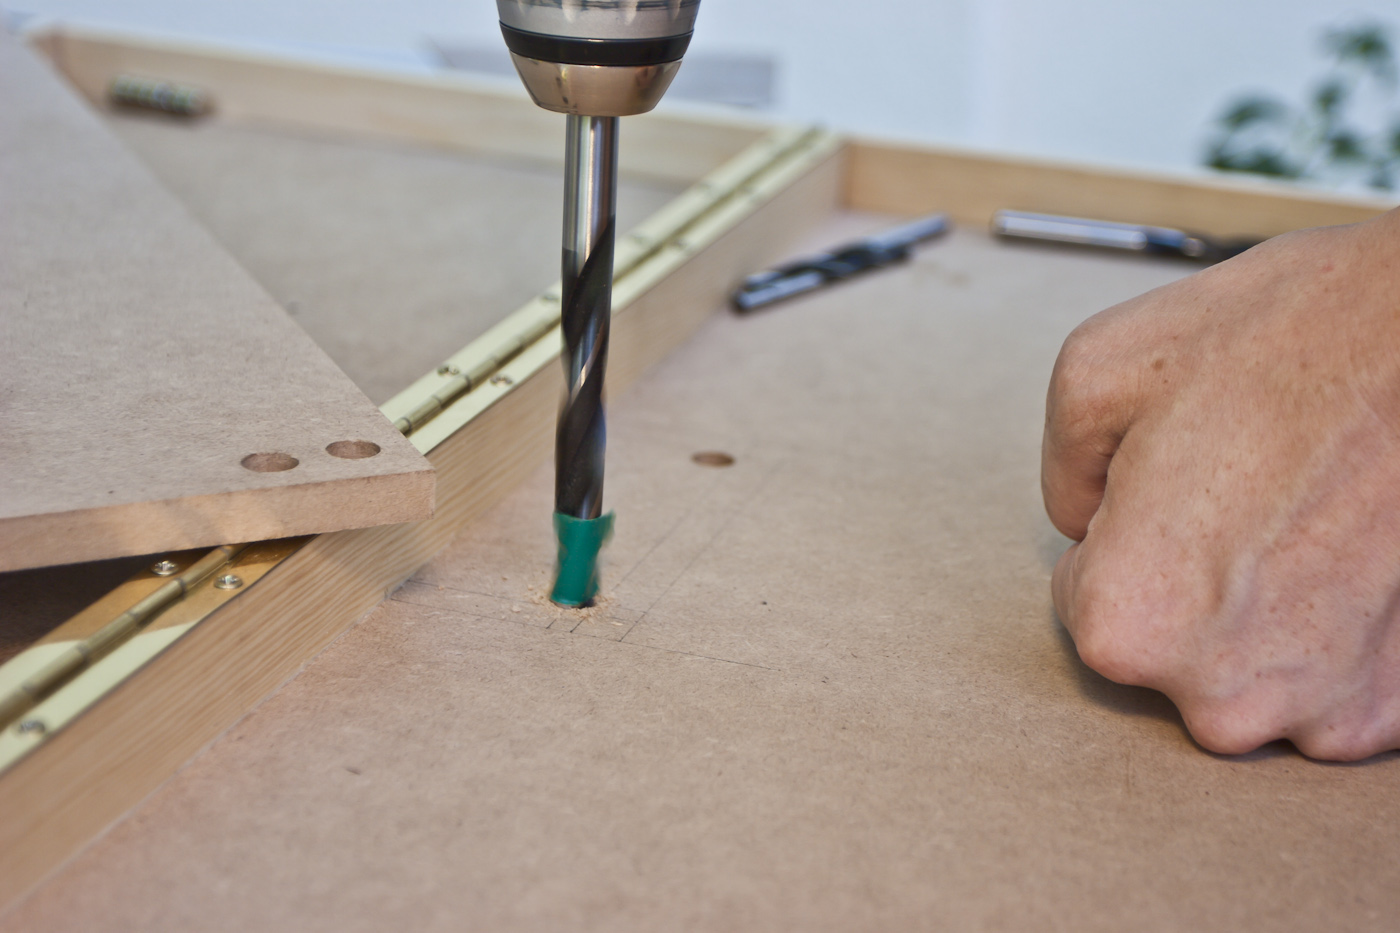
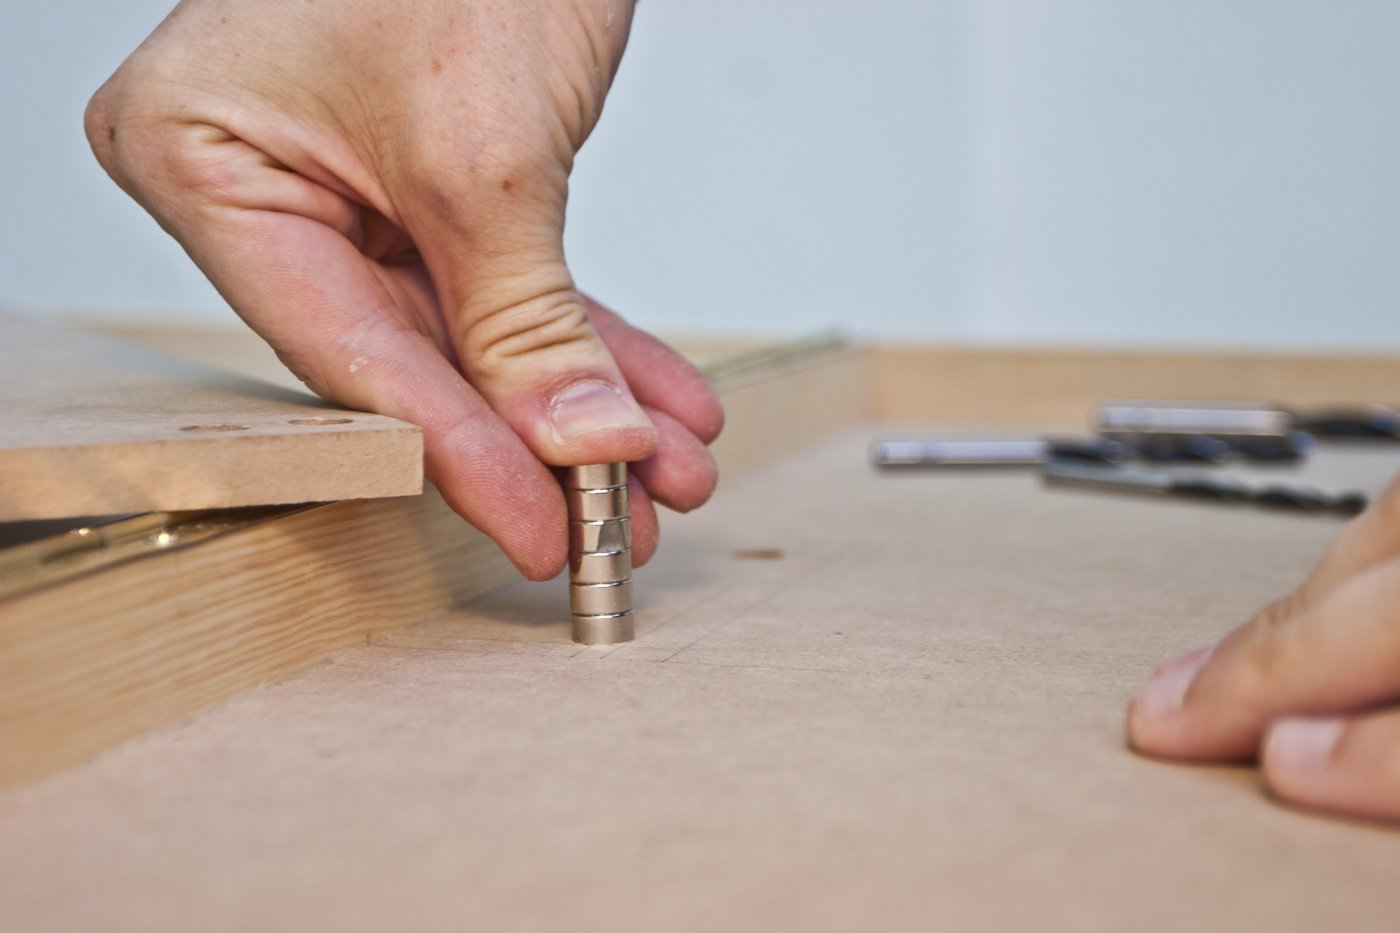
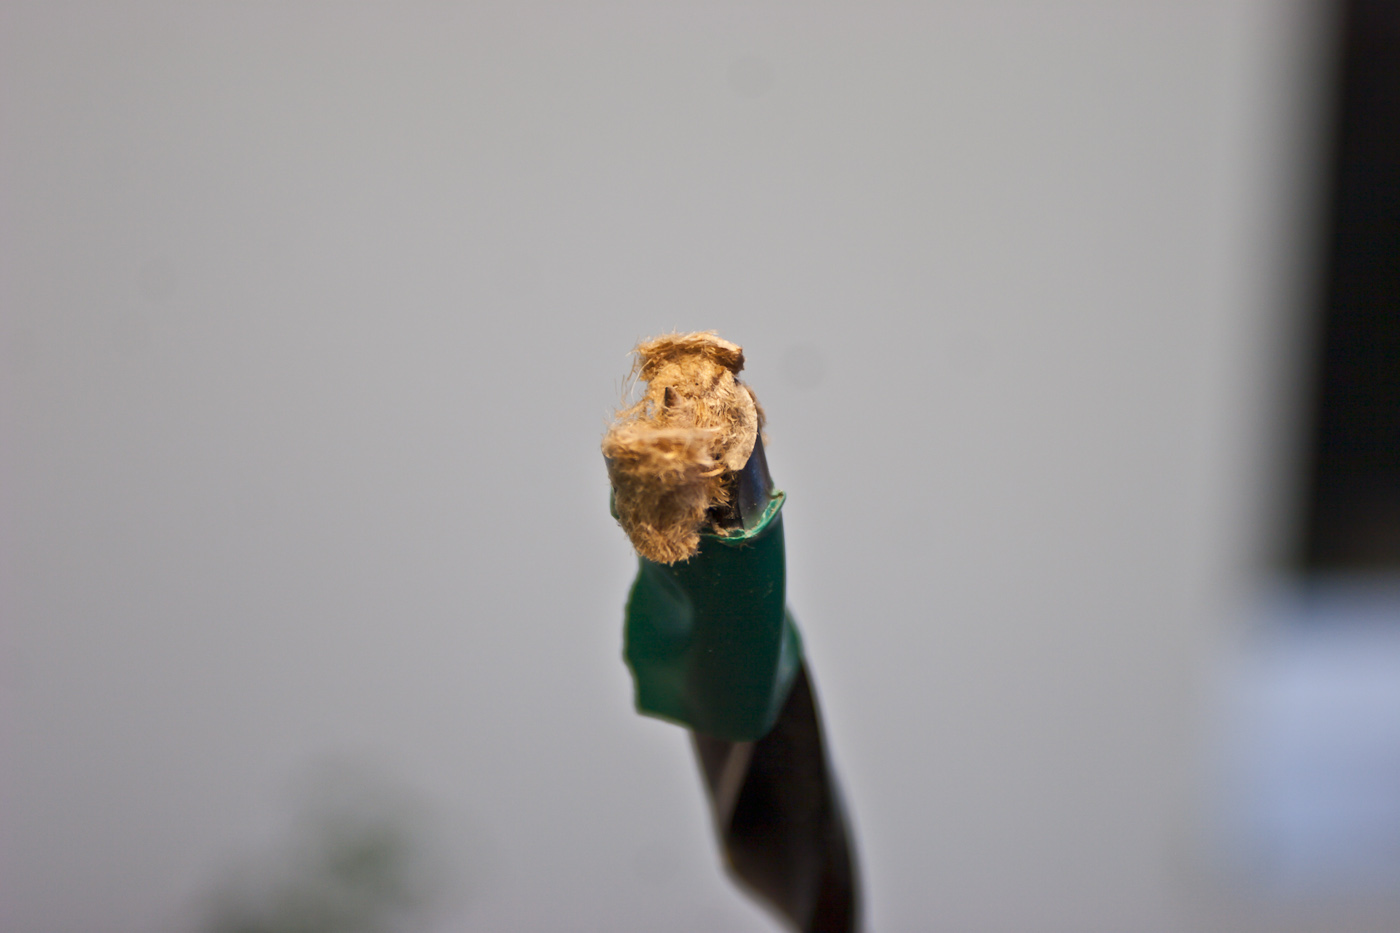
some test bores on reference woodlooks like this...and here the marks for the mounts...quality wood drills, hell yeah - notice the little needle at the front. you don't really want to poke this through the wood into your fabric, yet you want to have the magnets as near to to the top as possible.... sub-millimeter-work again!working...?... worked! press the magnets in for a test, this image also shows that you should handle them with care, as parts of them come off quite easilyand ... it WORKS!
final holes with magnets glued in...OUCH! i didn't look at the direction of the magnets ... luckily i only flipped one on both parts, so there is one position in which it fitsspeaking of which - nice fit ....
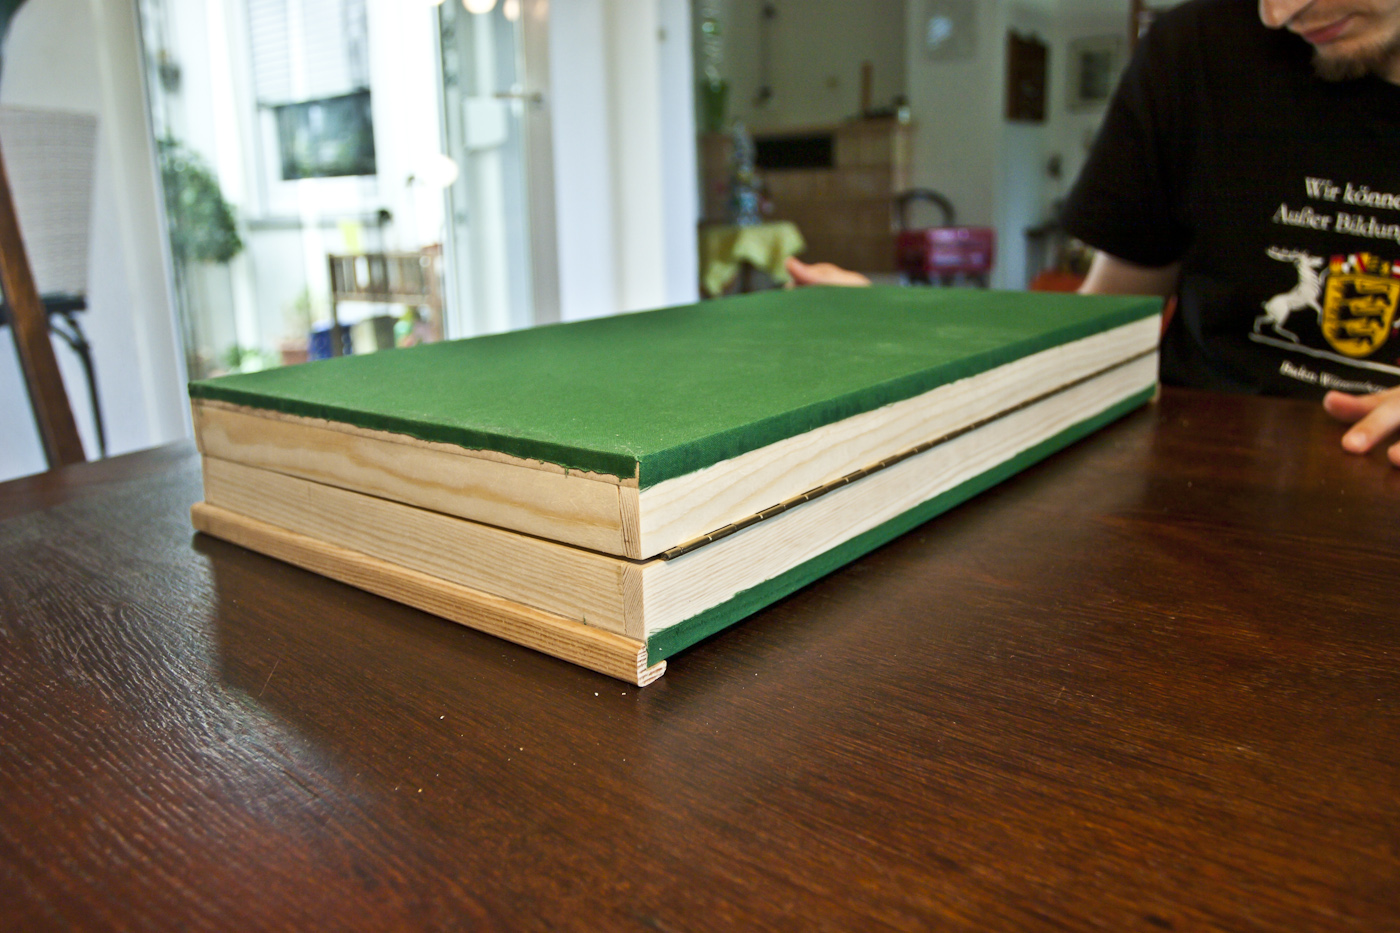
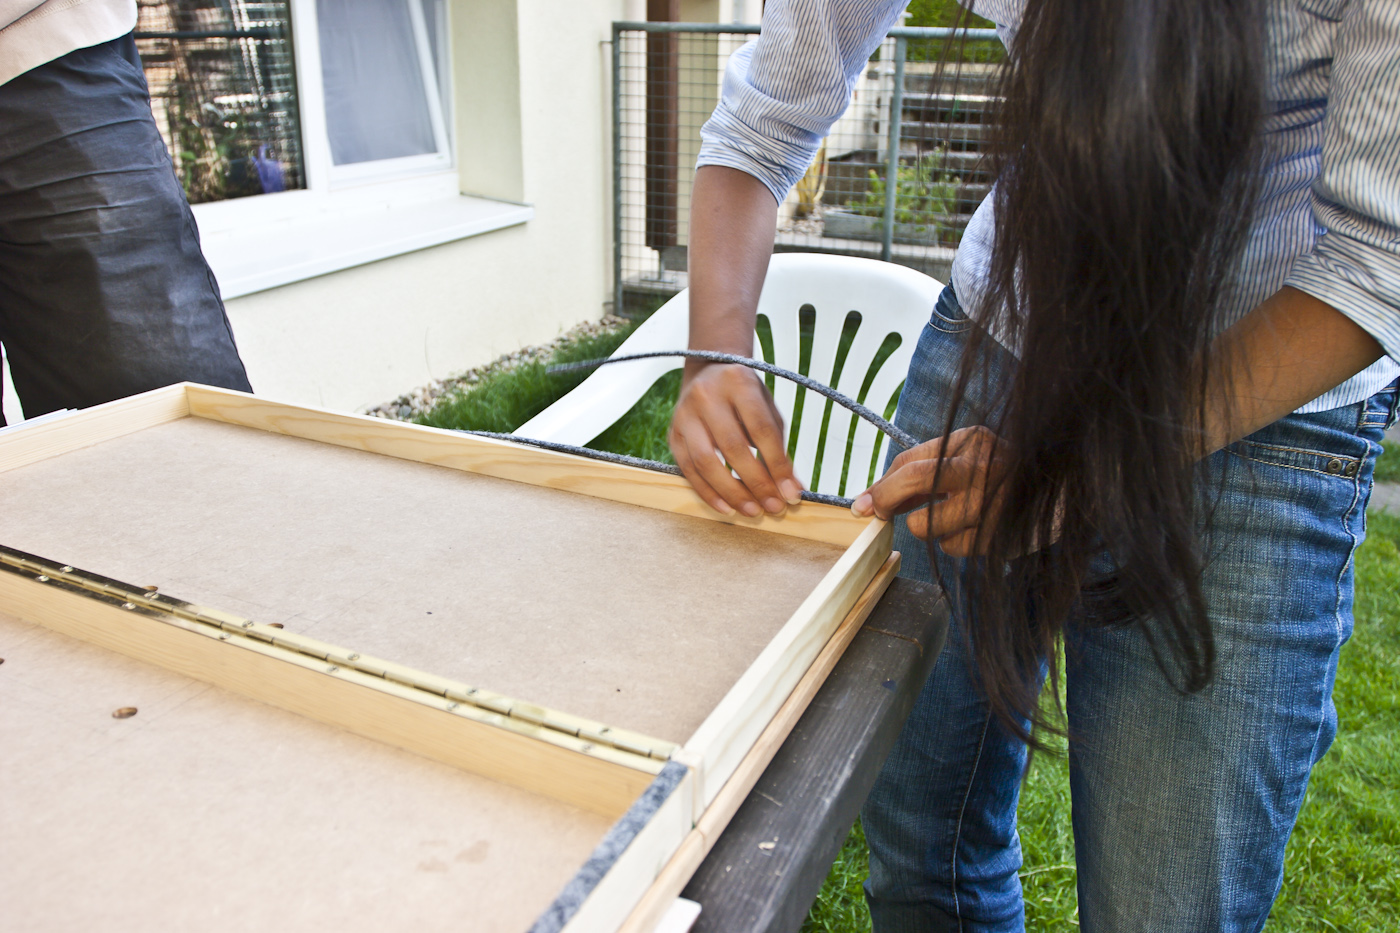
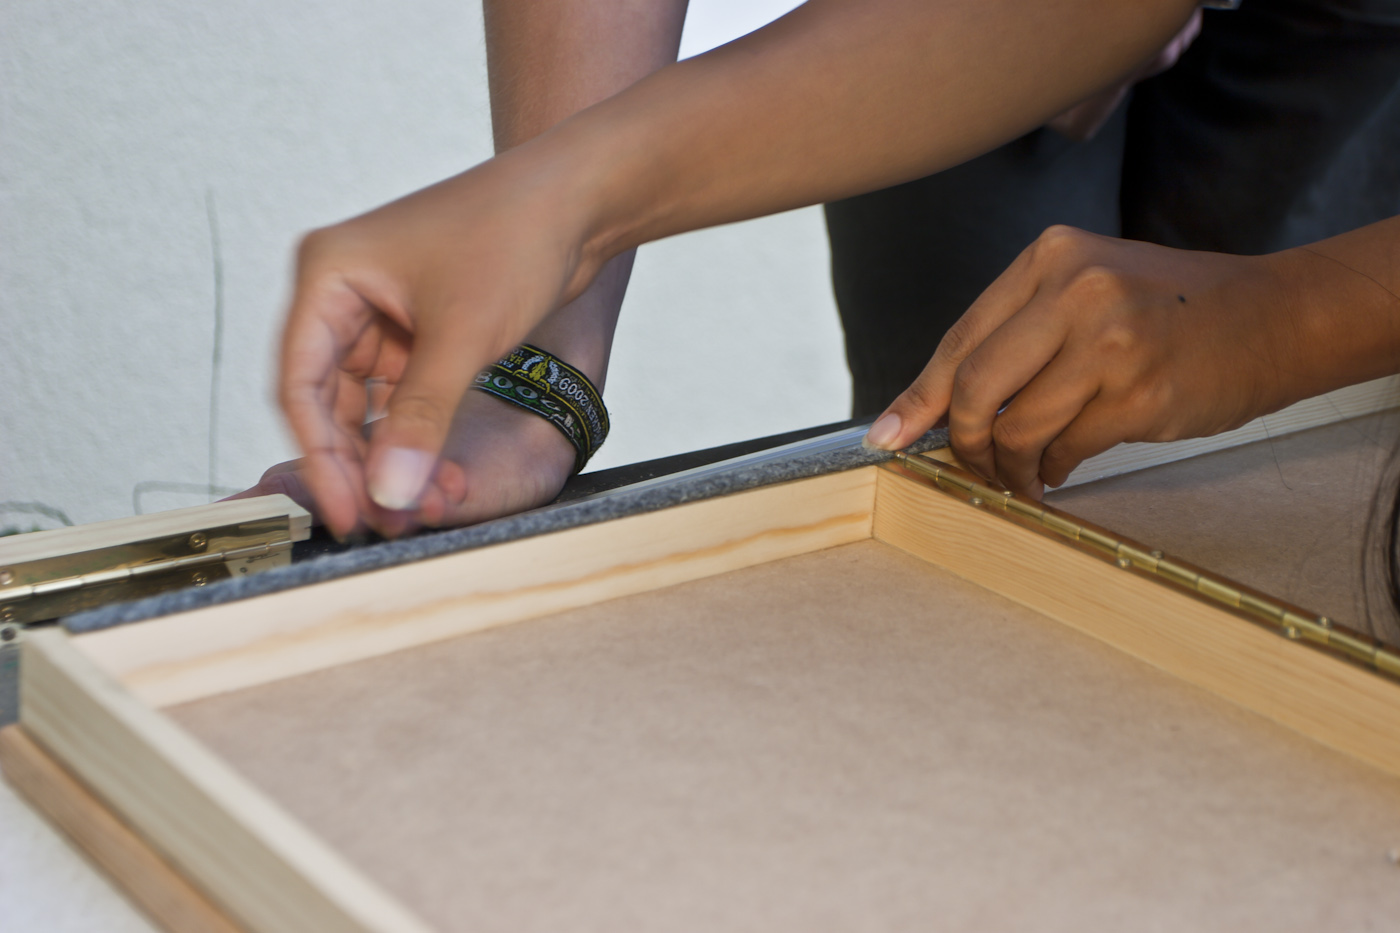
when the box is closed it will house the tiles, stick cabinets and stuff, so you don't want a gap (as produces by the hinge) when closed. we achieve this - as well as protecting the table it will stand on - by using some felt along the edges (each sides only head or side)
for fastening this we use "fixo gum", a kind of glue that will stick nicely, but come off if you really want it - handy if we want to upgrade to a nicer stand sometime...
As for some final pictures – with tiles, cool lighting and all – i promise to add them soon :). I hope you enjoyed the idea of this table, and – maybe – build yourself a similar mahjongg table too. We’re also always eager to hear suggestions on the design!
3 thoughts on “Mahjongg madness, DIY Mahjongg table”
Just for the record the automatic mahjong table does not need constant repairs. We have sold many tables in the last three years that have never needed service. They are still working fine.
I emailed you about a year ago. I would apreciate if you remove the link to my website stating that our automatic mahjong tables break down and need constant repairs. Like I sid in the previous comment none of the tables we sold need repairs. Four years and none required repairs. Your friend must have purchased a cheap model. They are not all the same. We sell only quality. We are an american company who backs up what we sell 100%. I would not spred rumors about your website. Please respond.
Charles Vera
Versatile Machinery USA
Tampa FL
813-516-2455


Just for the record the automatic mahjong table does not need constant repairs. We have sold many tables in the last three years that have never needed service. They are still working fine.
Oh, i\’ve been told they do from some guys who own some in germany, i am truly sorry for spreading that rumor then!
I emailed you about a year ago. I would apreciate if you remove the link to my website stating that our automatic mahjong tables break down and need constant repairs. Like I sid in the previous comment none of the tables we sold need repairs. Four years and none required repairs. Your friend must have purchased a cheap model. They are not all the same. We sell only quality. We are an american company who backs up what we sell 100%. I would not spred rumors about your website. Please respond.
Charles Vera
Versatile Machinery USA
Tampa FL
813-516-2455