Who doesn’t like a good hanpai in a starting hand? Who wouldn’t love a dora-kan in every hand? This article will help you getting the flow with a better starting hand – it will describe how to sew you own giant Mahjongg Tile Plushie (Chun)!
Please read on for a more detailed howto on how to sew one…
So, first is what you will need:
1 Pcs: 34x40cm of white fluffy cloth
1 Pcs: 34x40cm of green (or bamboo-ish brown) fluffly cloth
2 Pcs: 34×9.5cm of the same white fluffy stuff
2 Pcs: 34×9.5cm of the same green (or bamboo) stuff
As always i will post the progress pictures from making the tile here, sub-texted with instructions what to do:
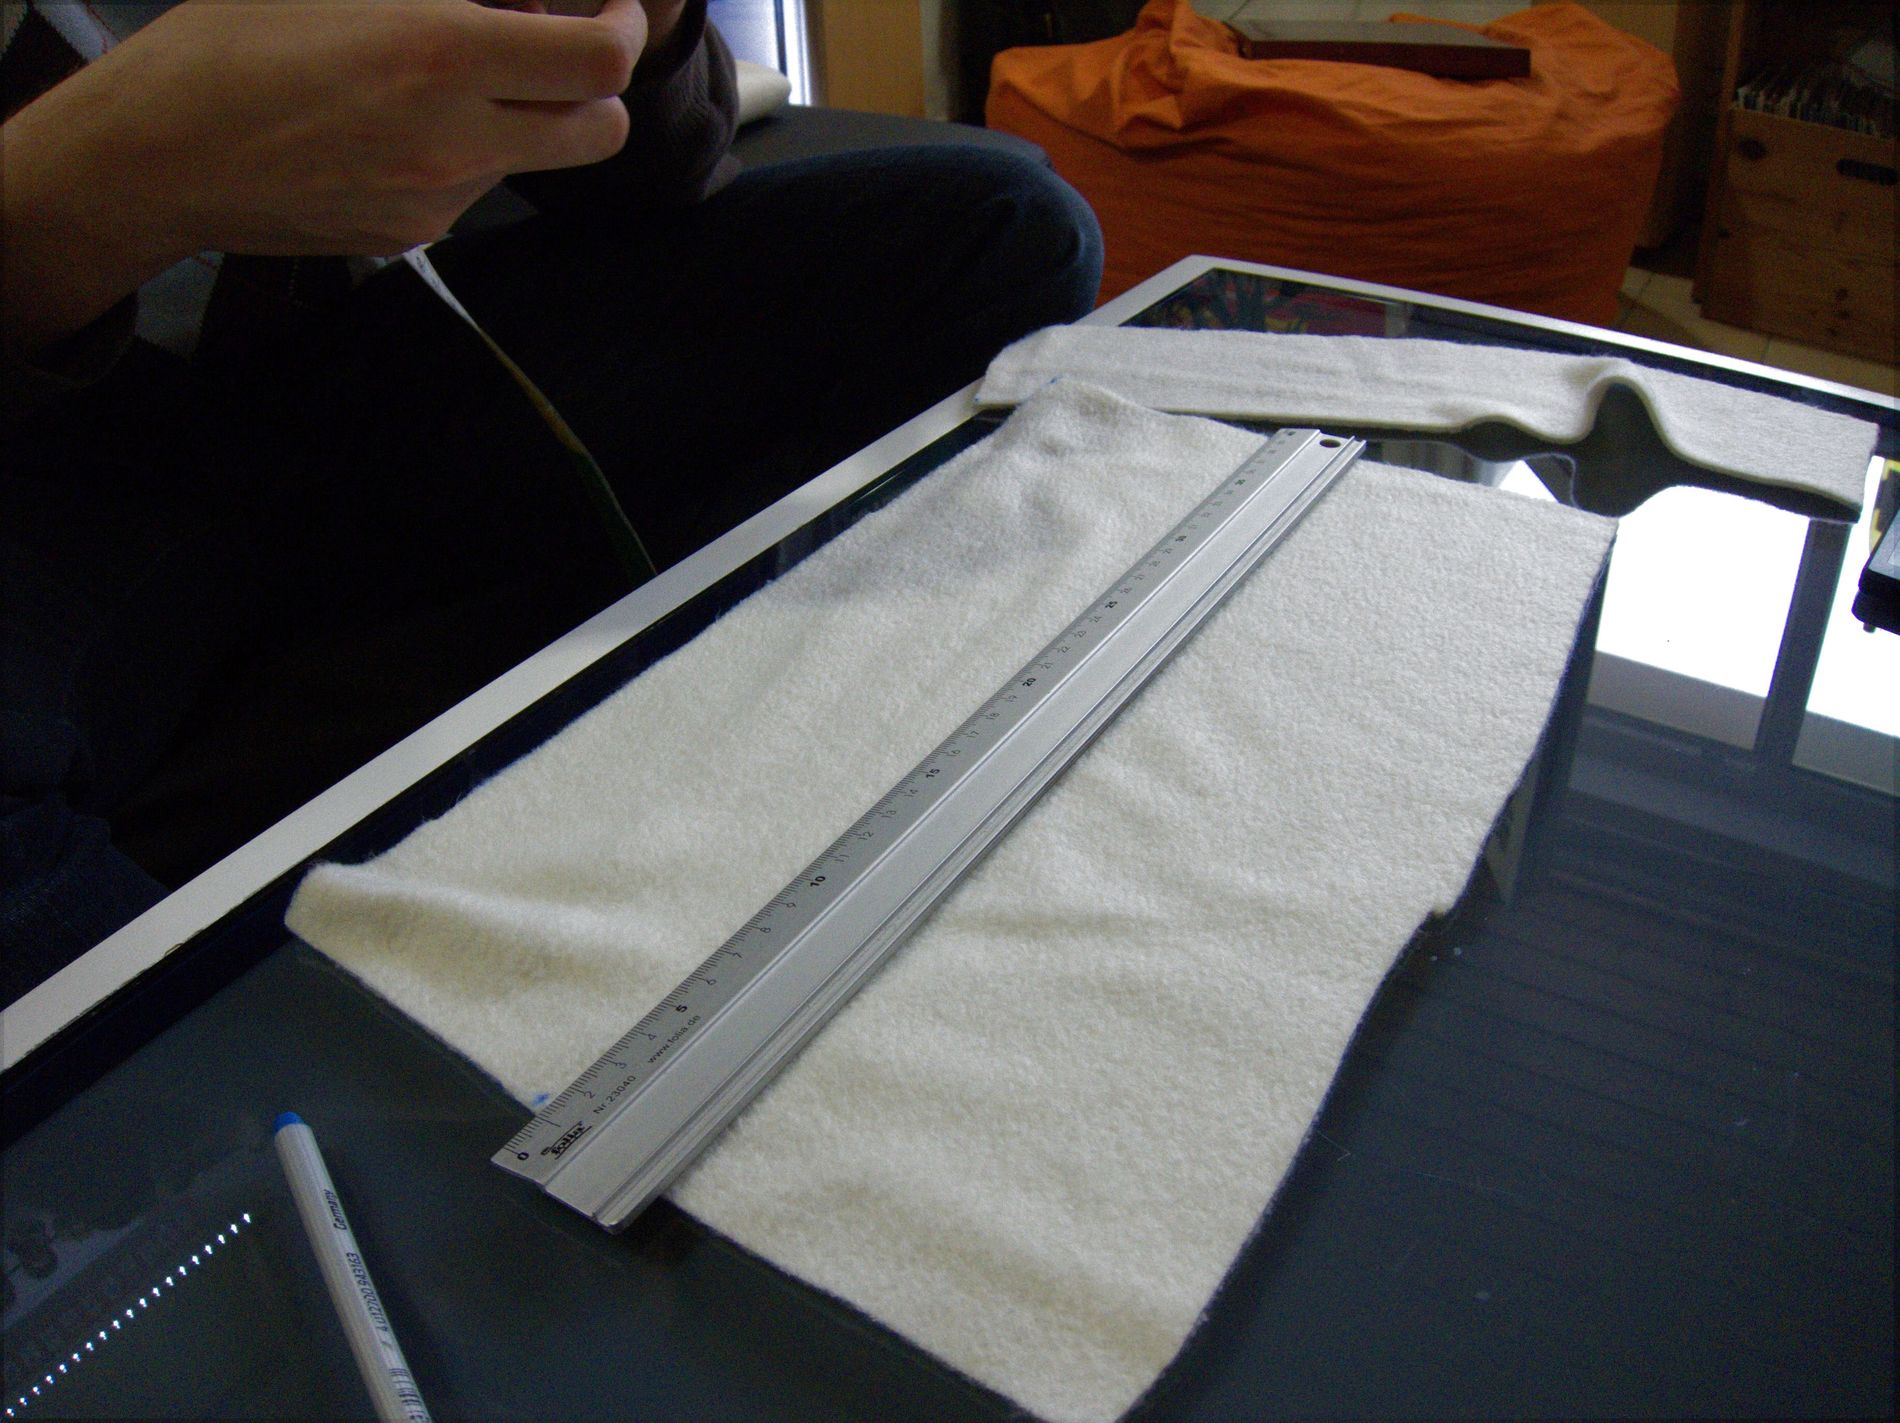
This illustrates my choice of fabric – it’s nice fluffly, comfy to lie on … perfect. Also, the white isn’t completely white but just a tad “creme” to better resemble that mahjongg tiles are made of bones
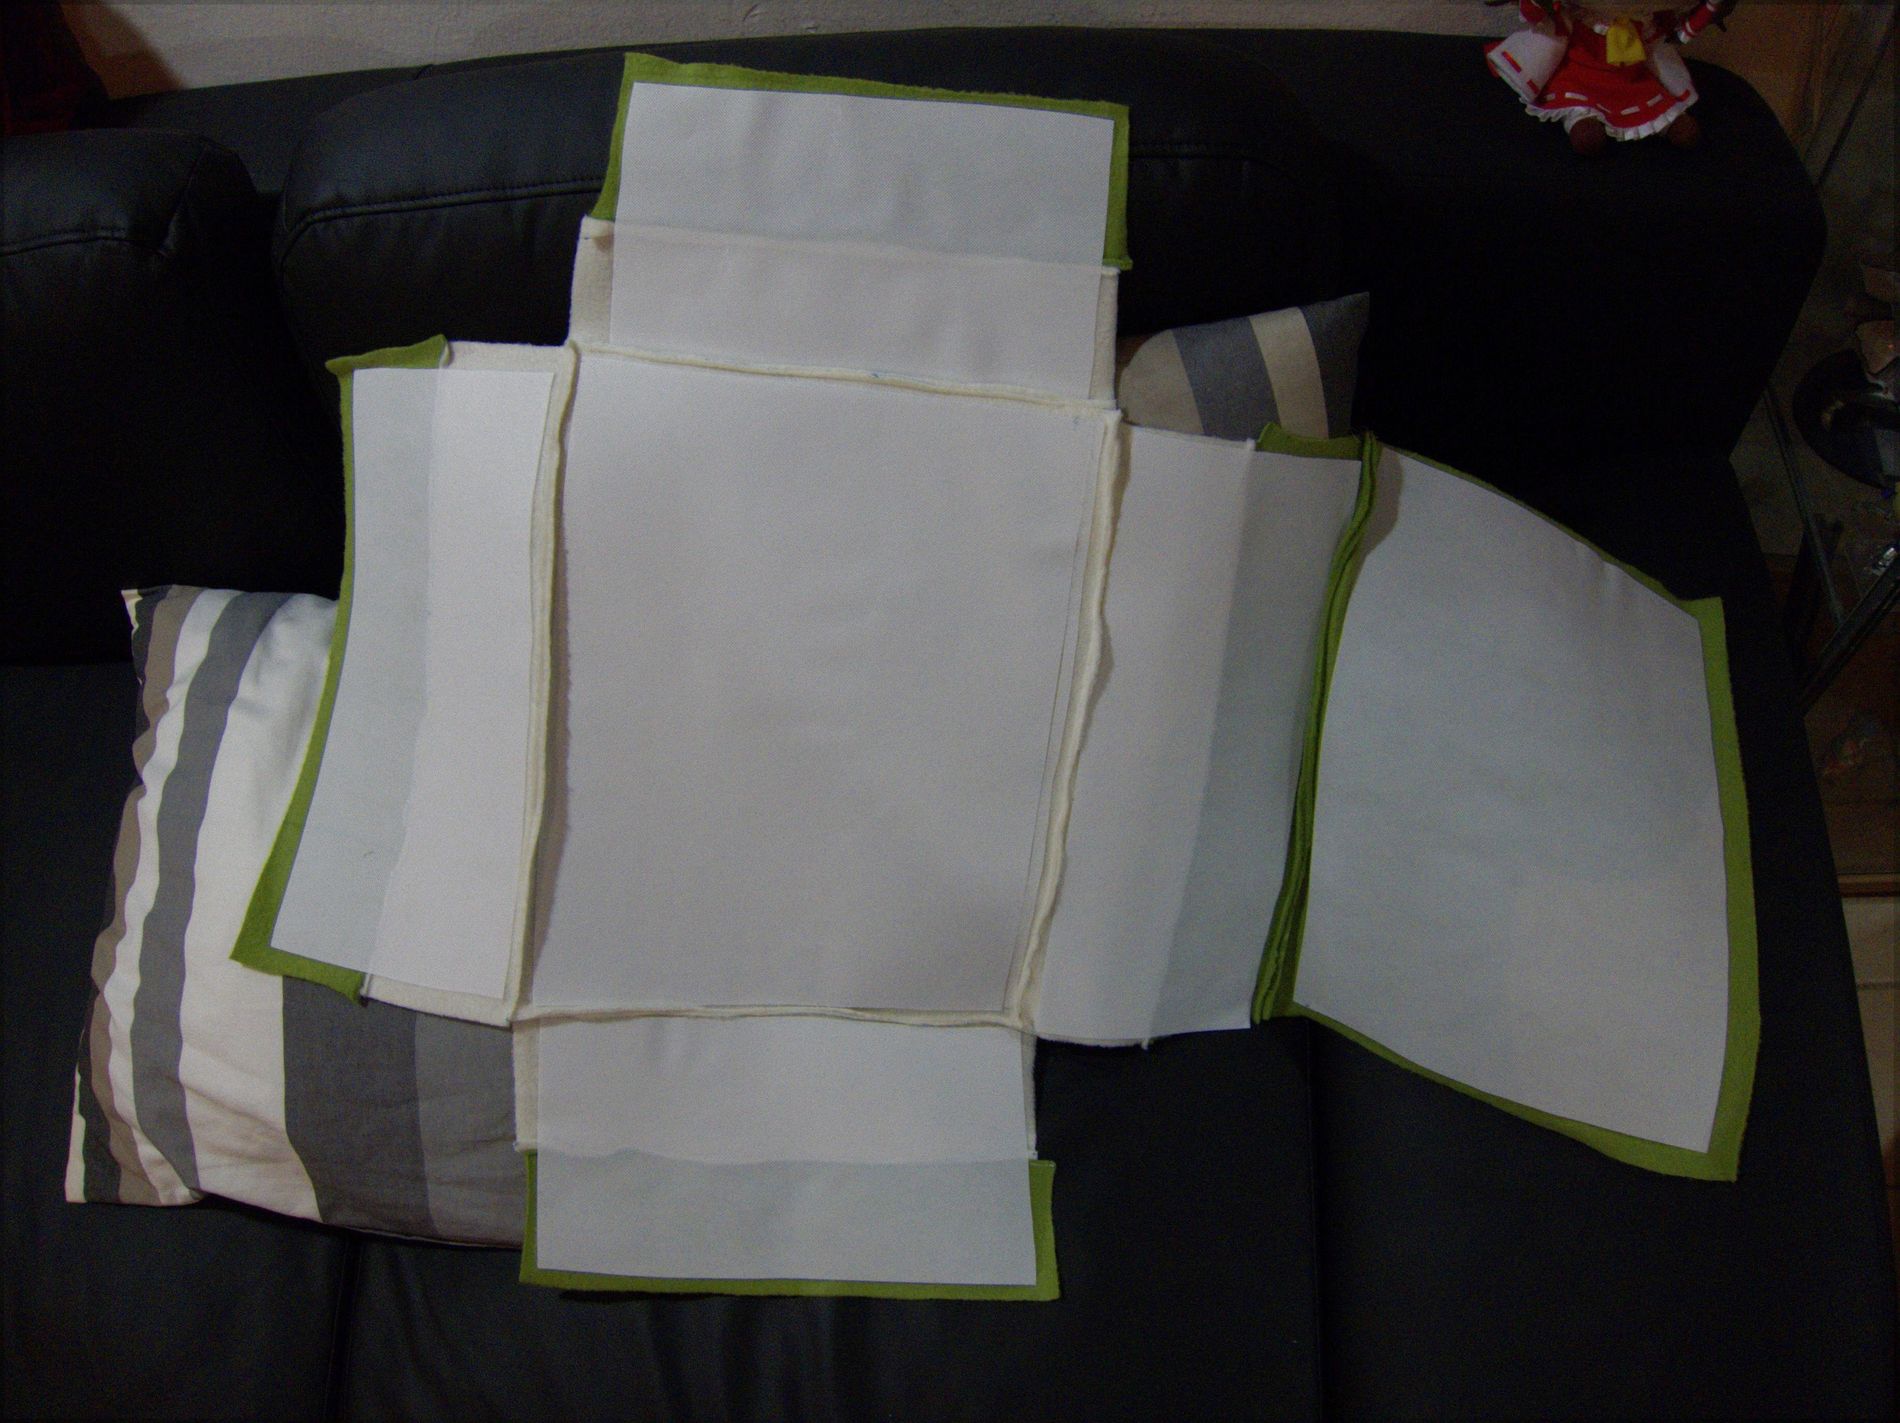
Cut the fabric into the sizes listed in the bill of materials above
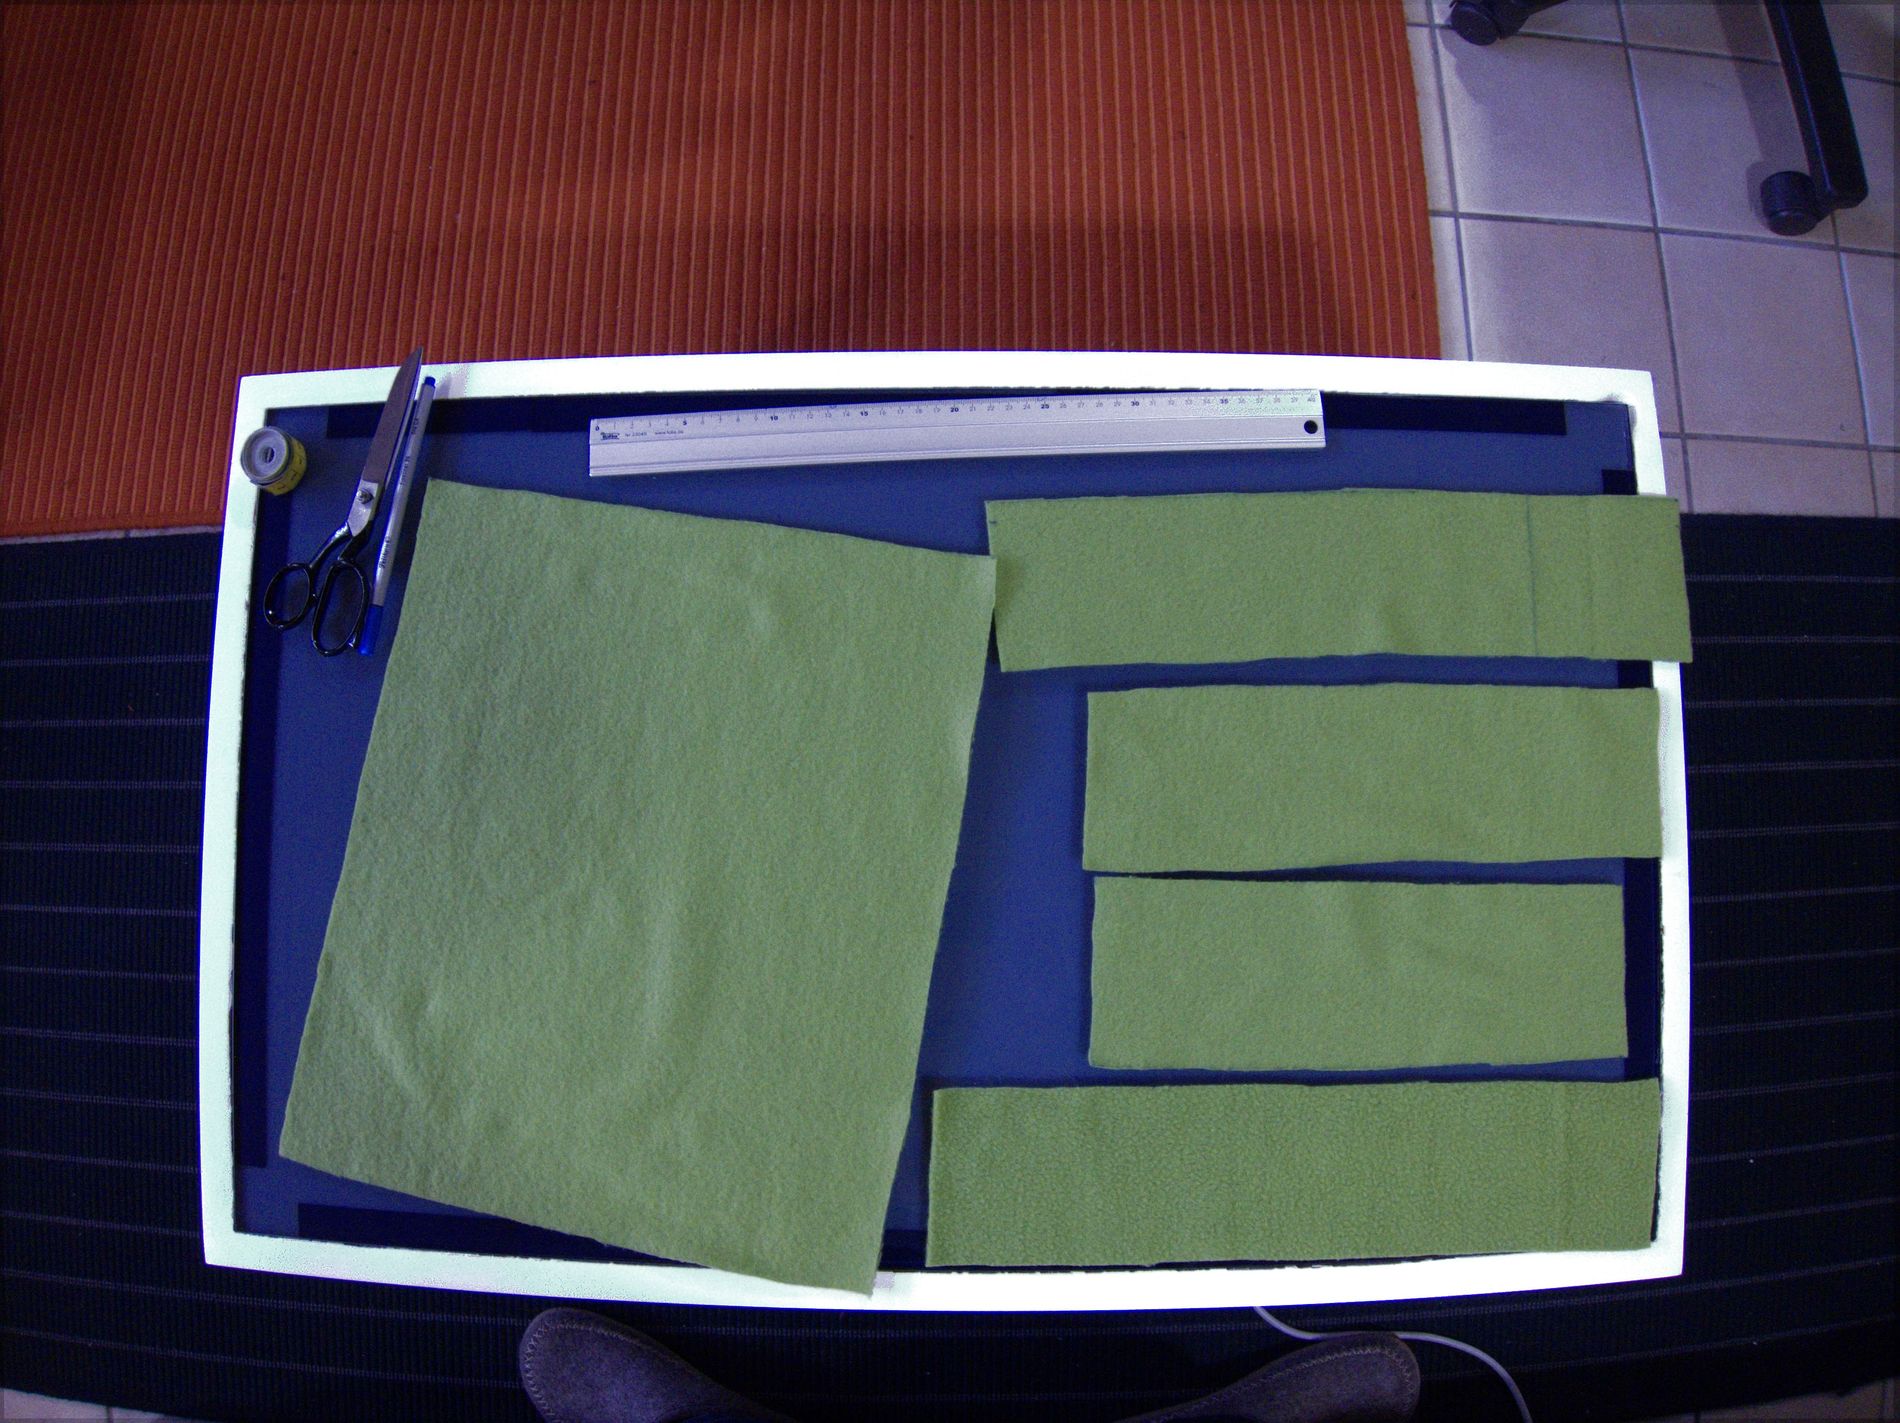
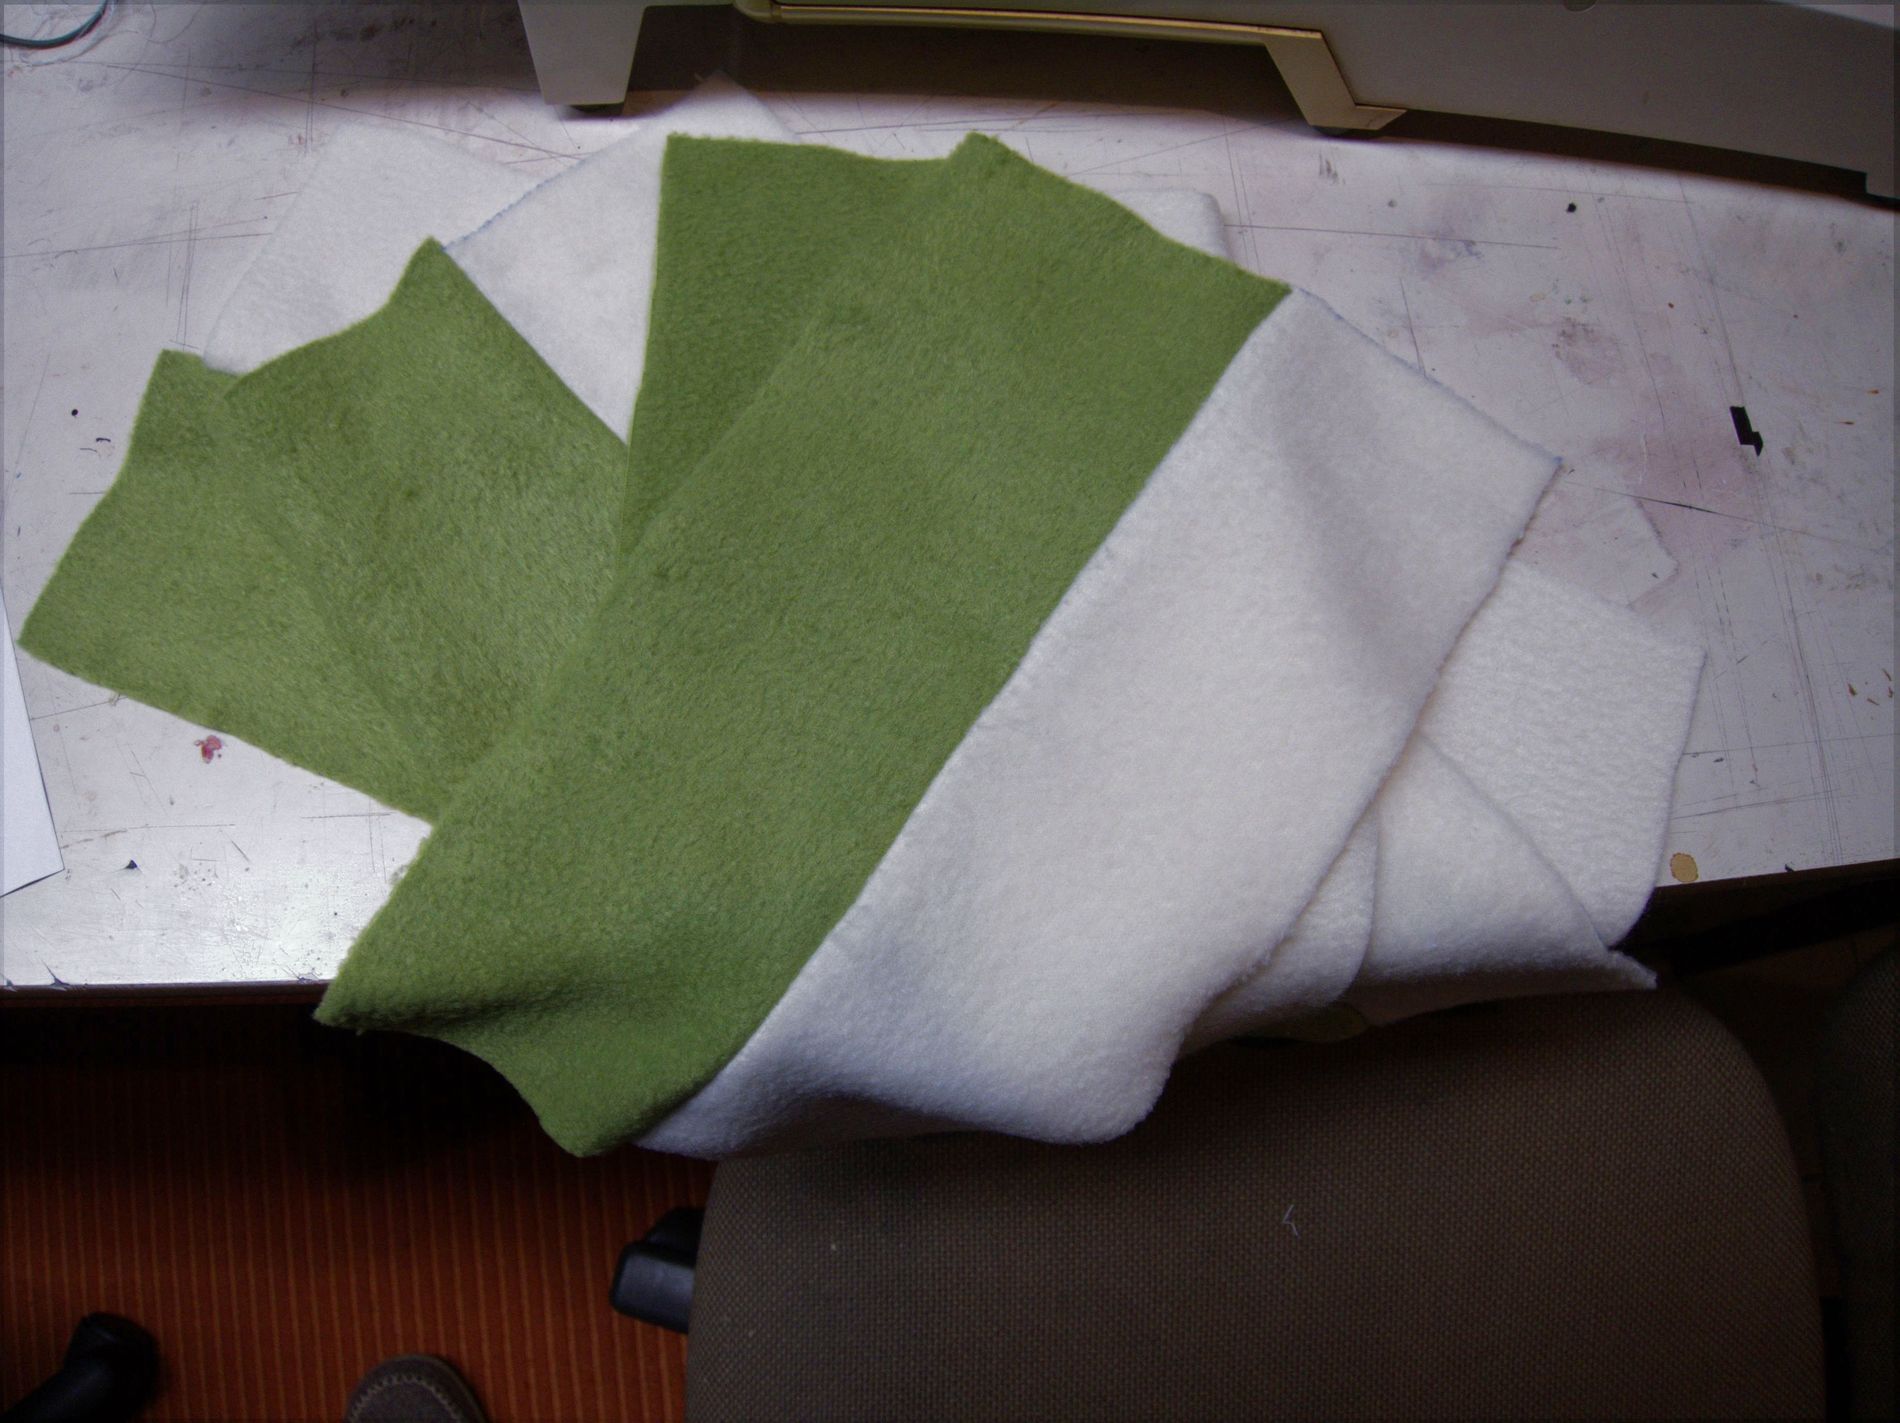
These are the pieces you’ll need (of the green/bamboo)
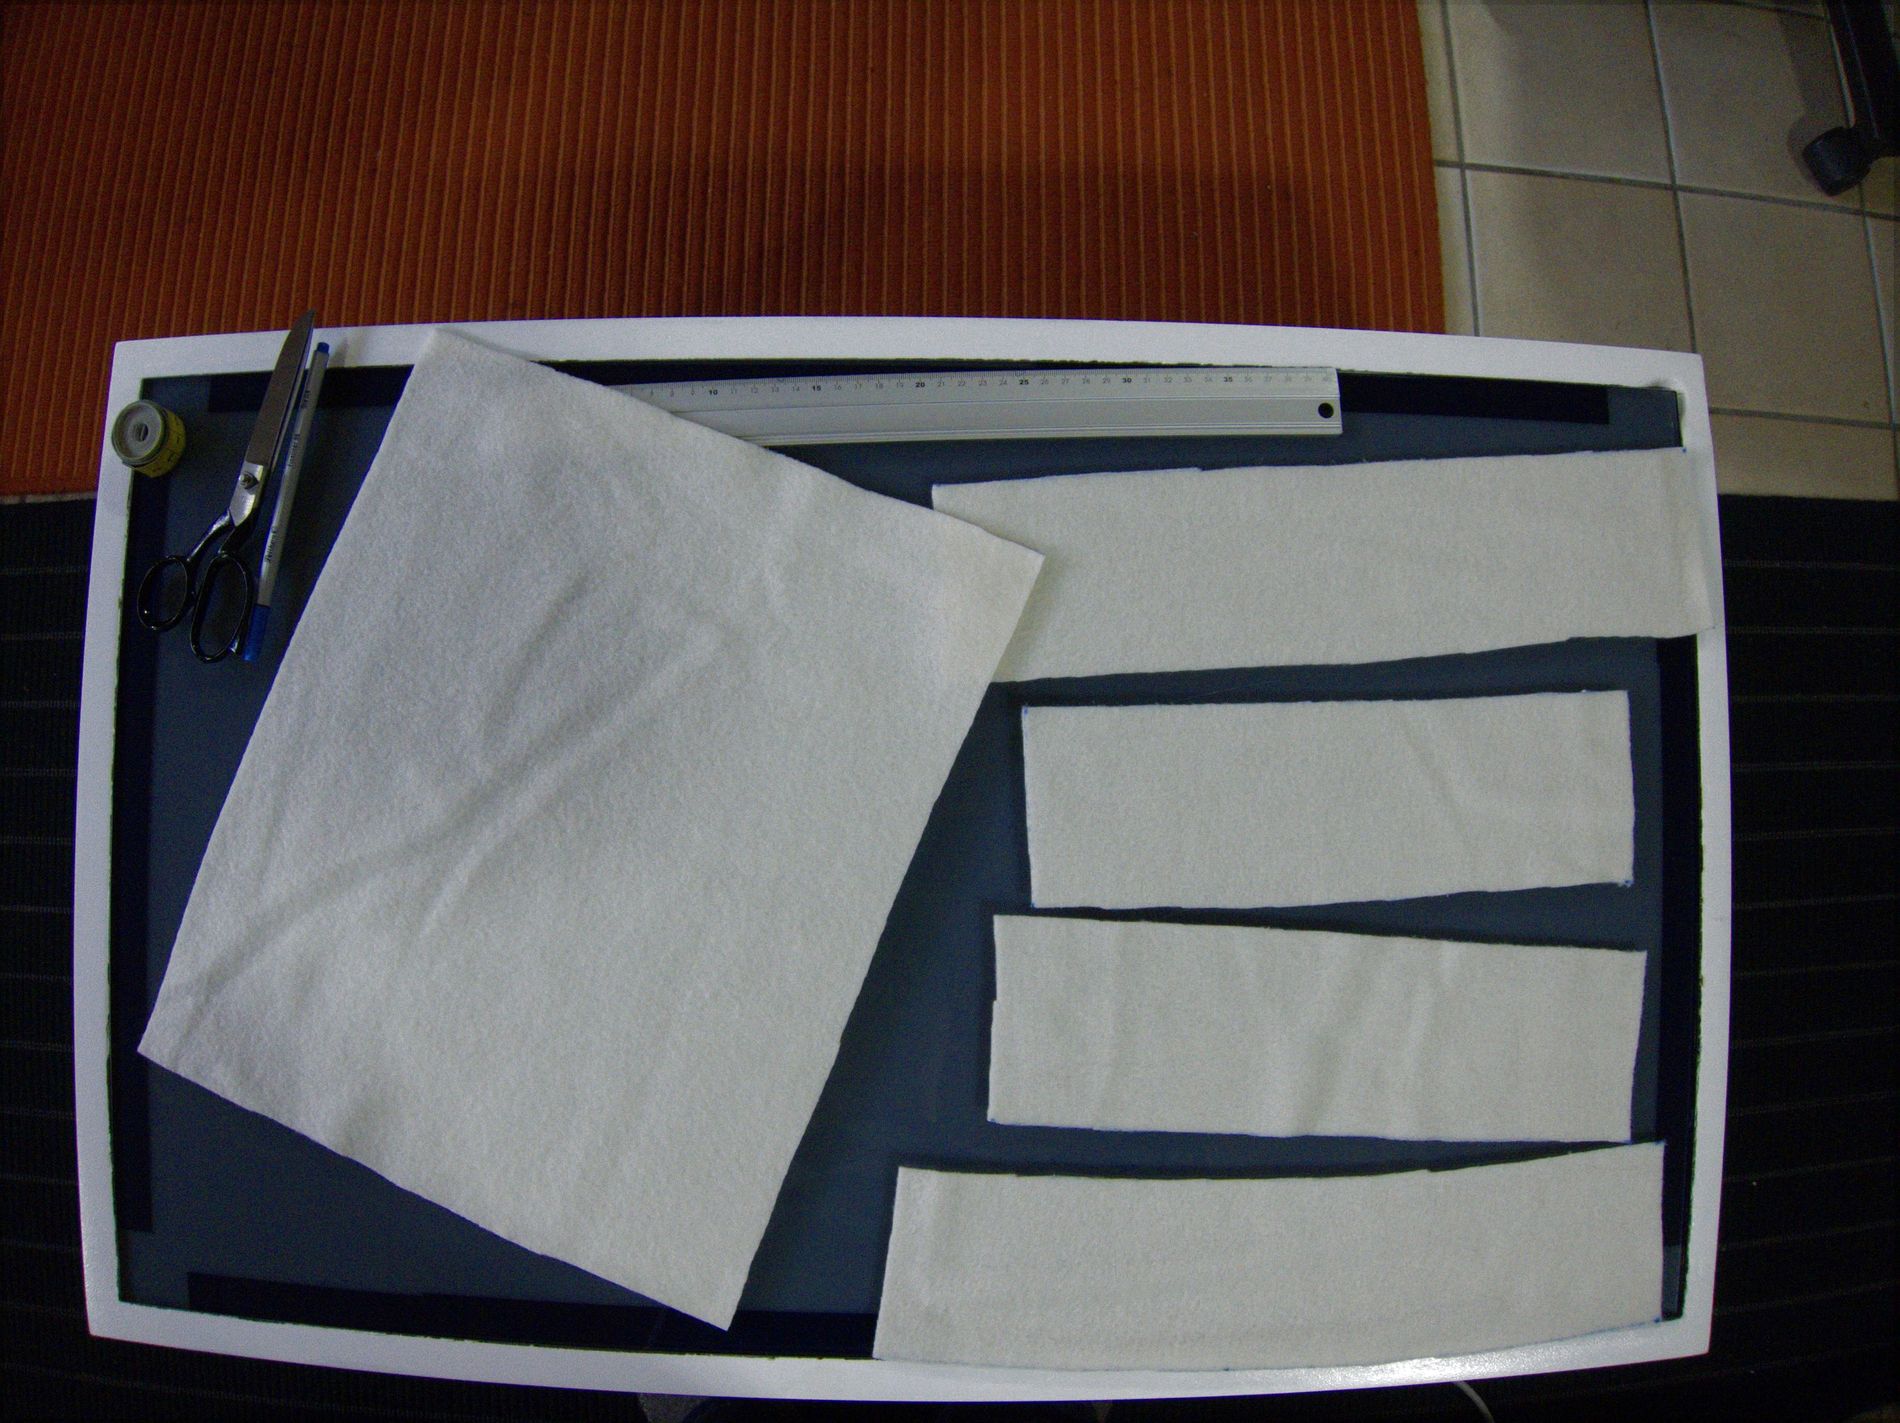
Same for white…
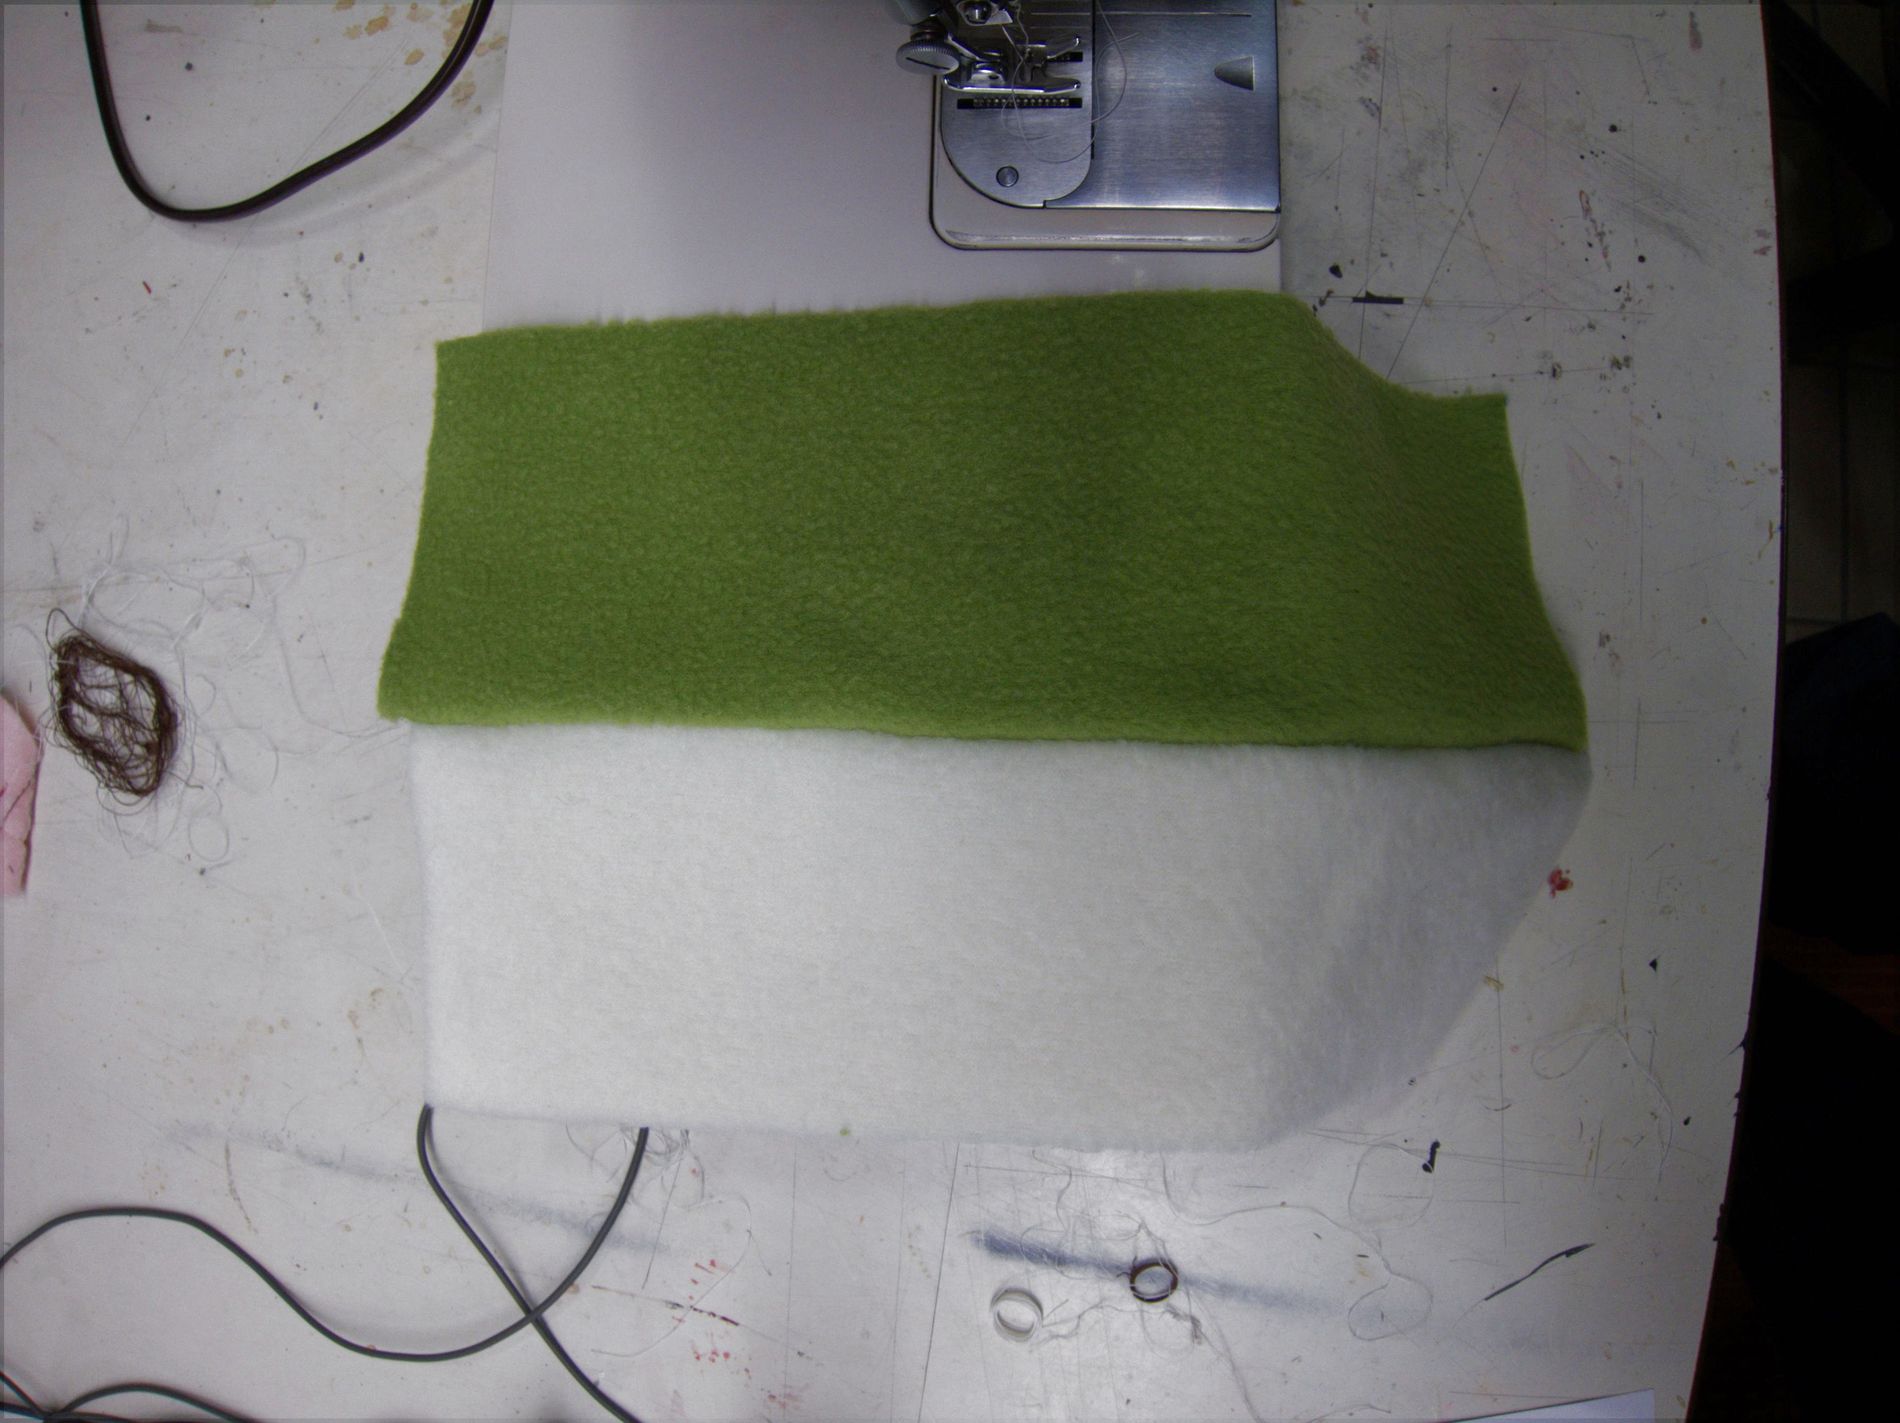
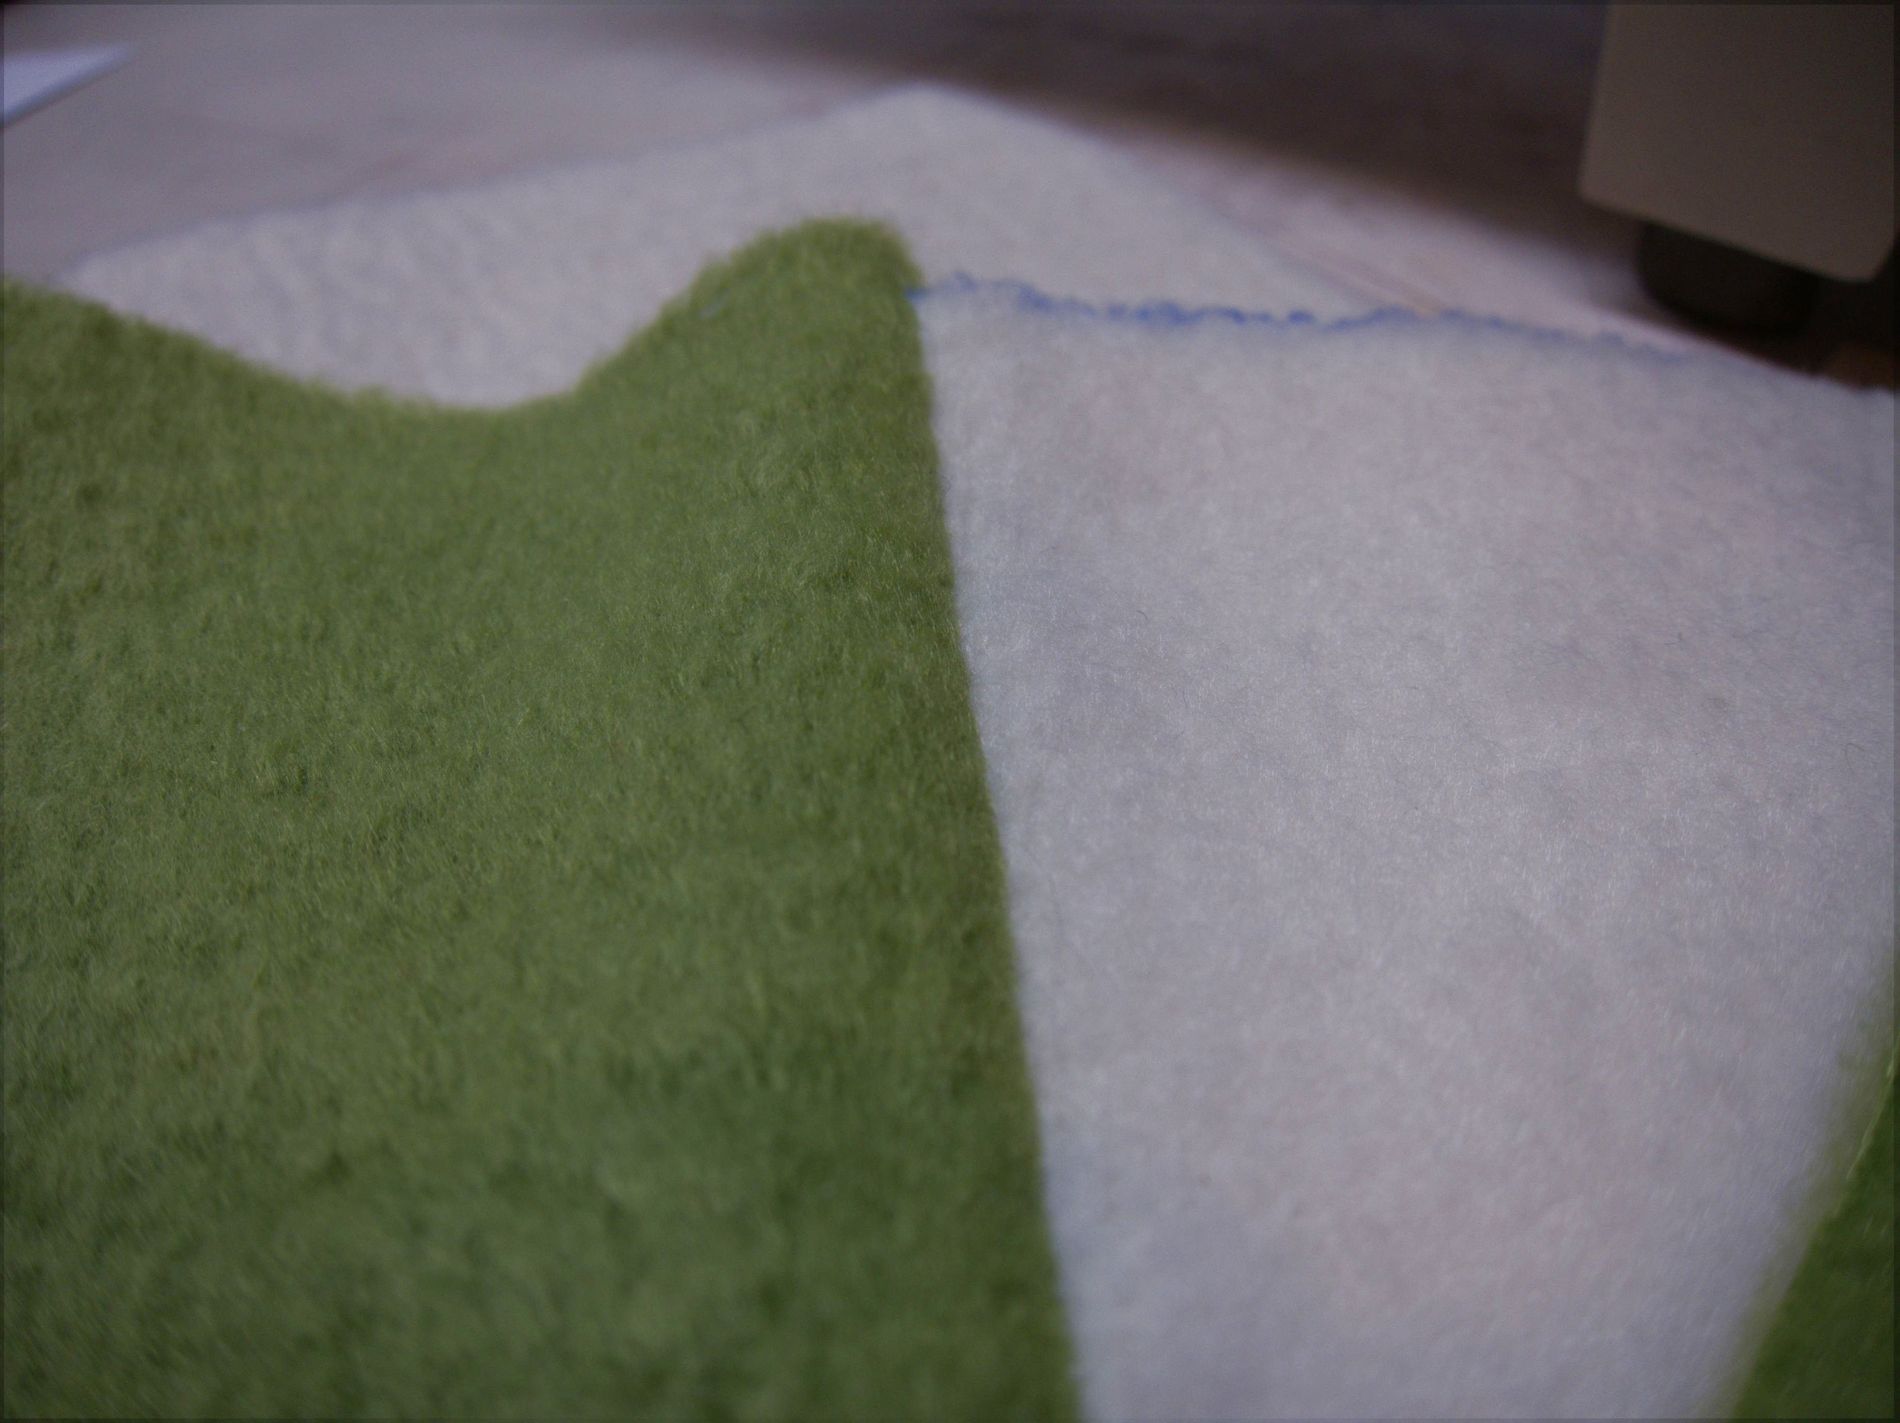
Then first sew the smaller bars together at the longer edge (always one green + one white)
seams like this
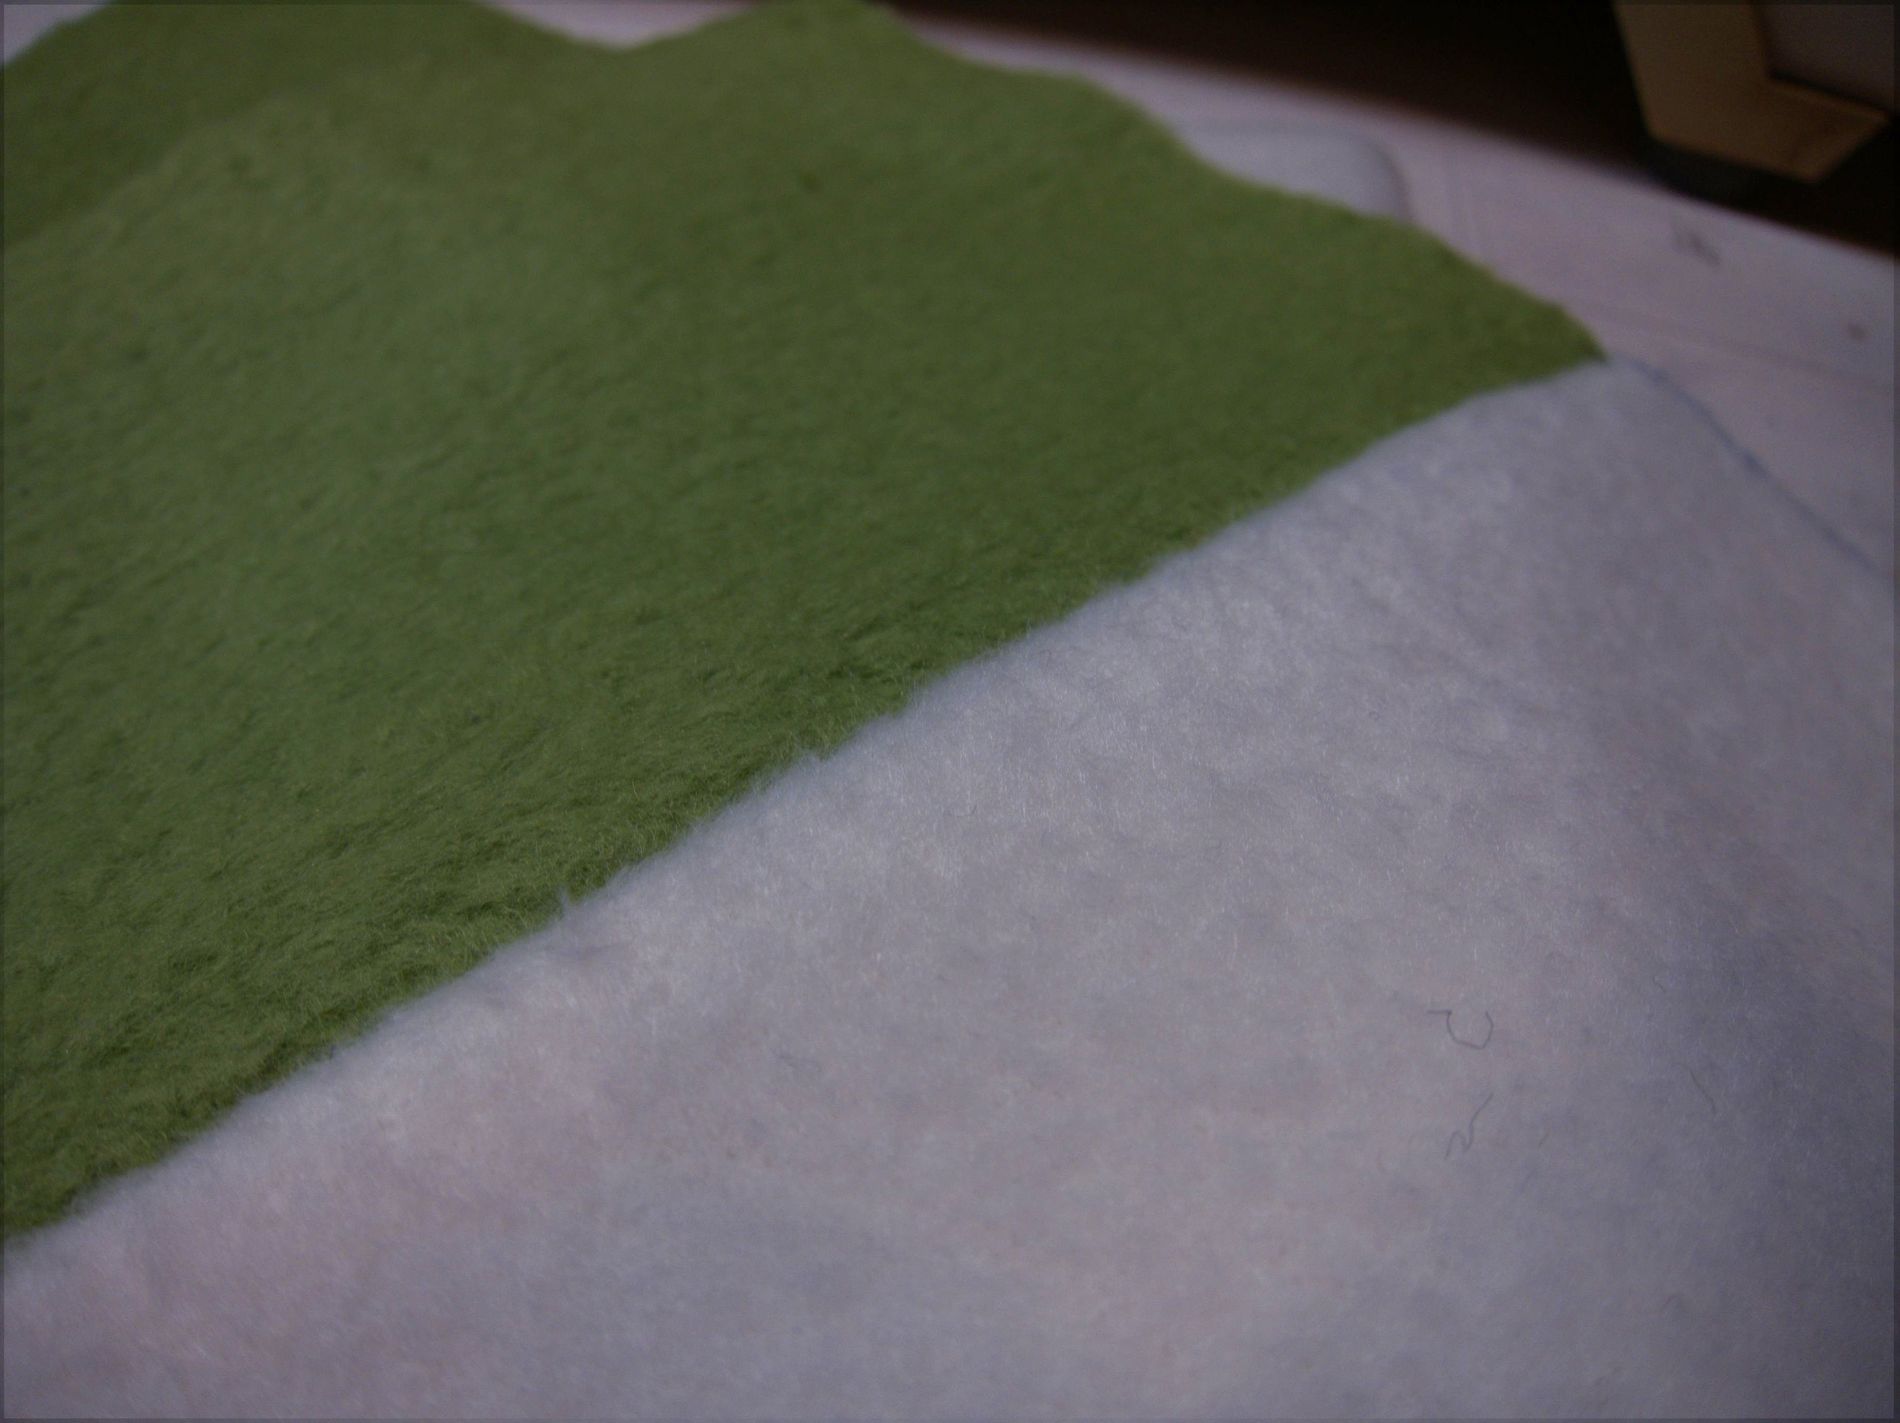
then do the same with all the other green/white bars
seams on the right side look like this…
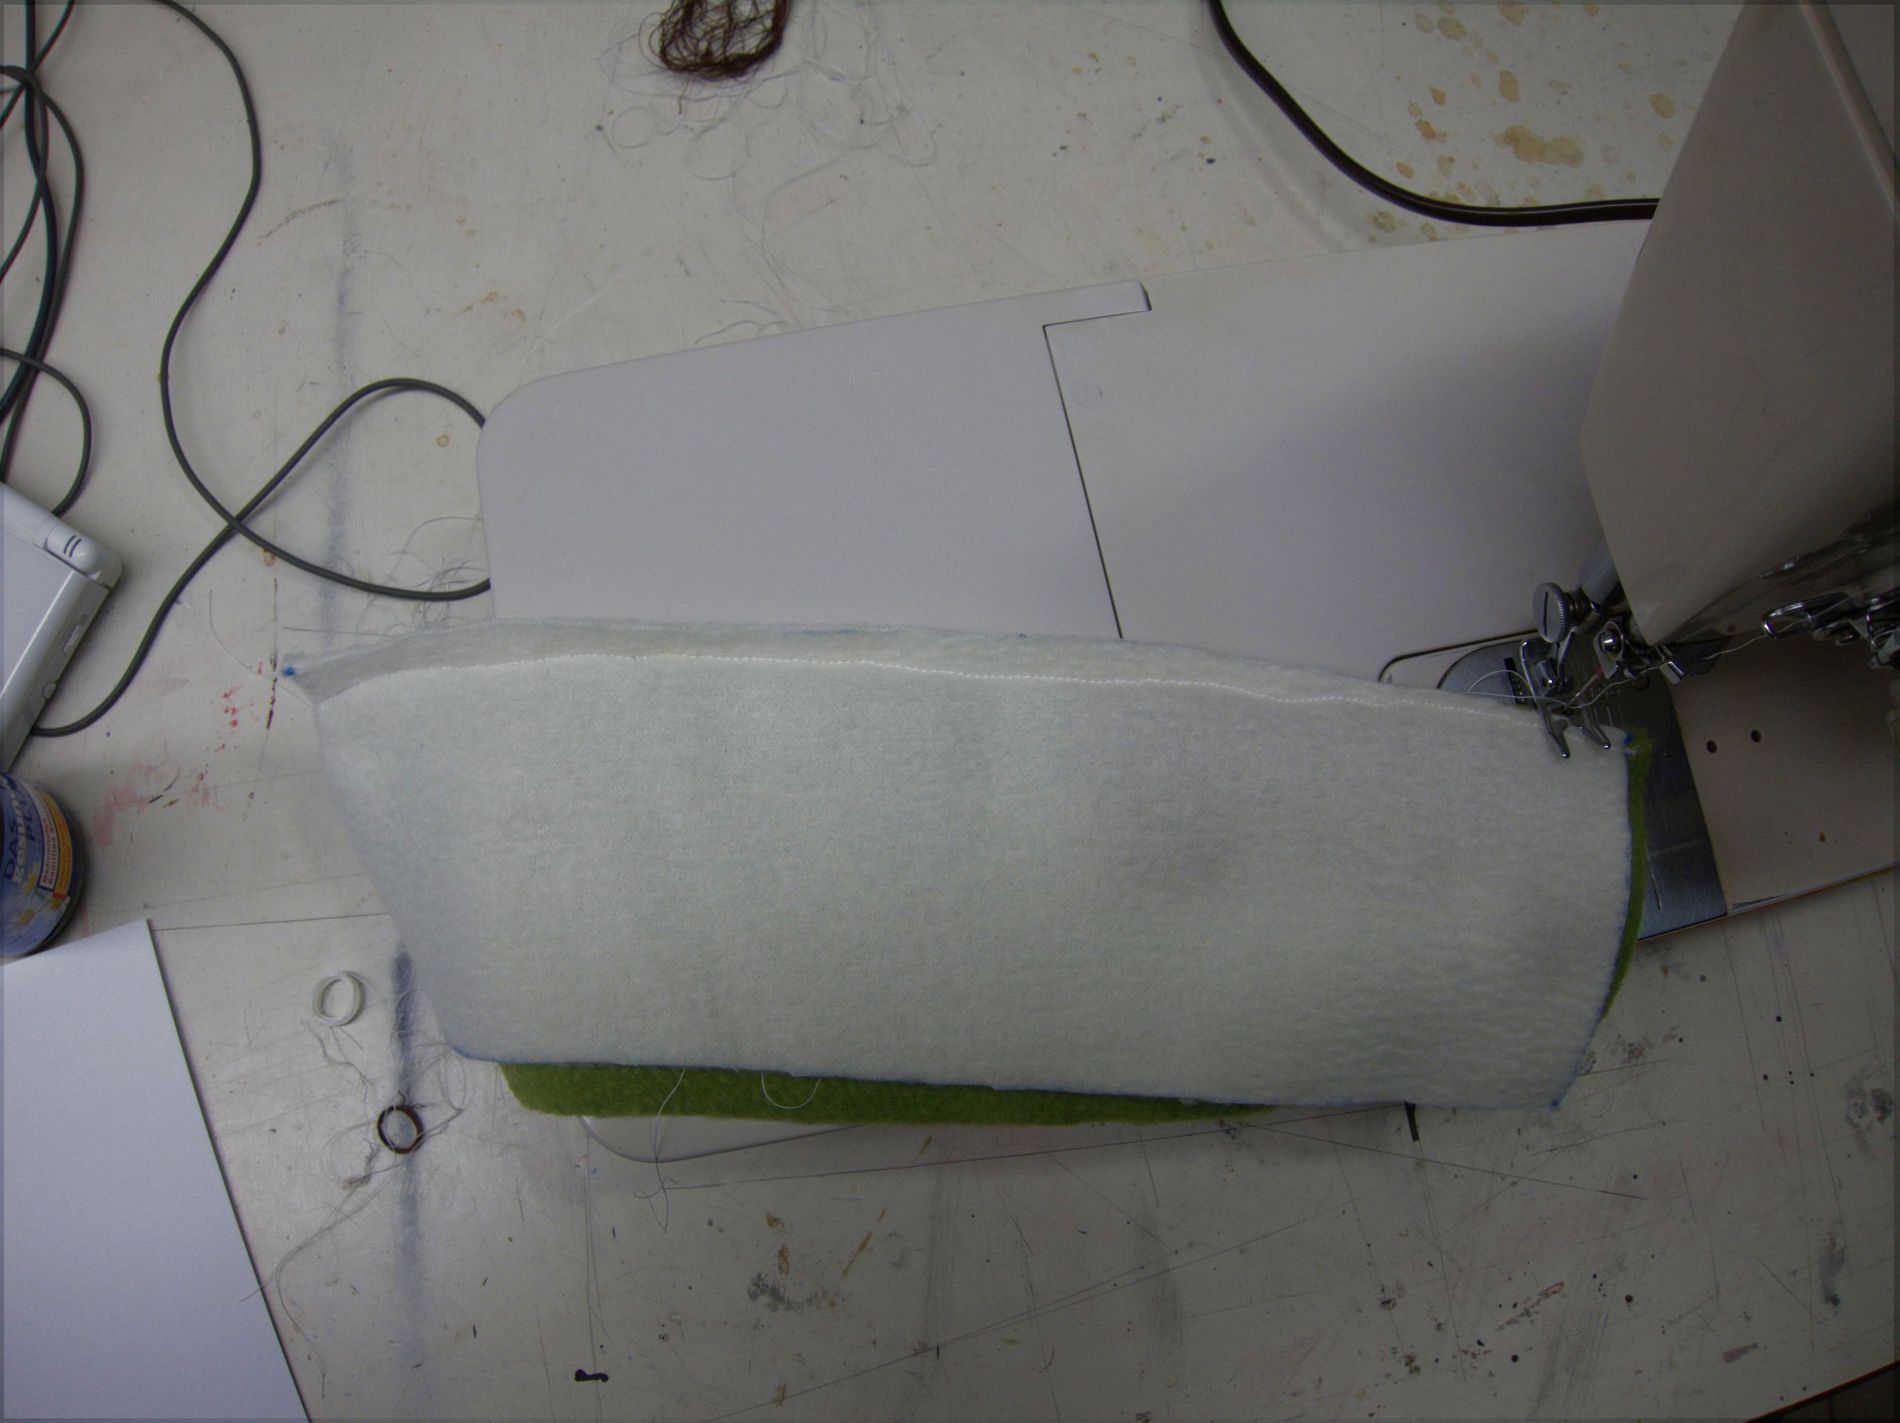
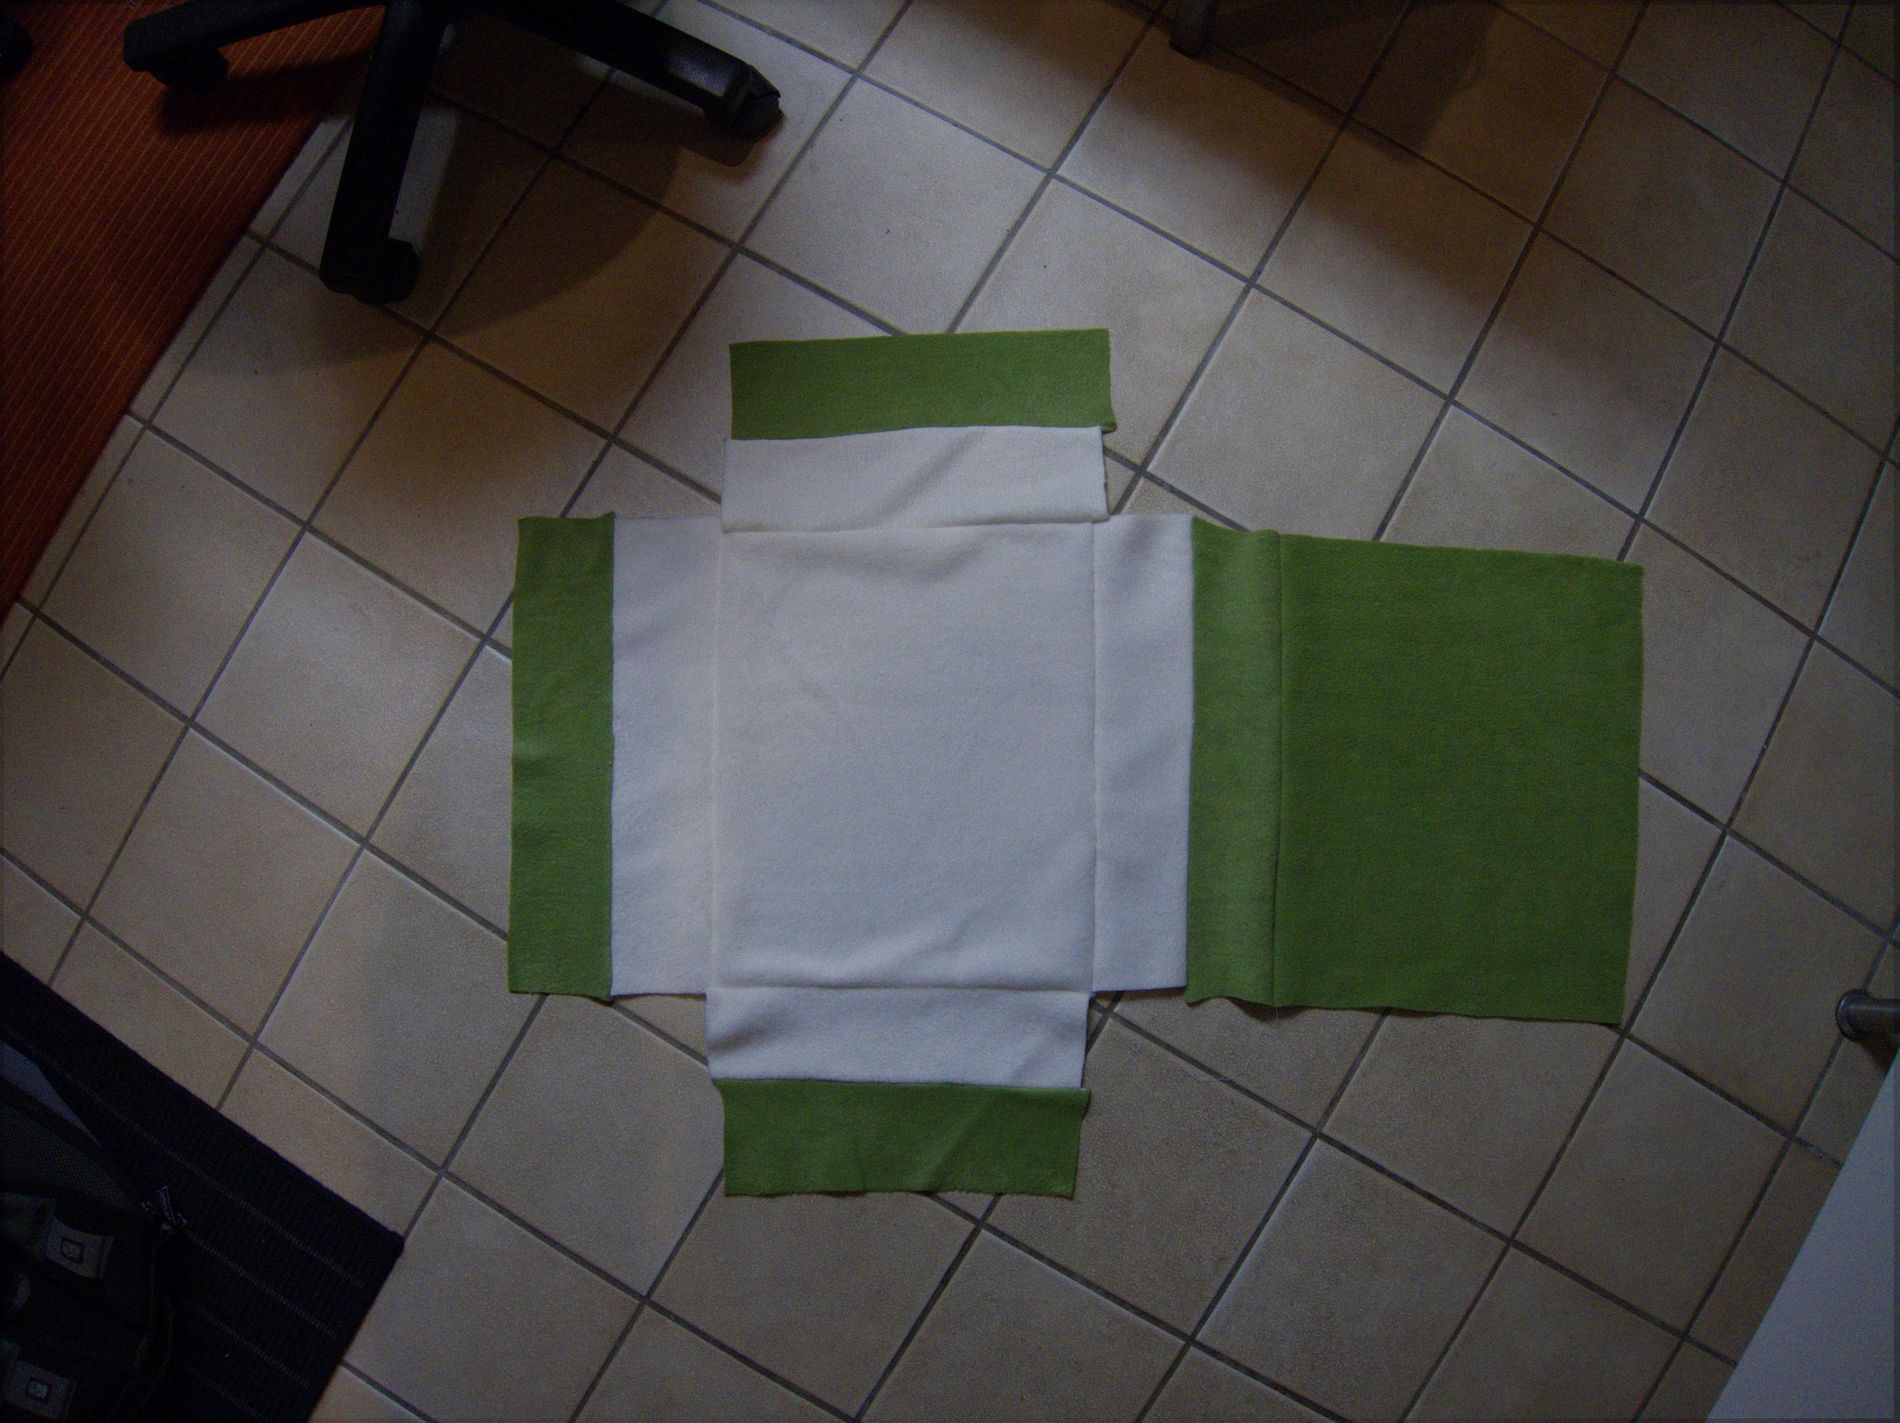
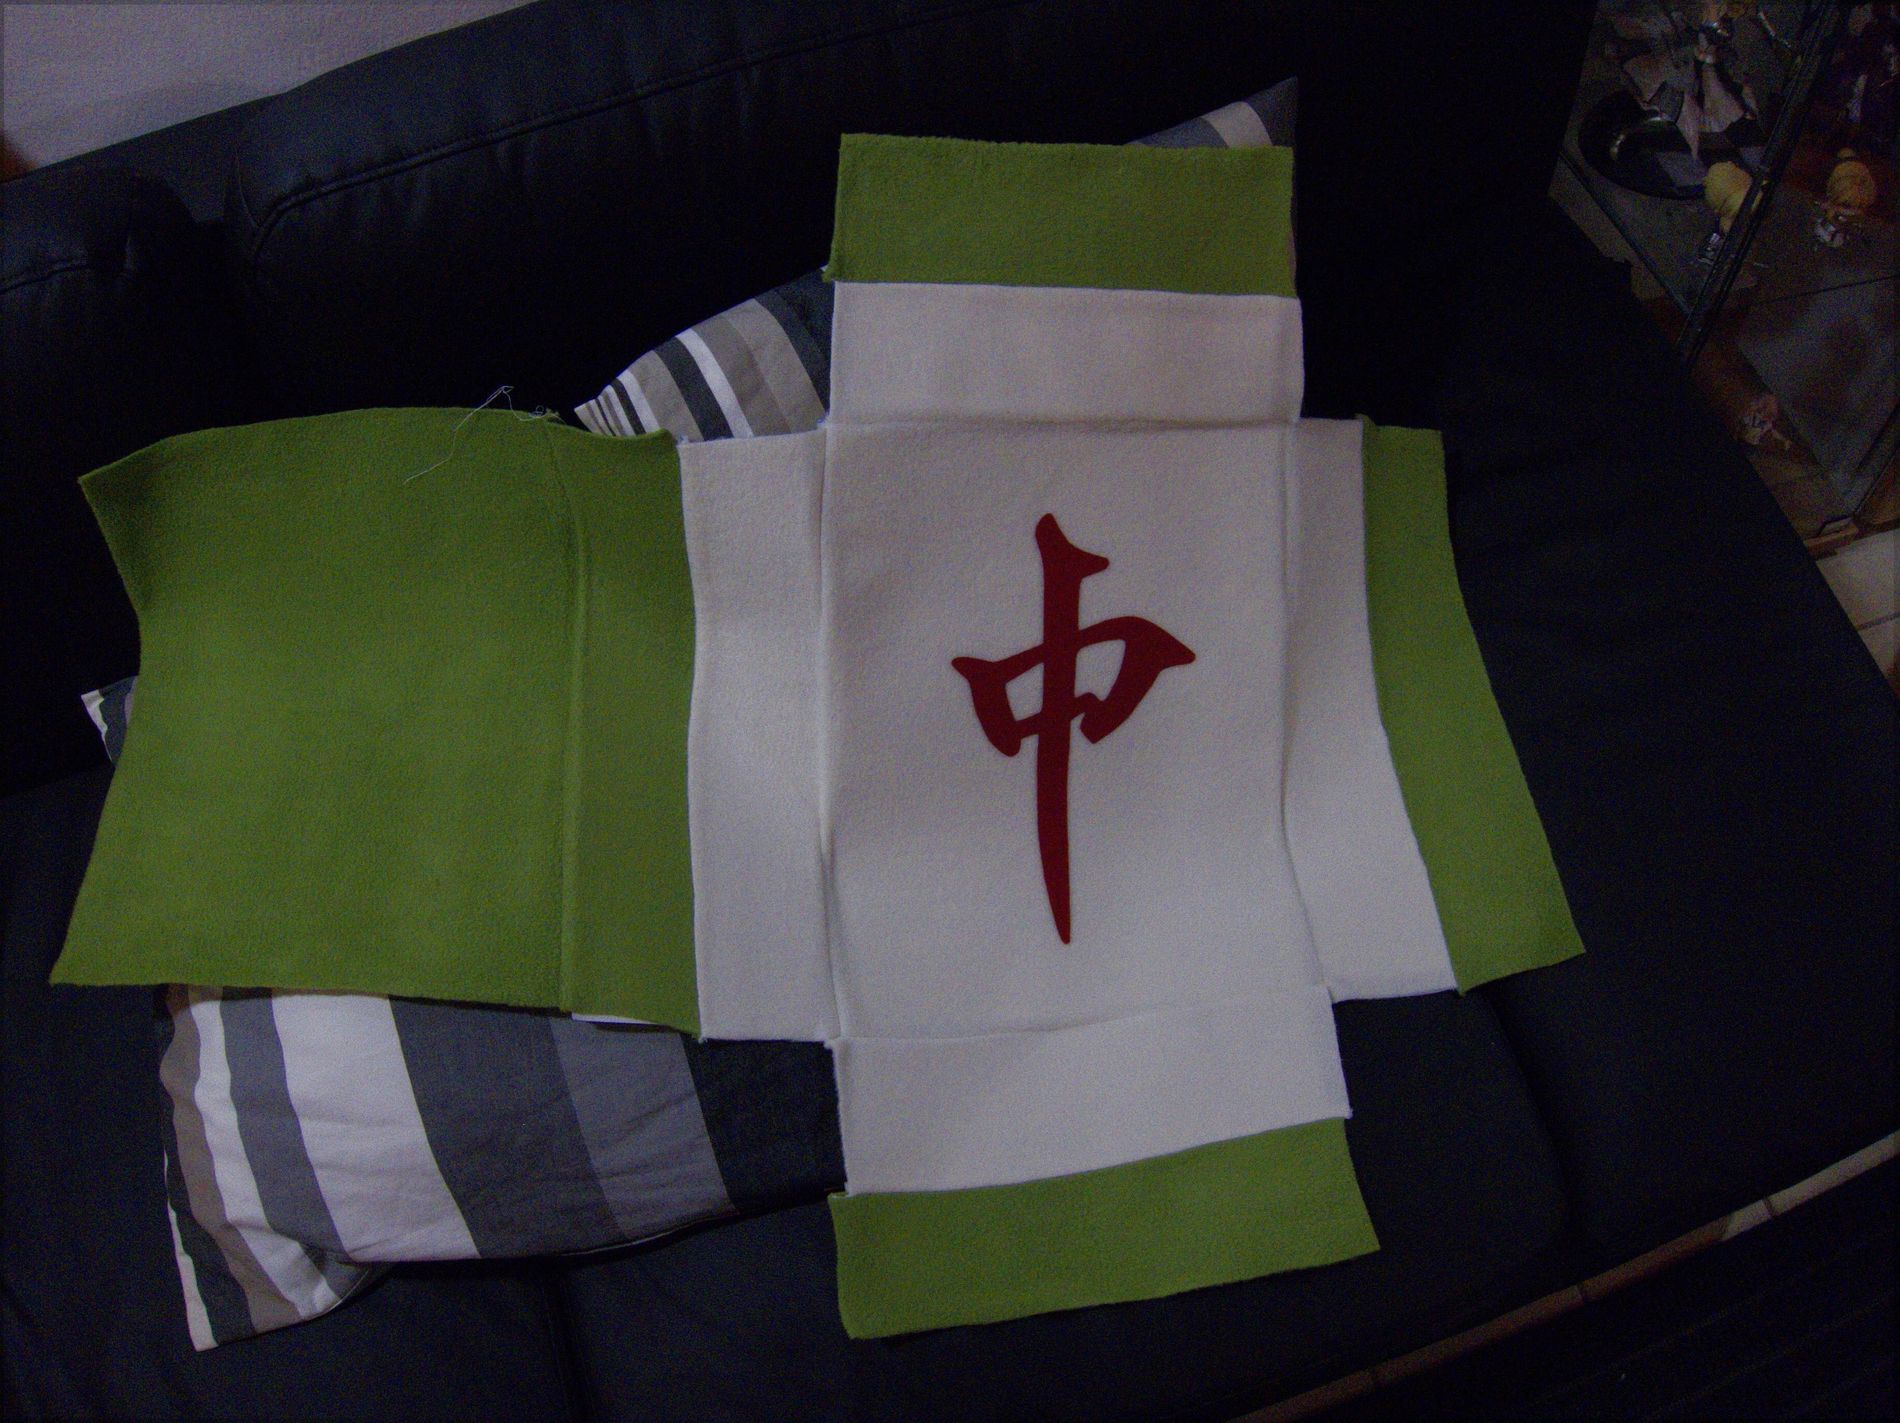
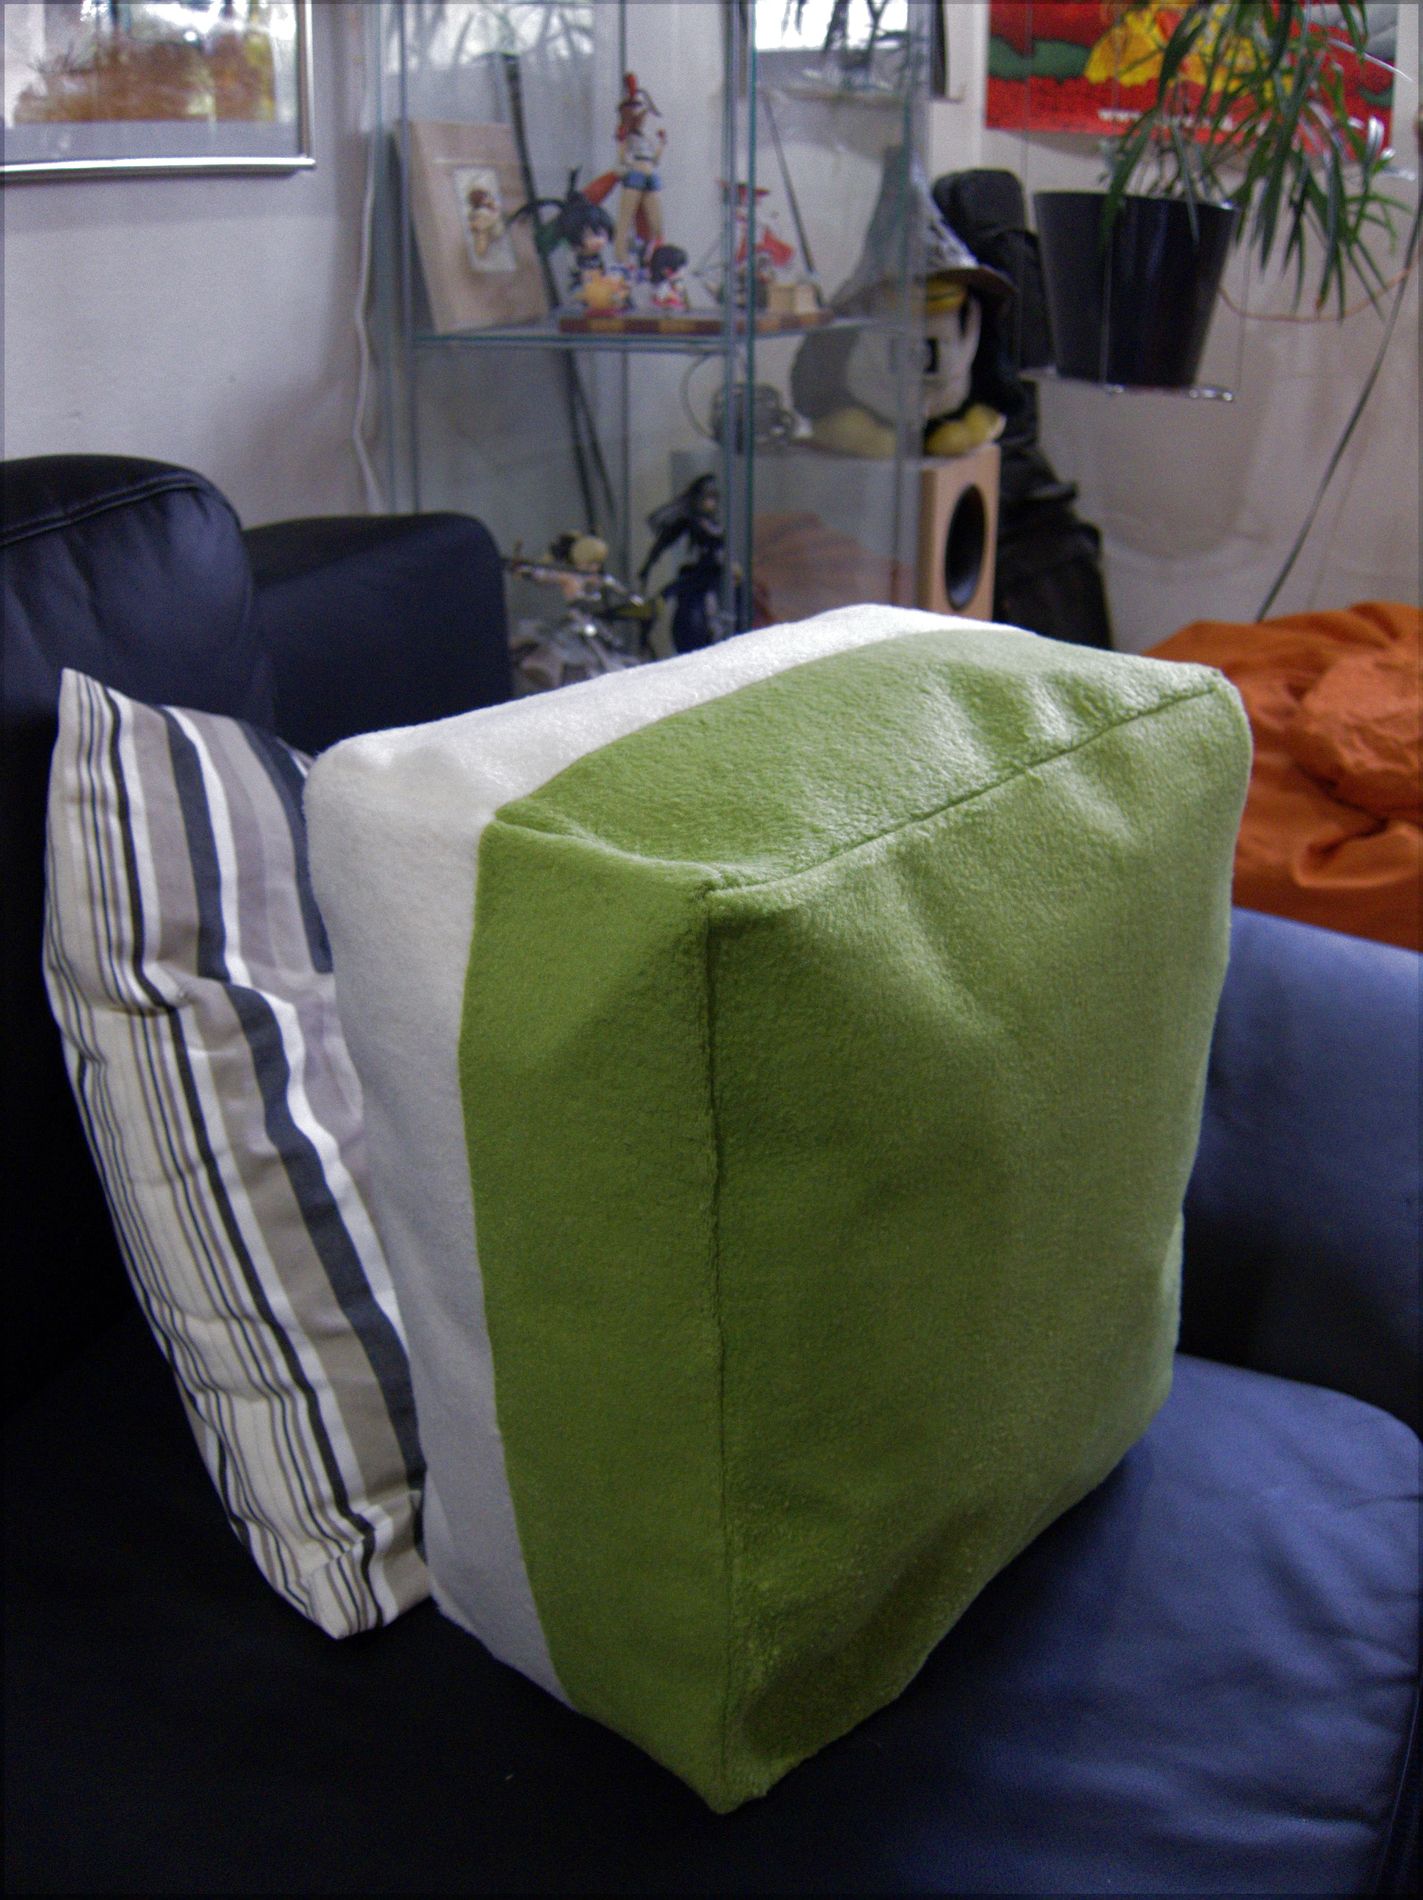
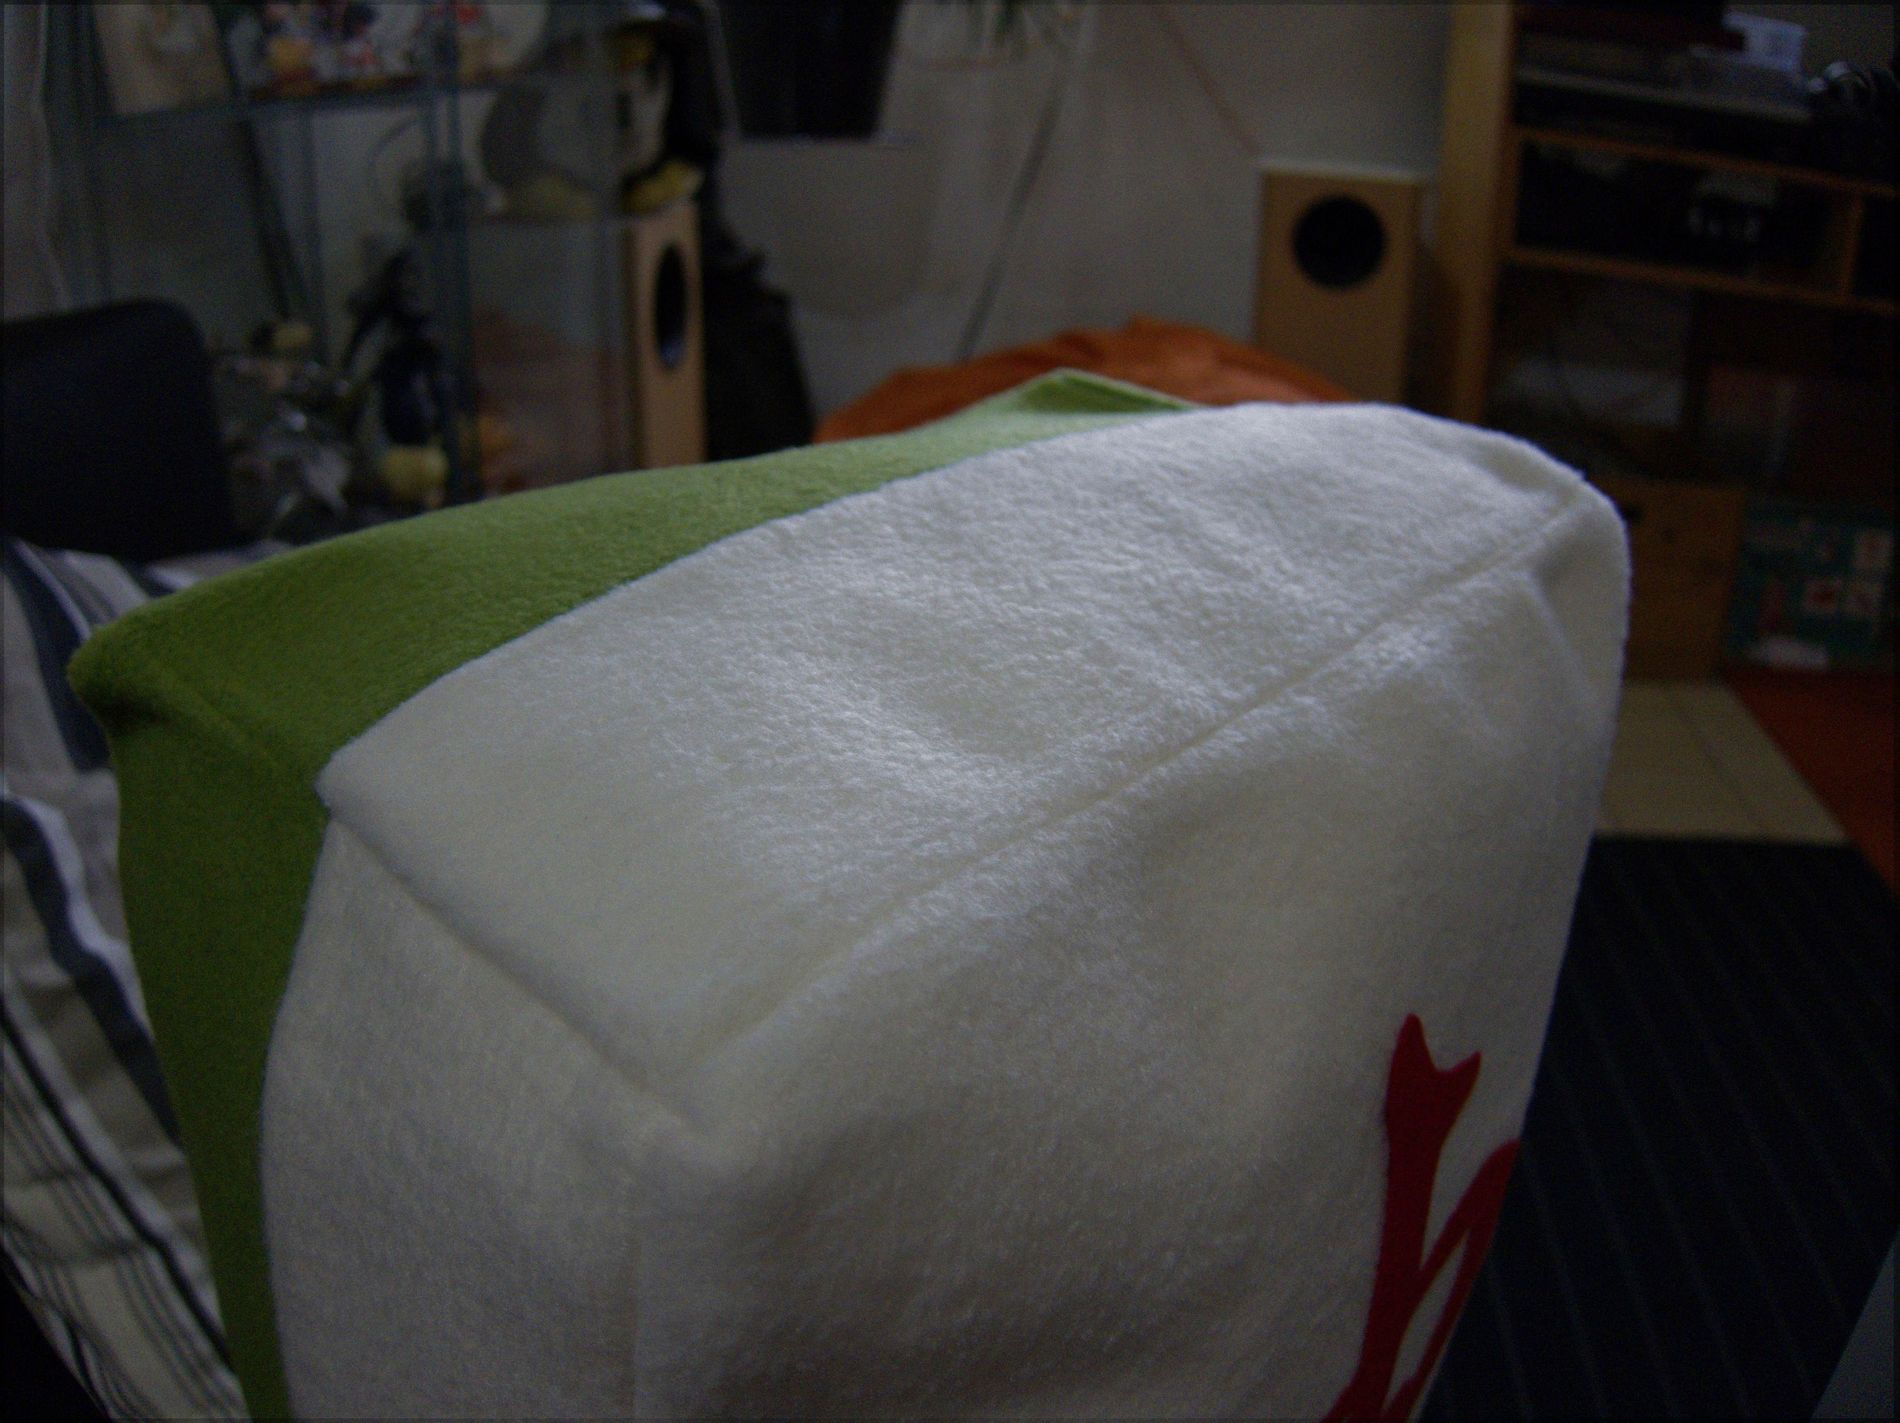
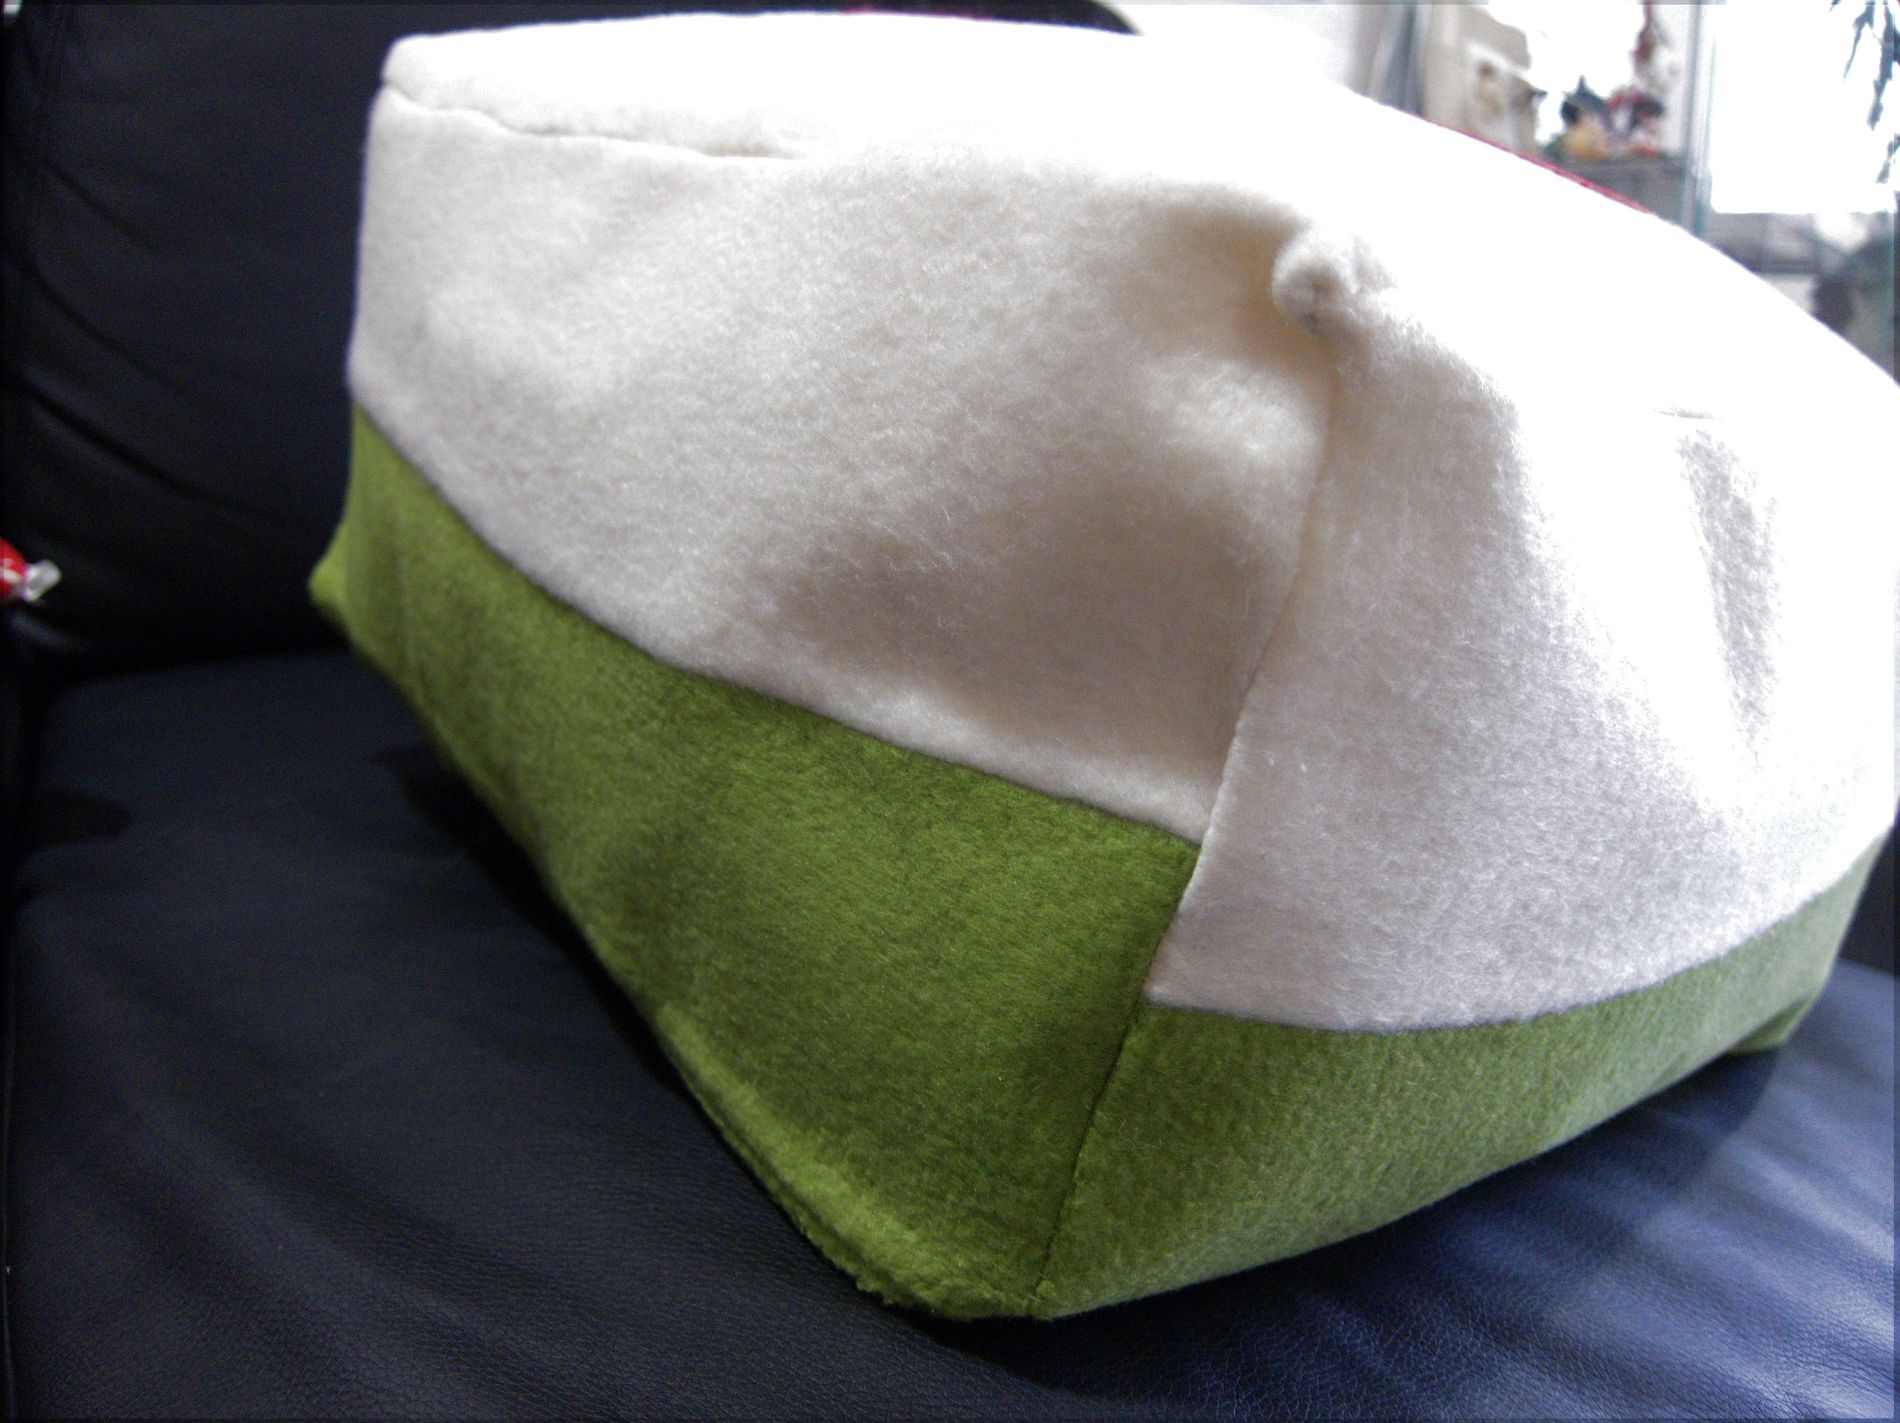
then sew the bars to the large green/white pieces – it’ll look like this. You may recognize that this resembles the flattened form of a box.
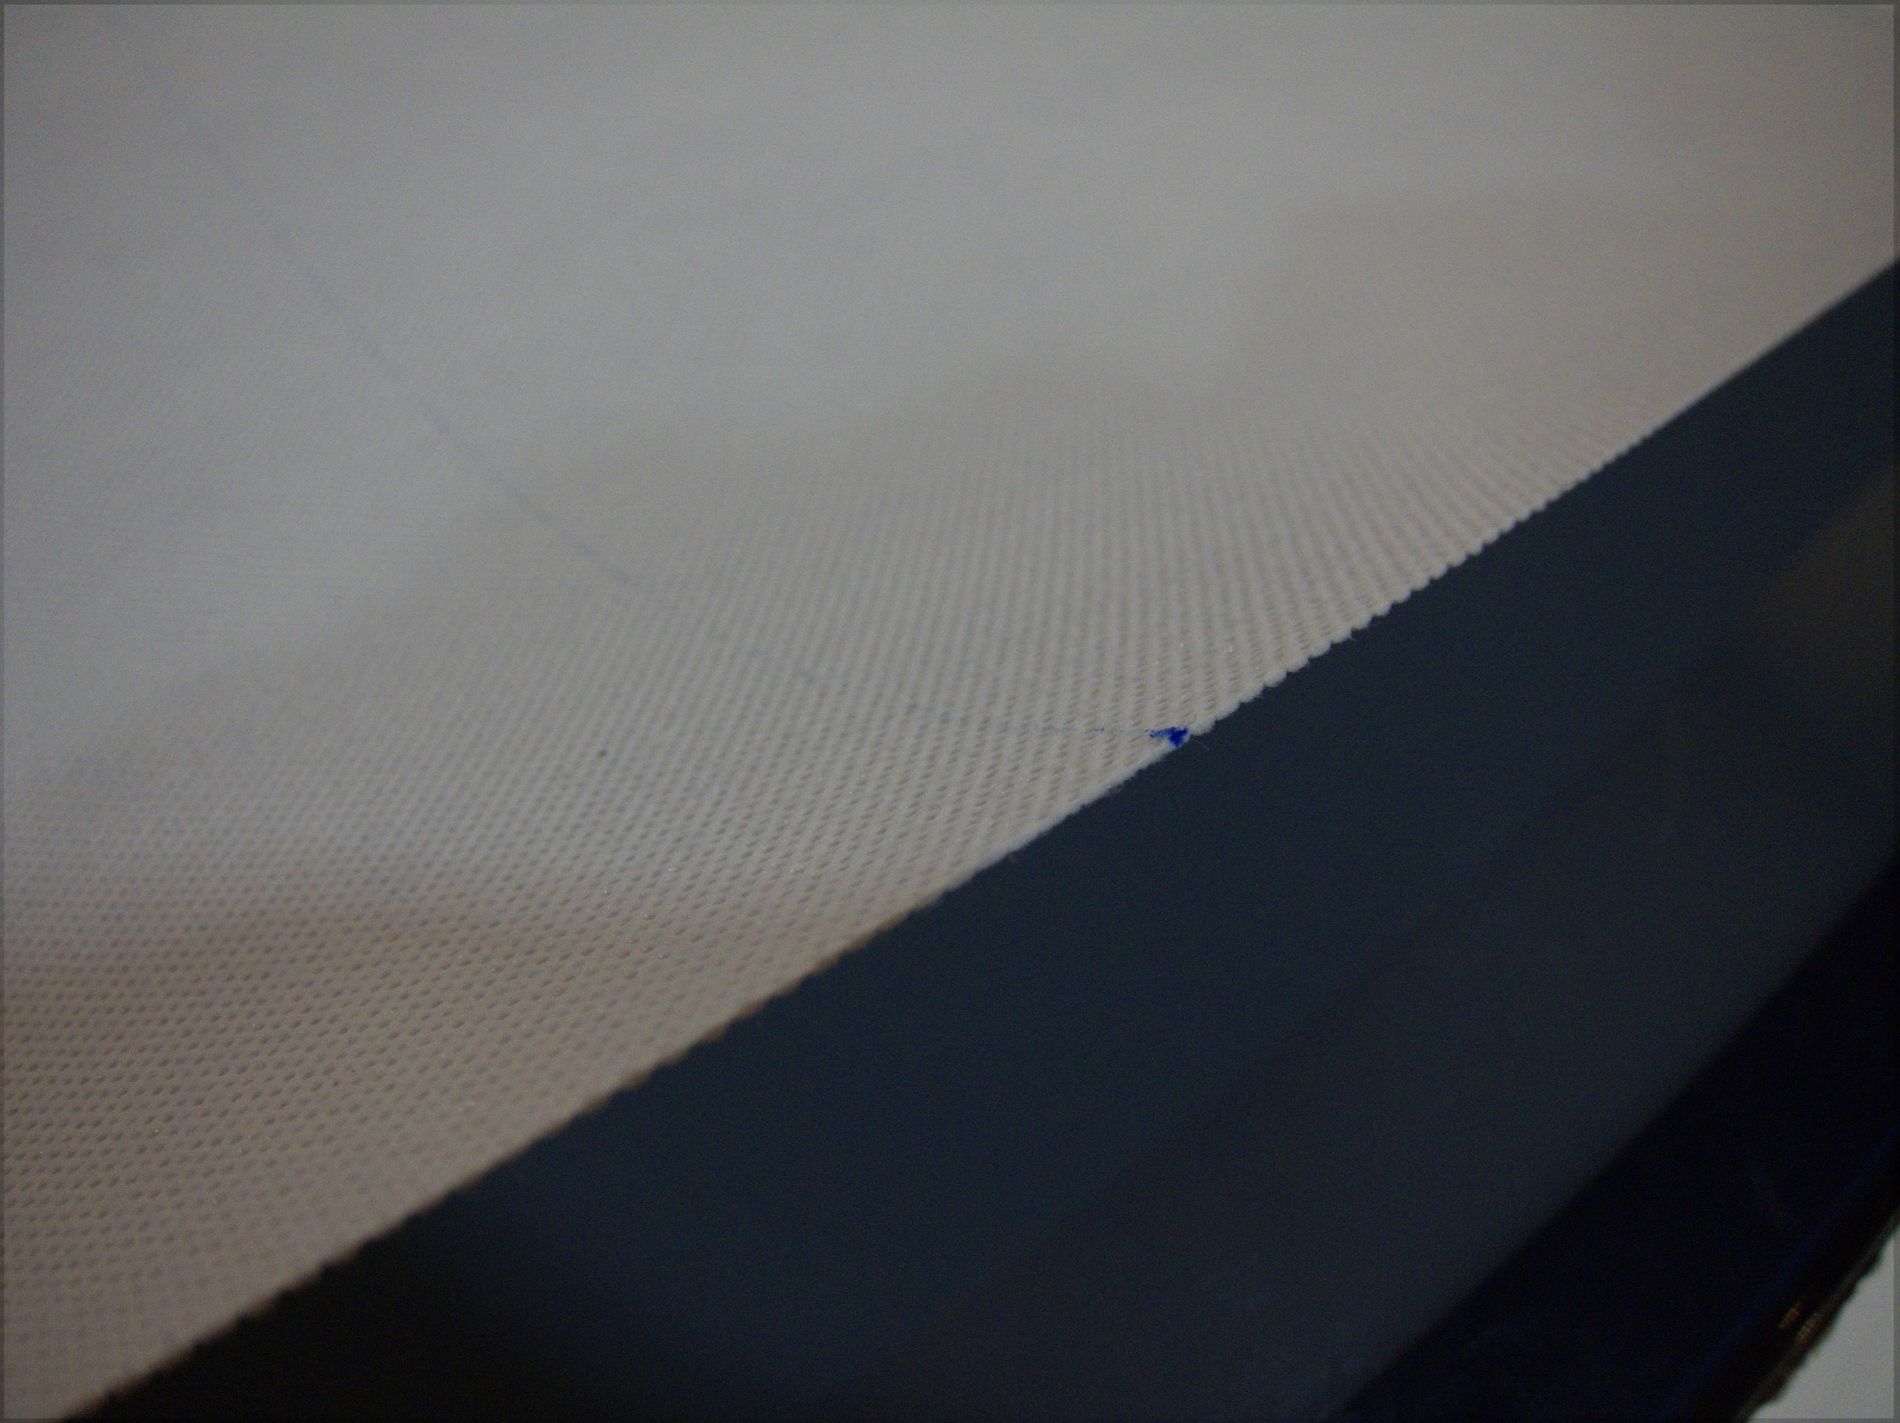
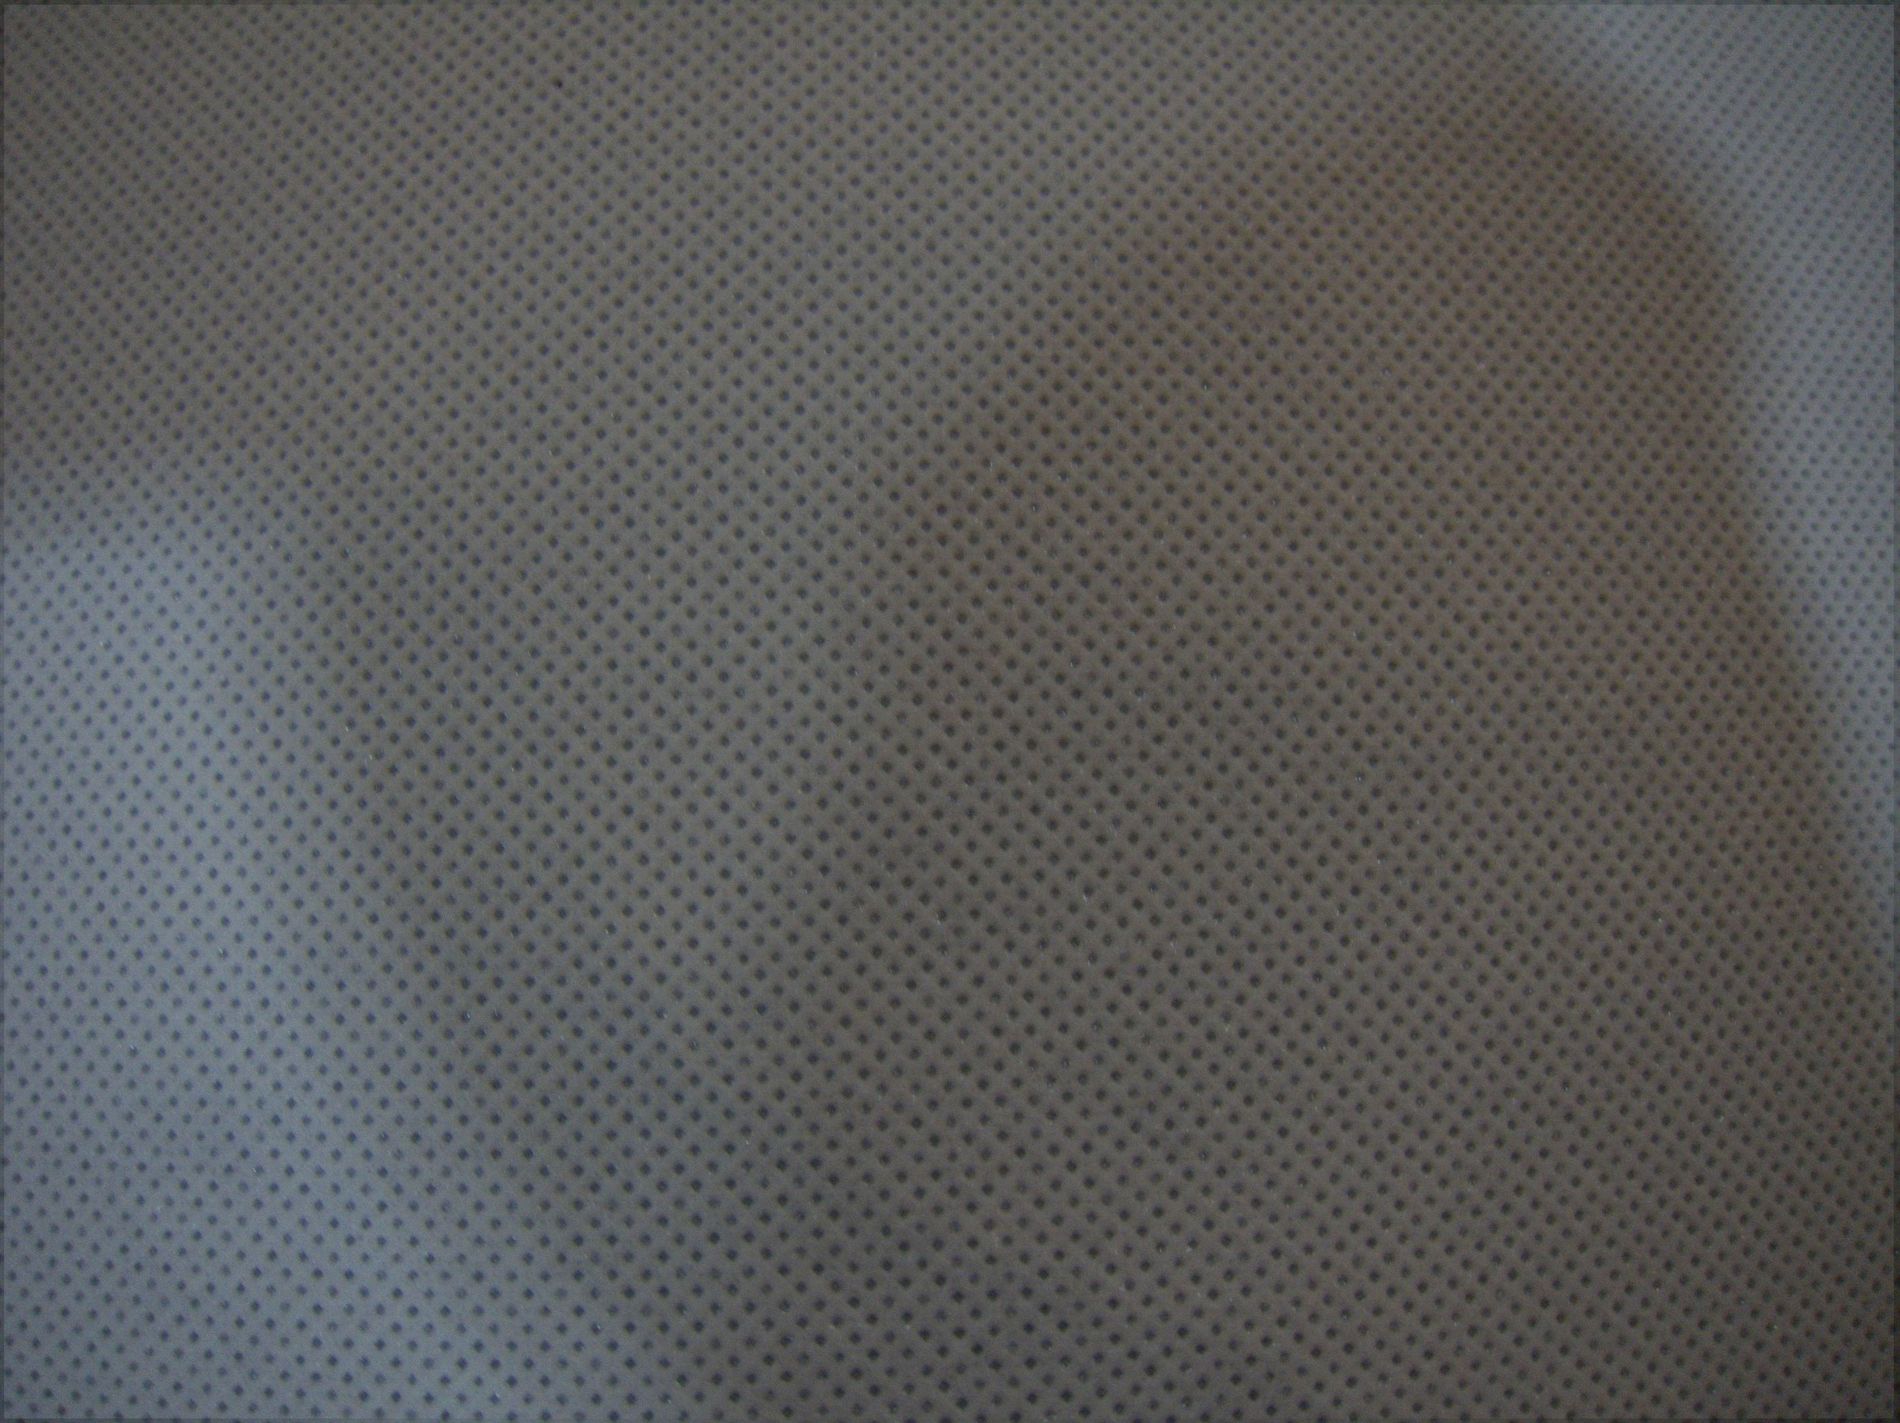
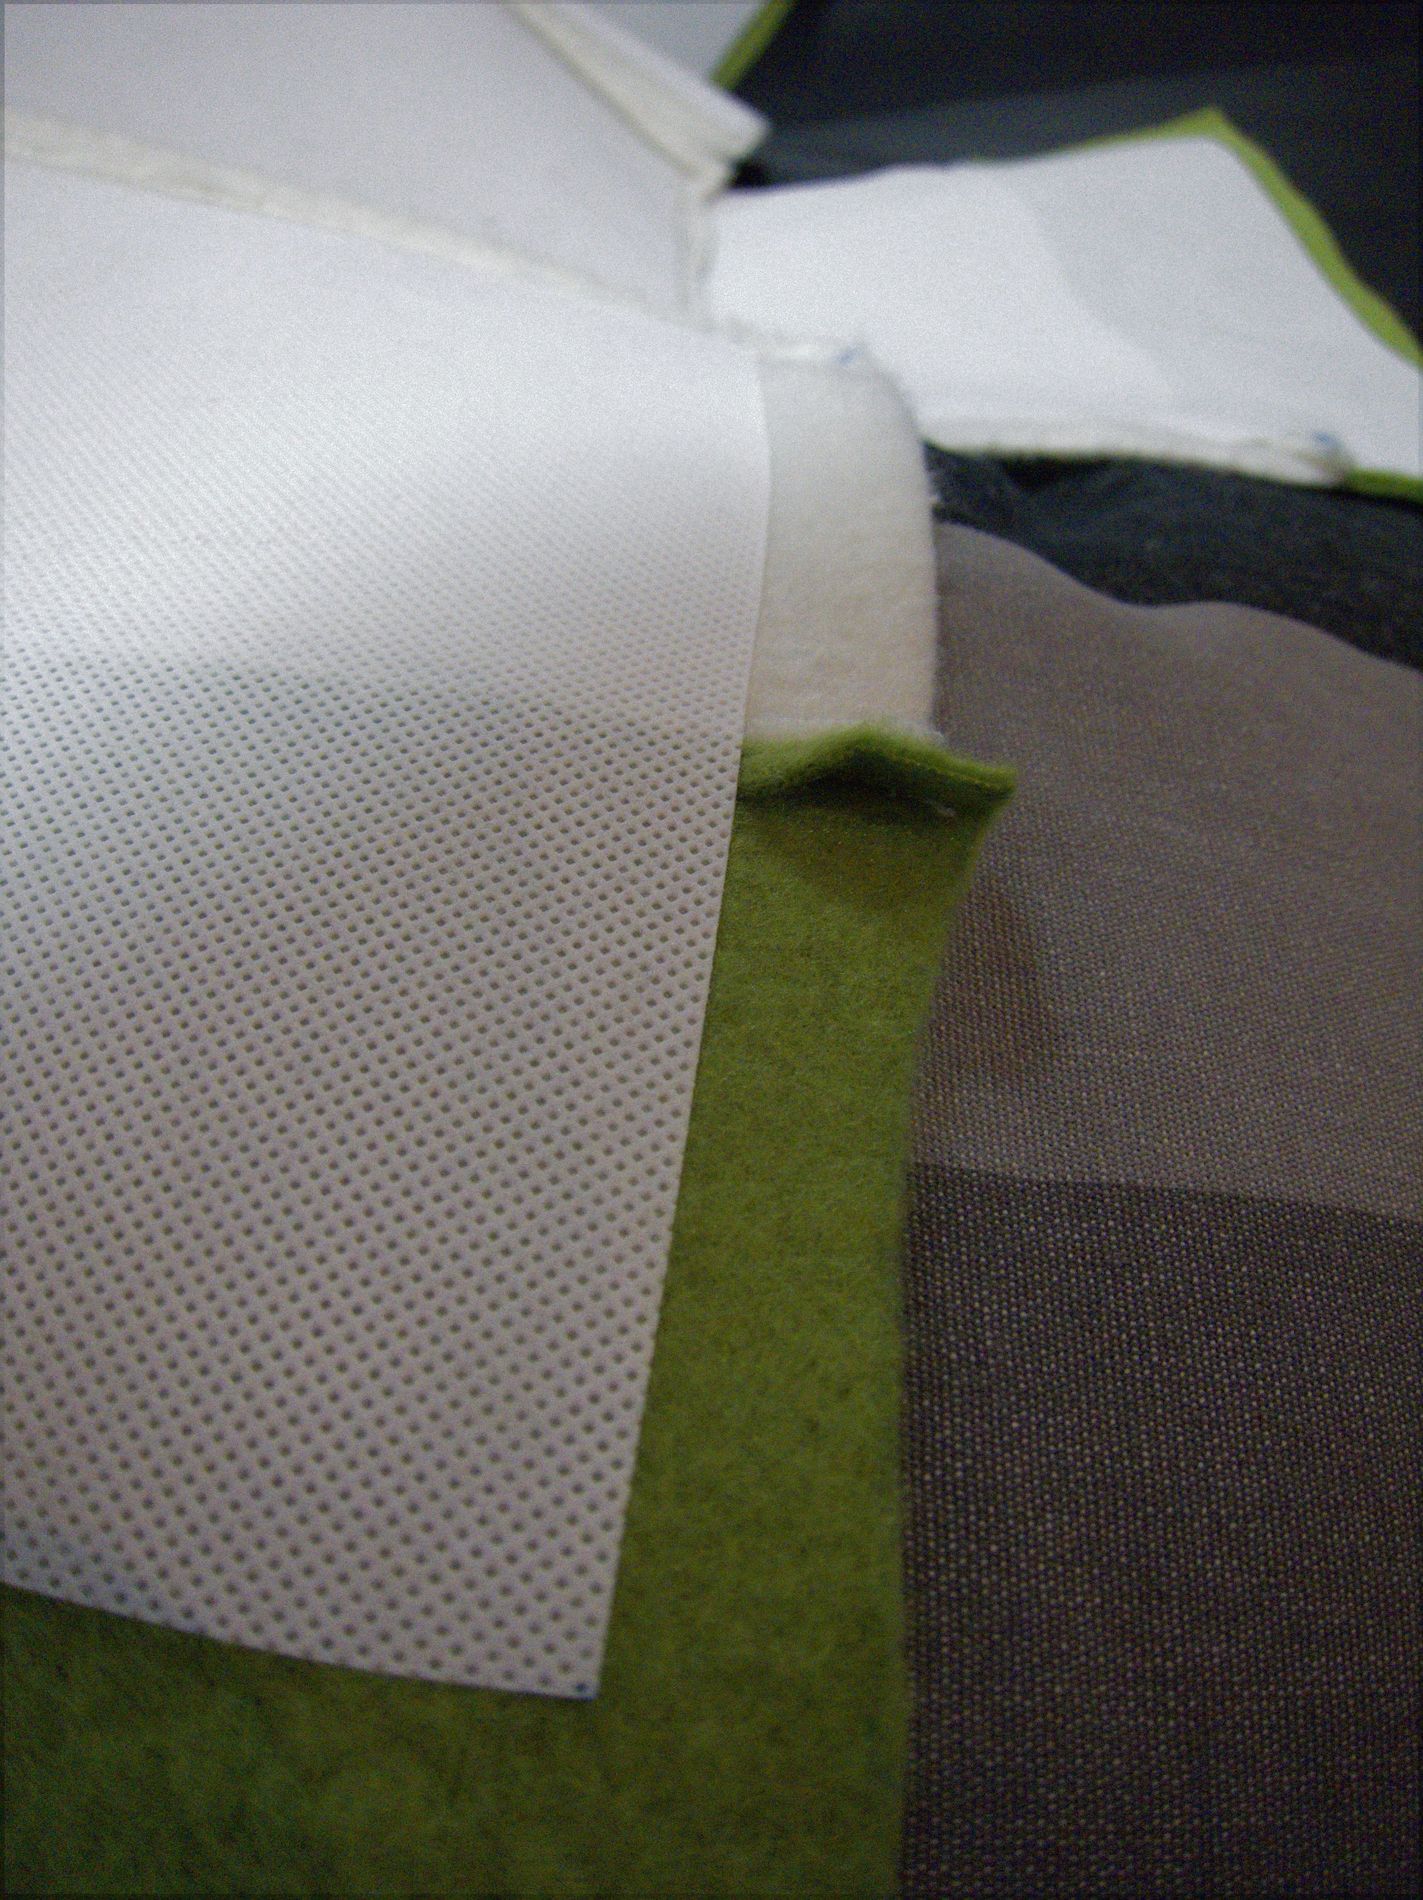
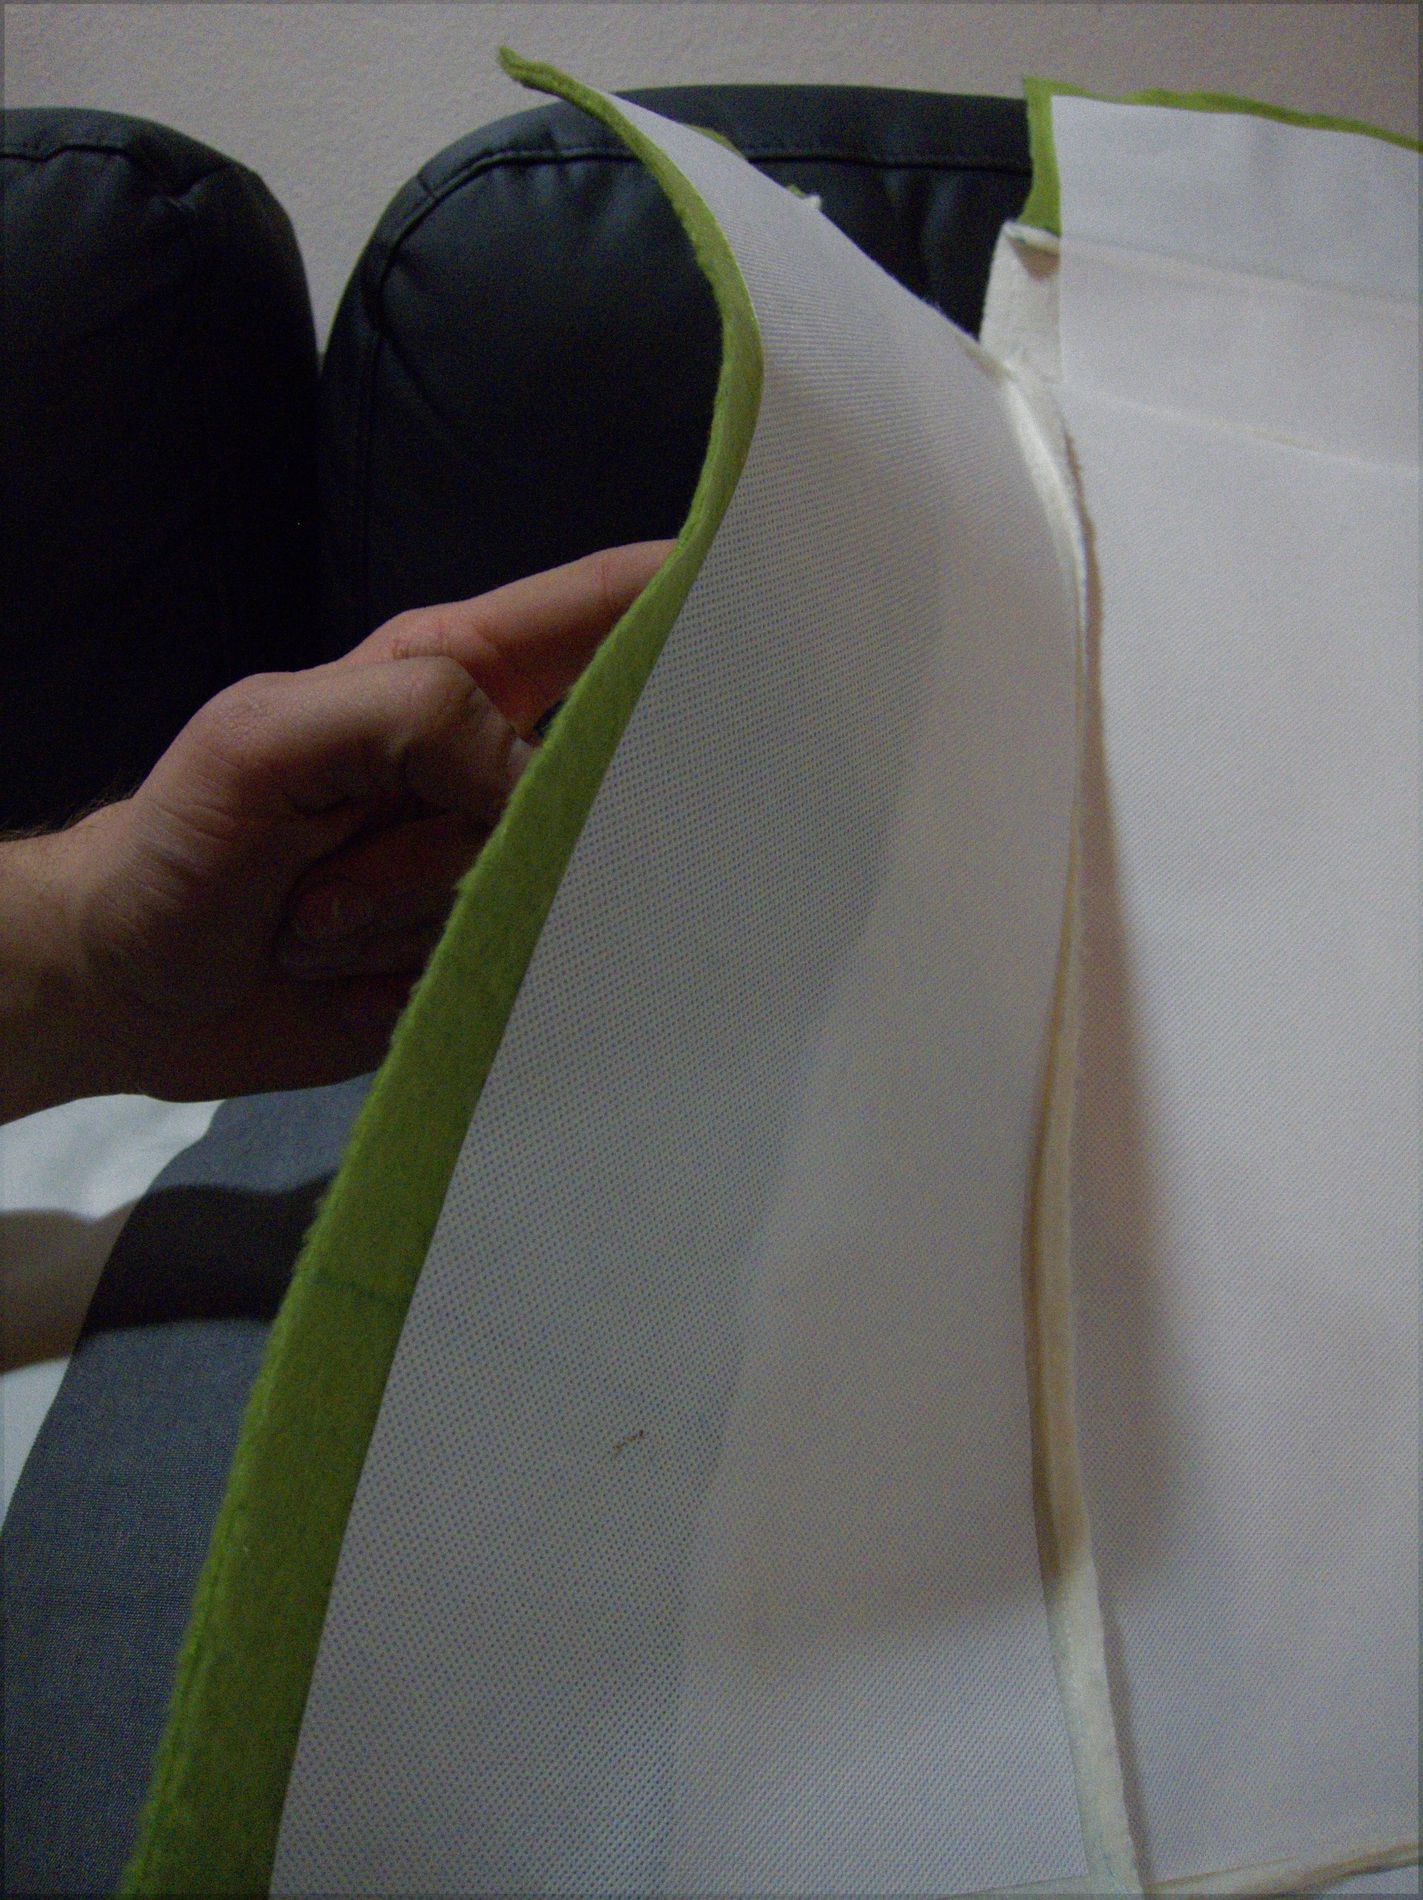
This is a closeup of the textile interface i’ve used. It’s made by “Vlieseline” and was the stiffest/hardest quality i could get
another closeup
This should show just how thick and stiff this is…
The interface is fastened to the fabric by ironing it on … this happened here 🙂
closeup of the fastened interface
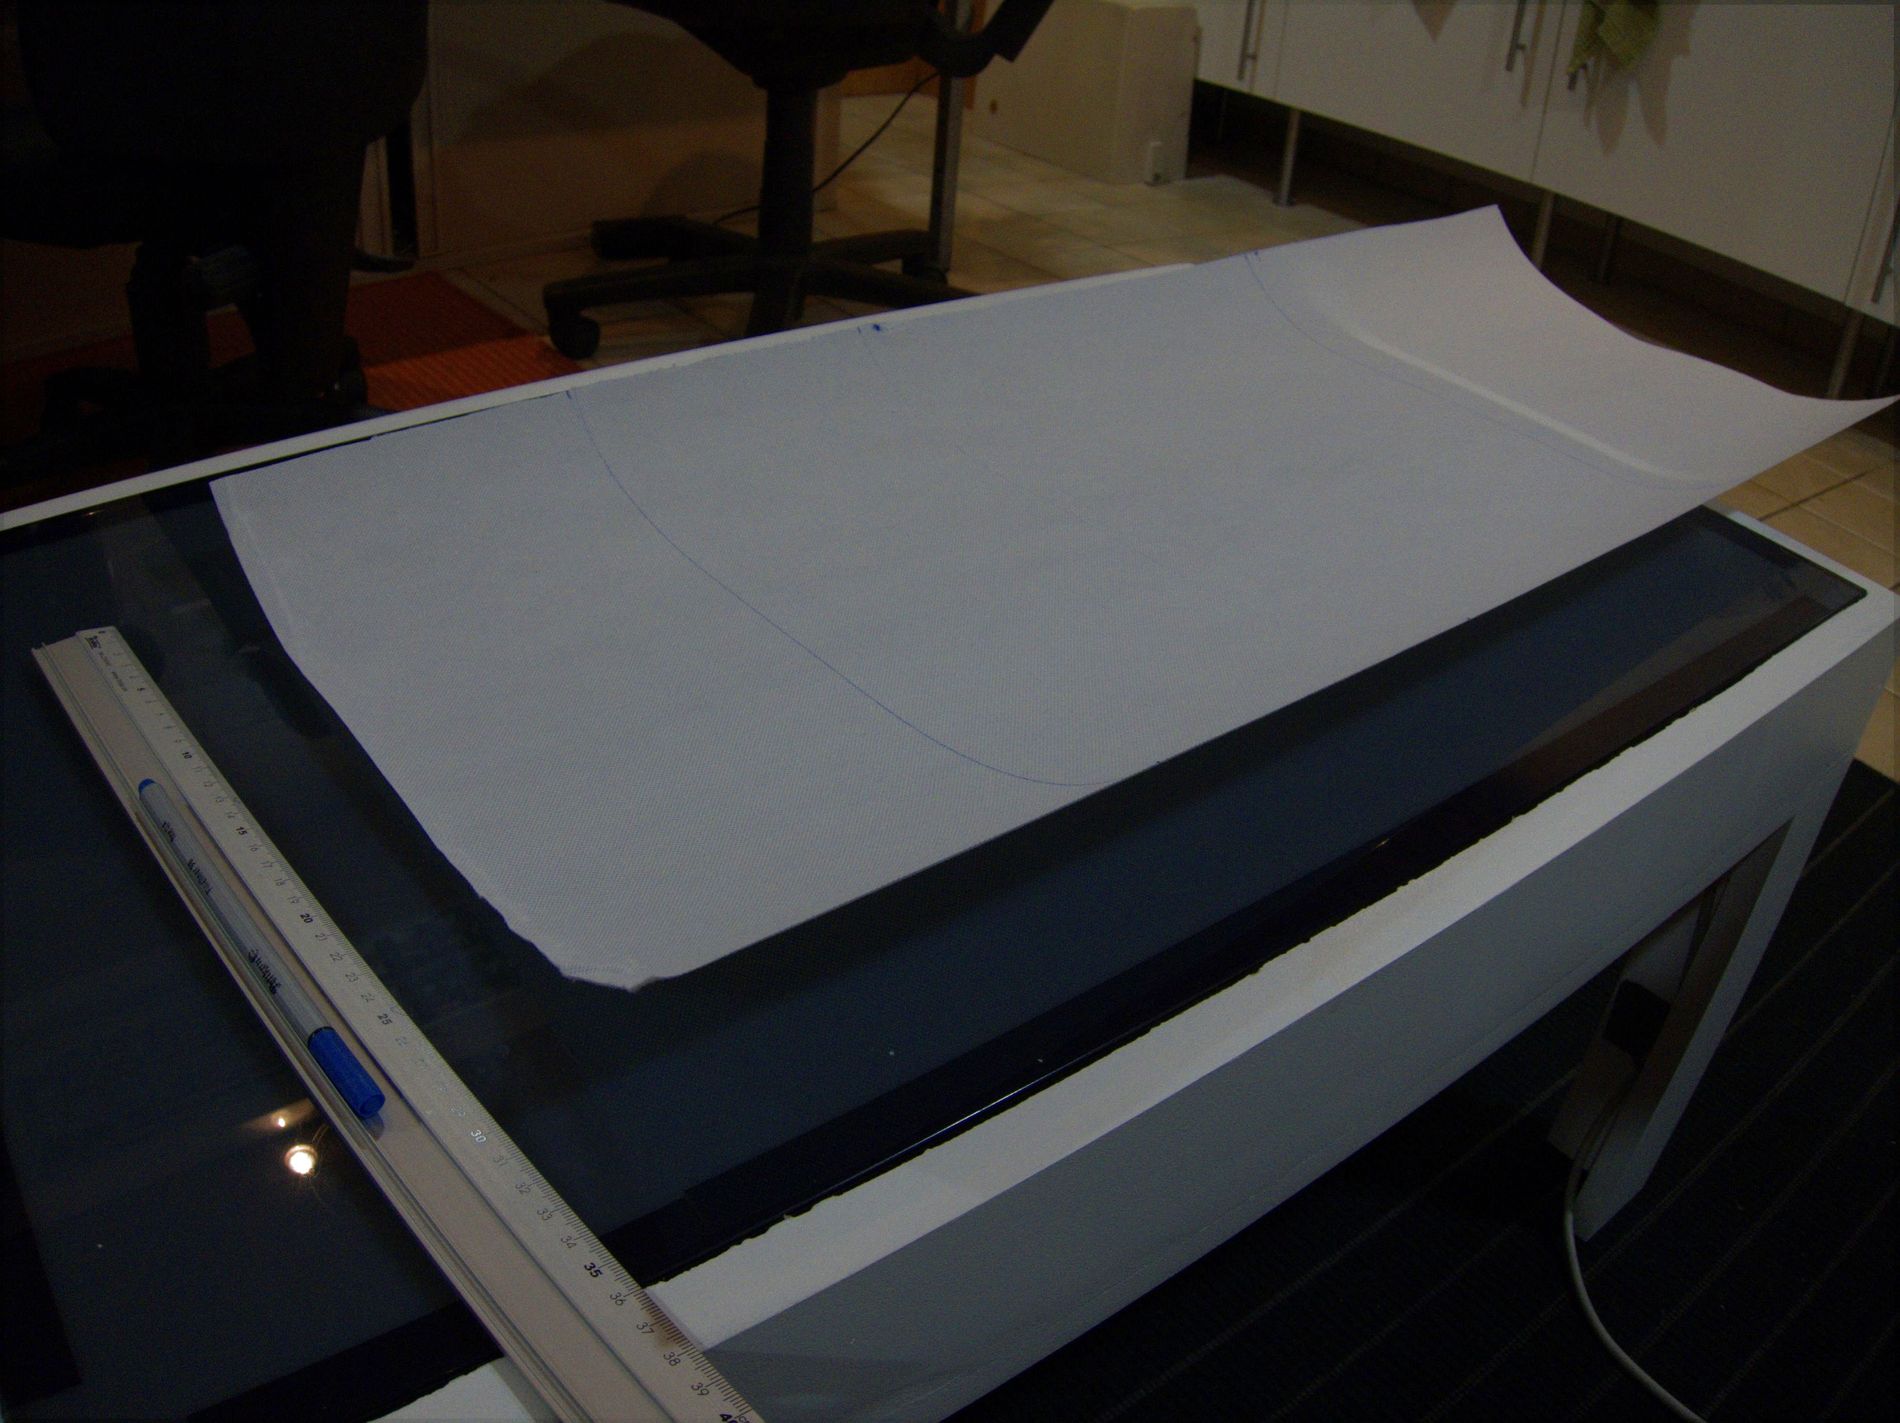
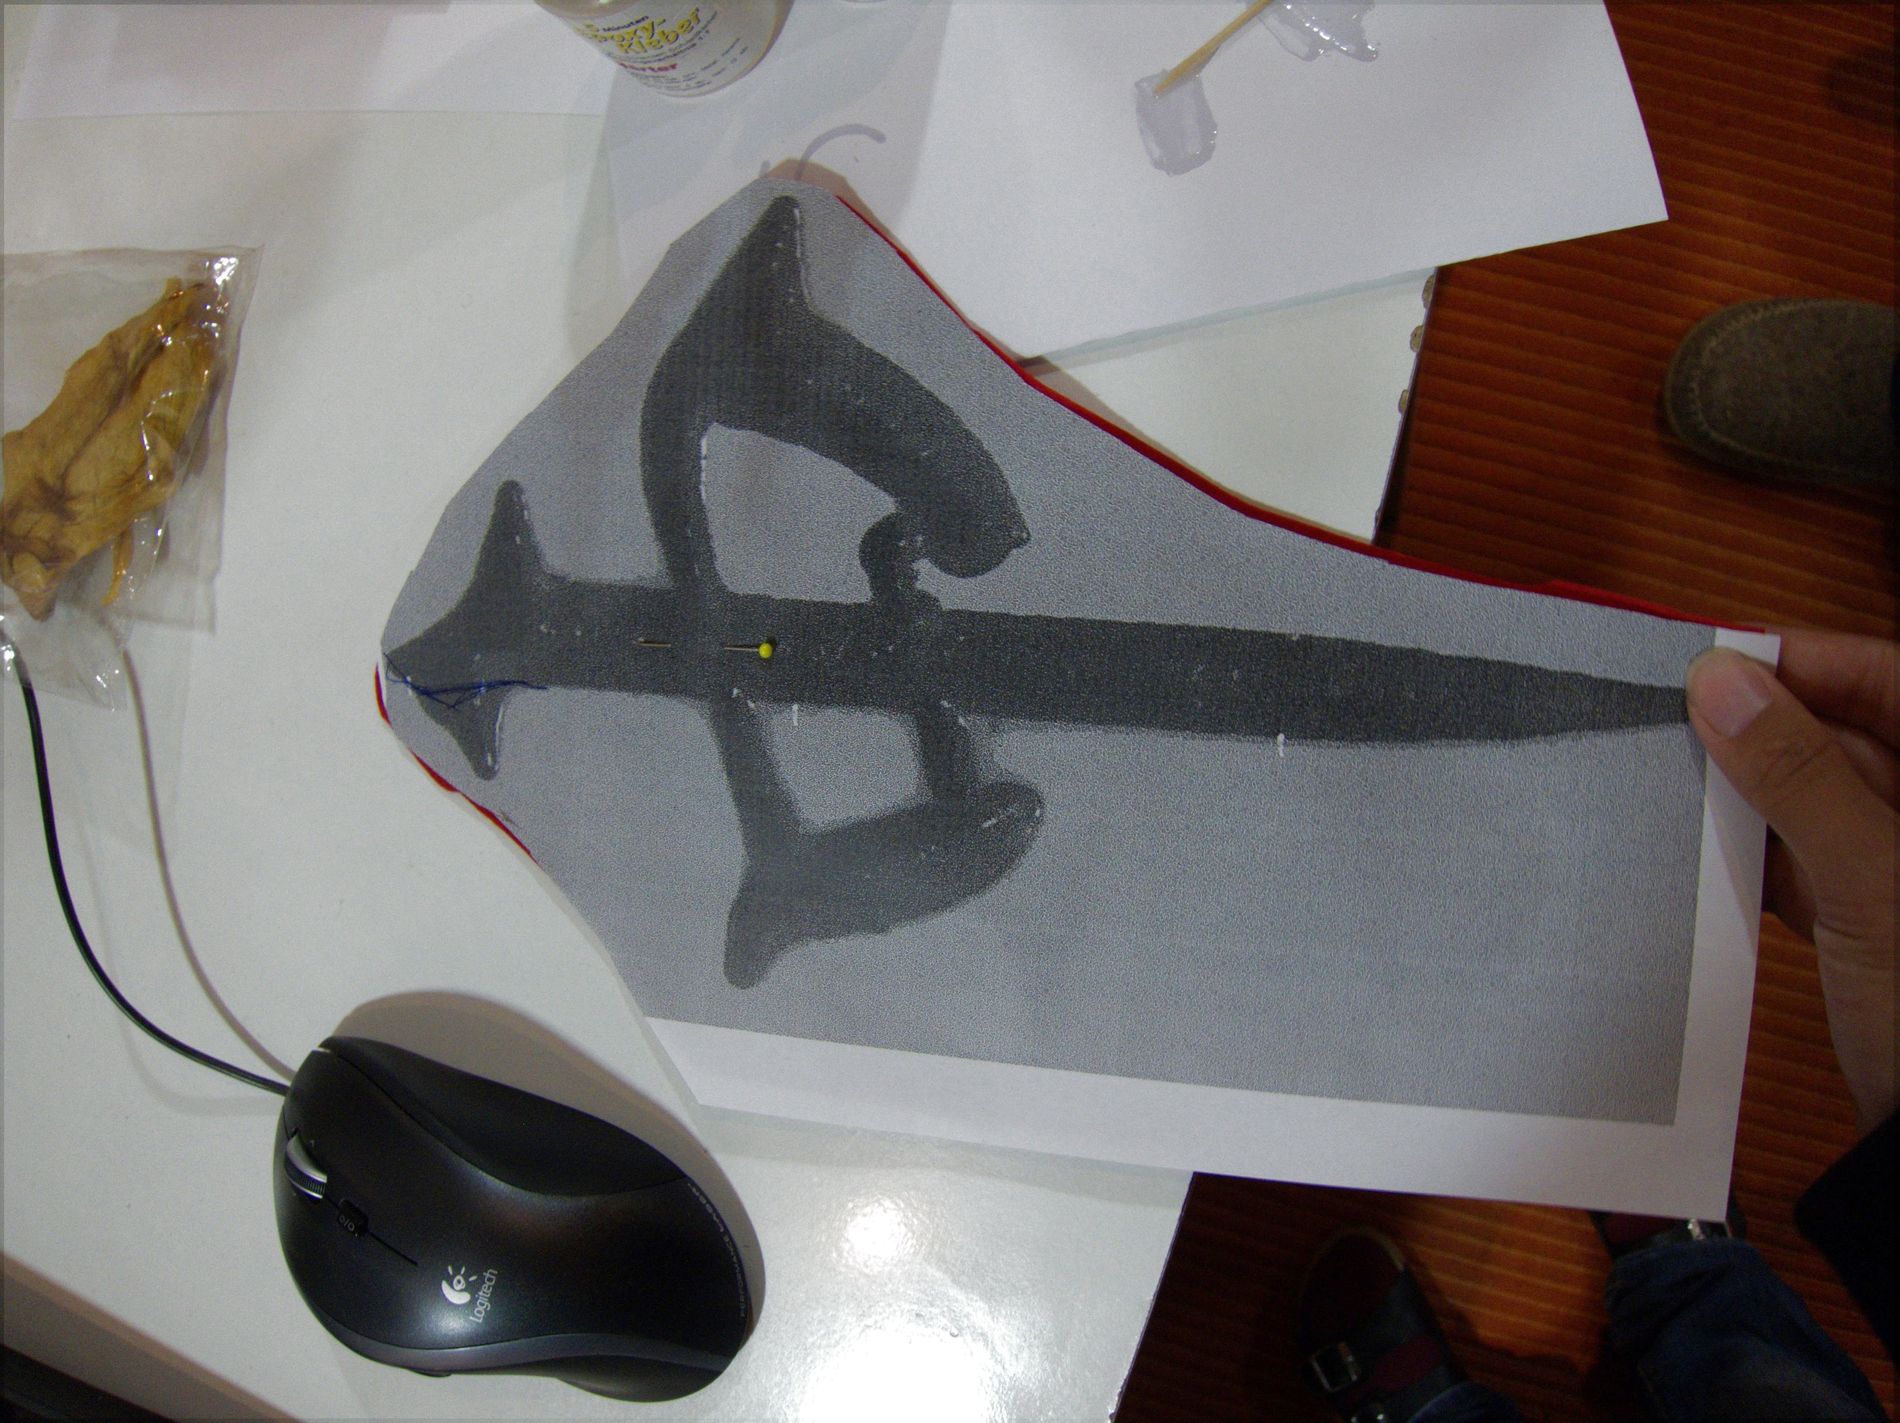
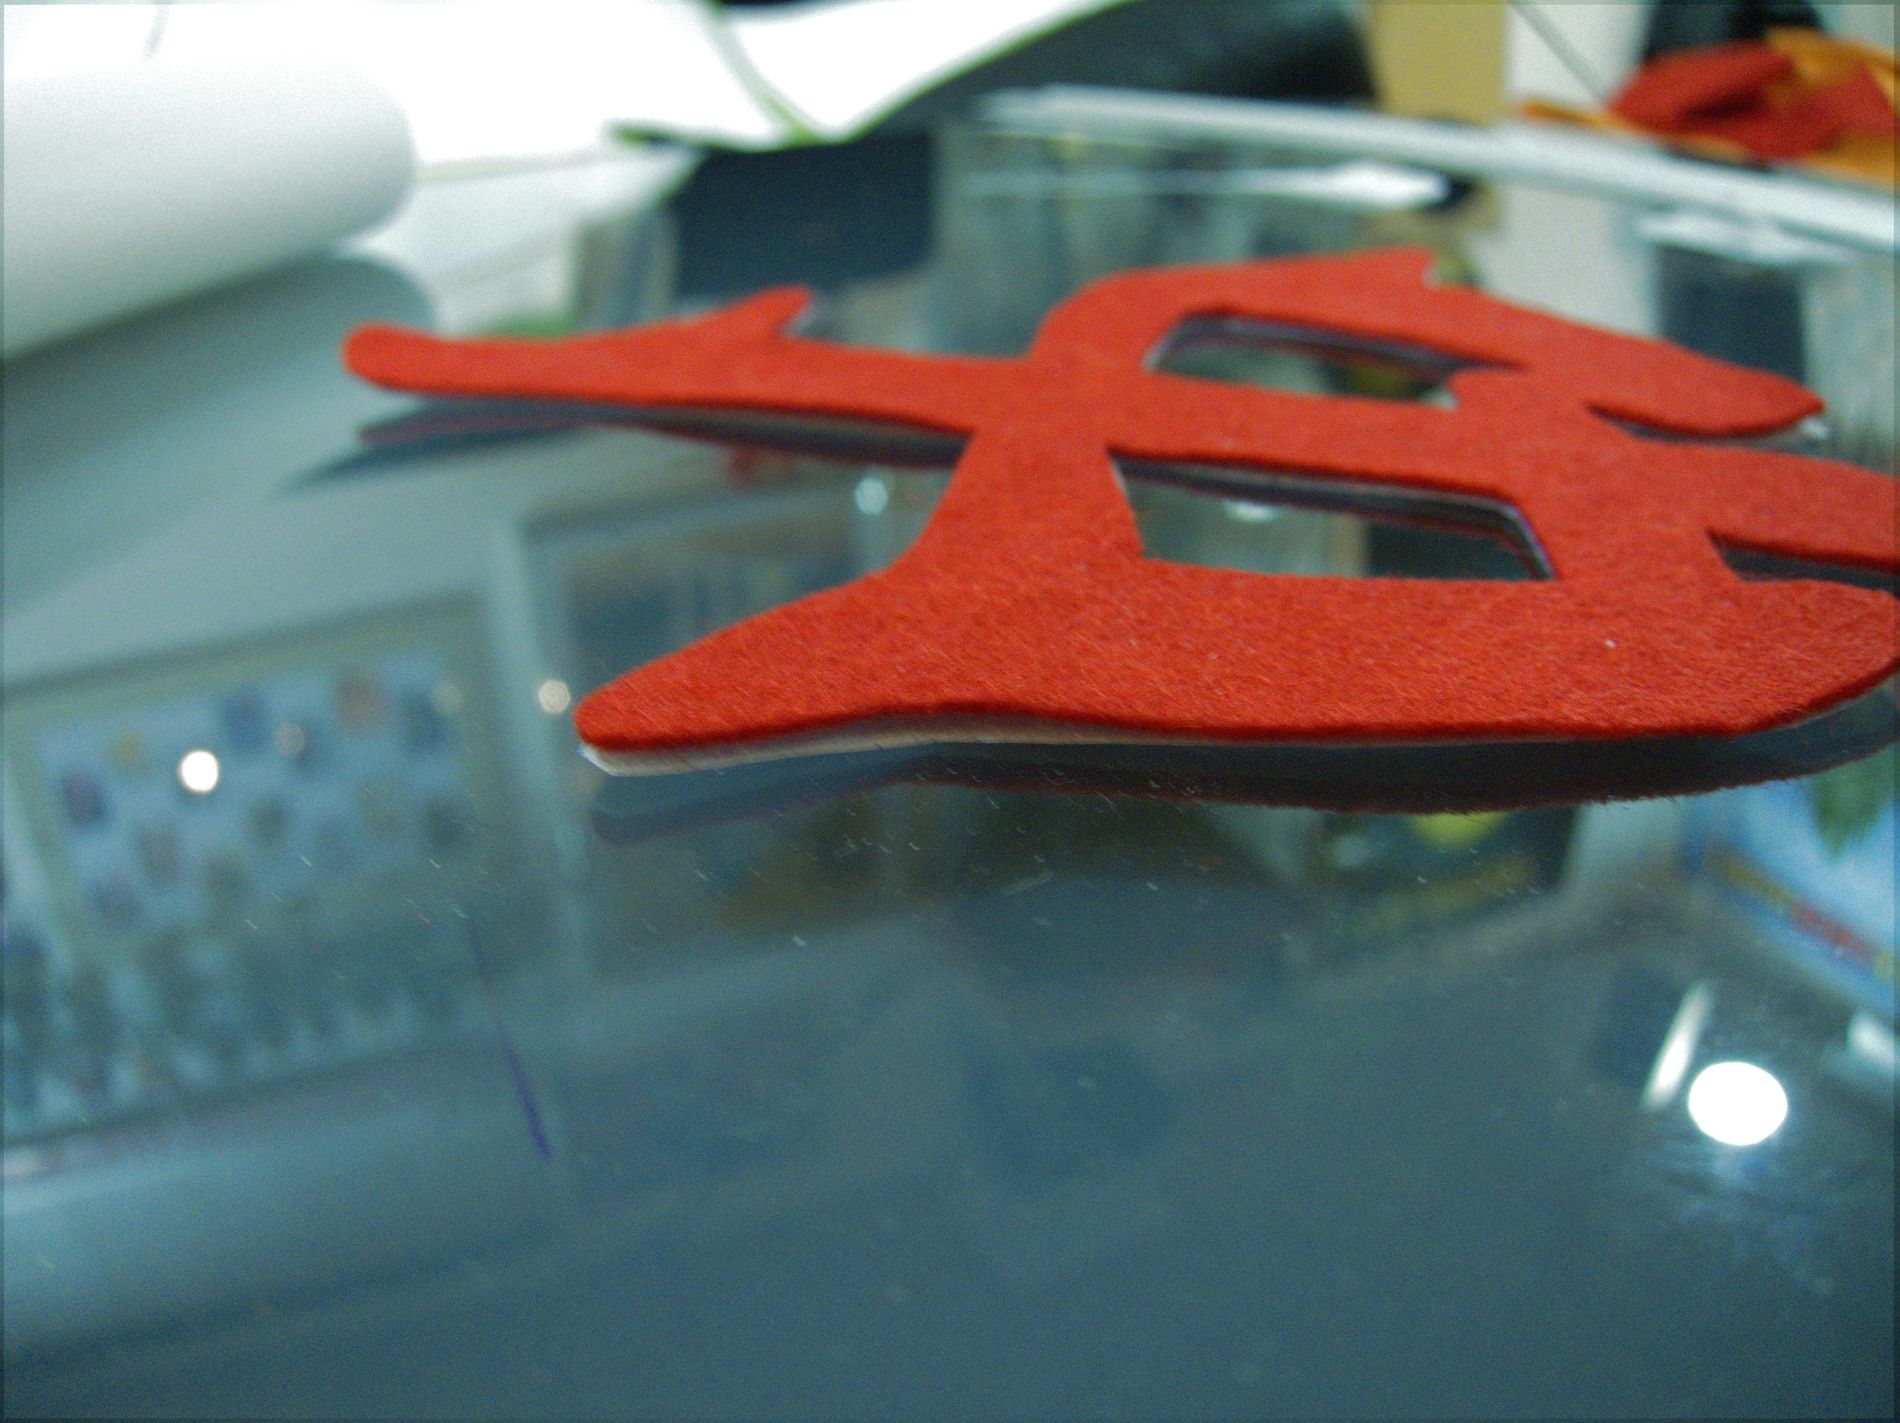
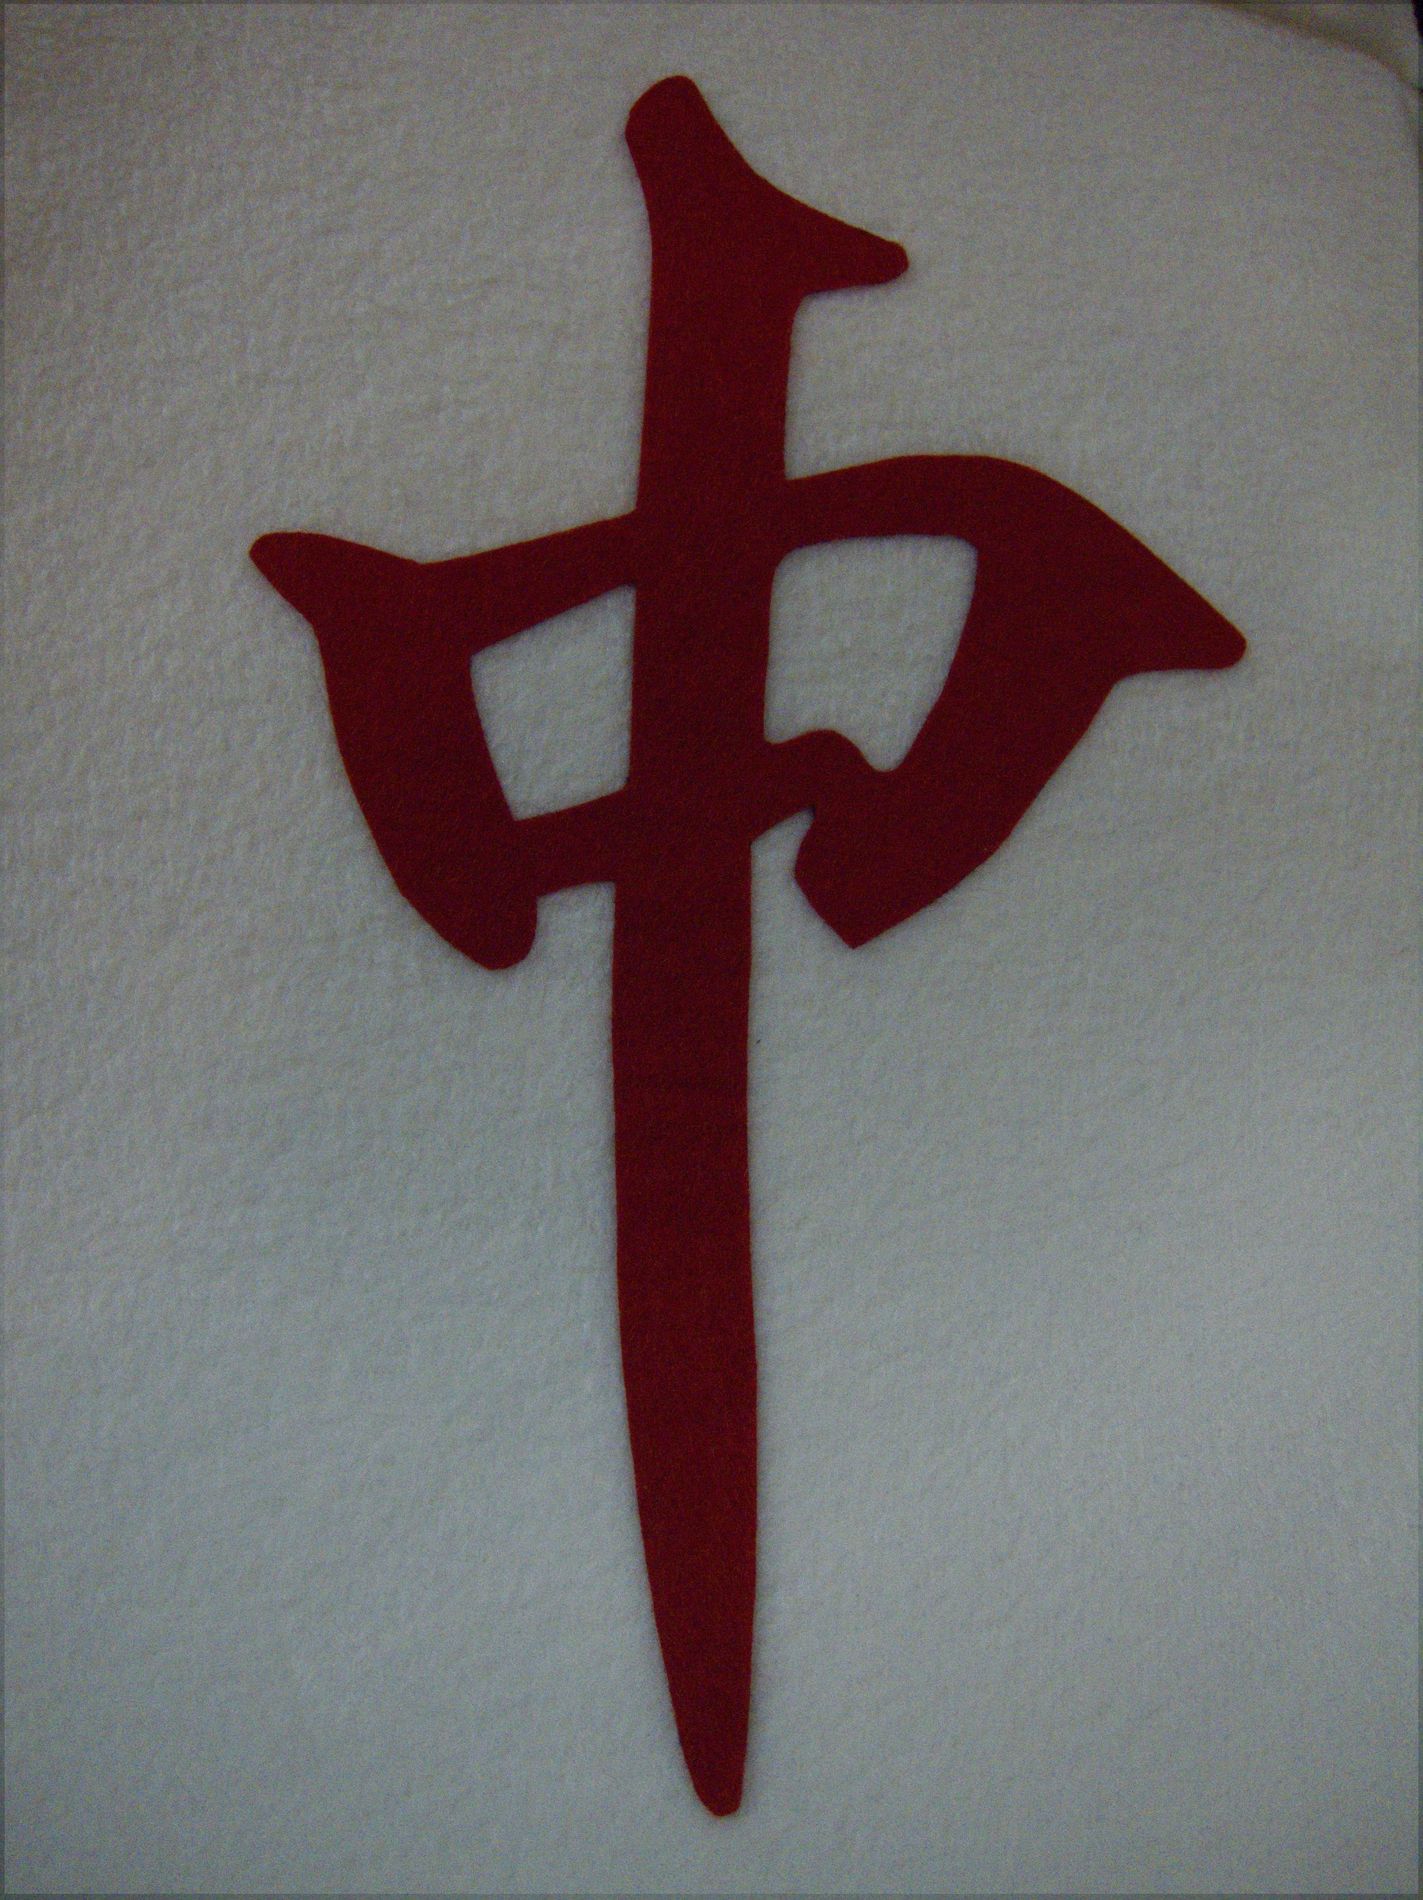
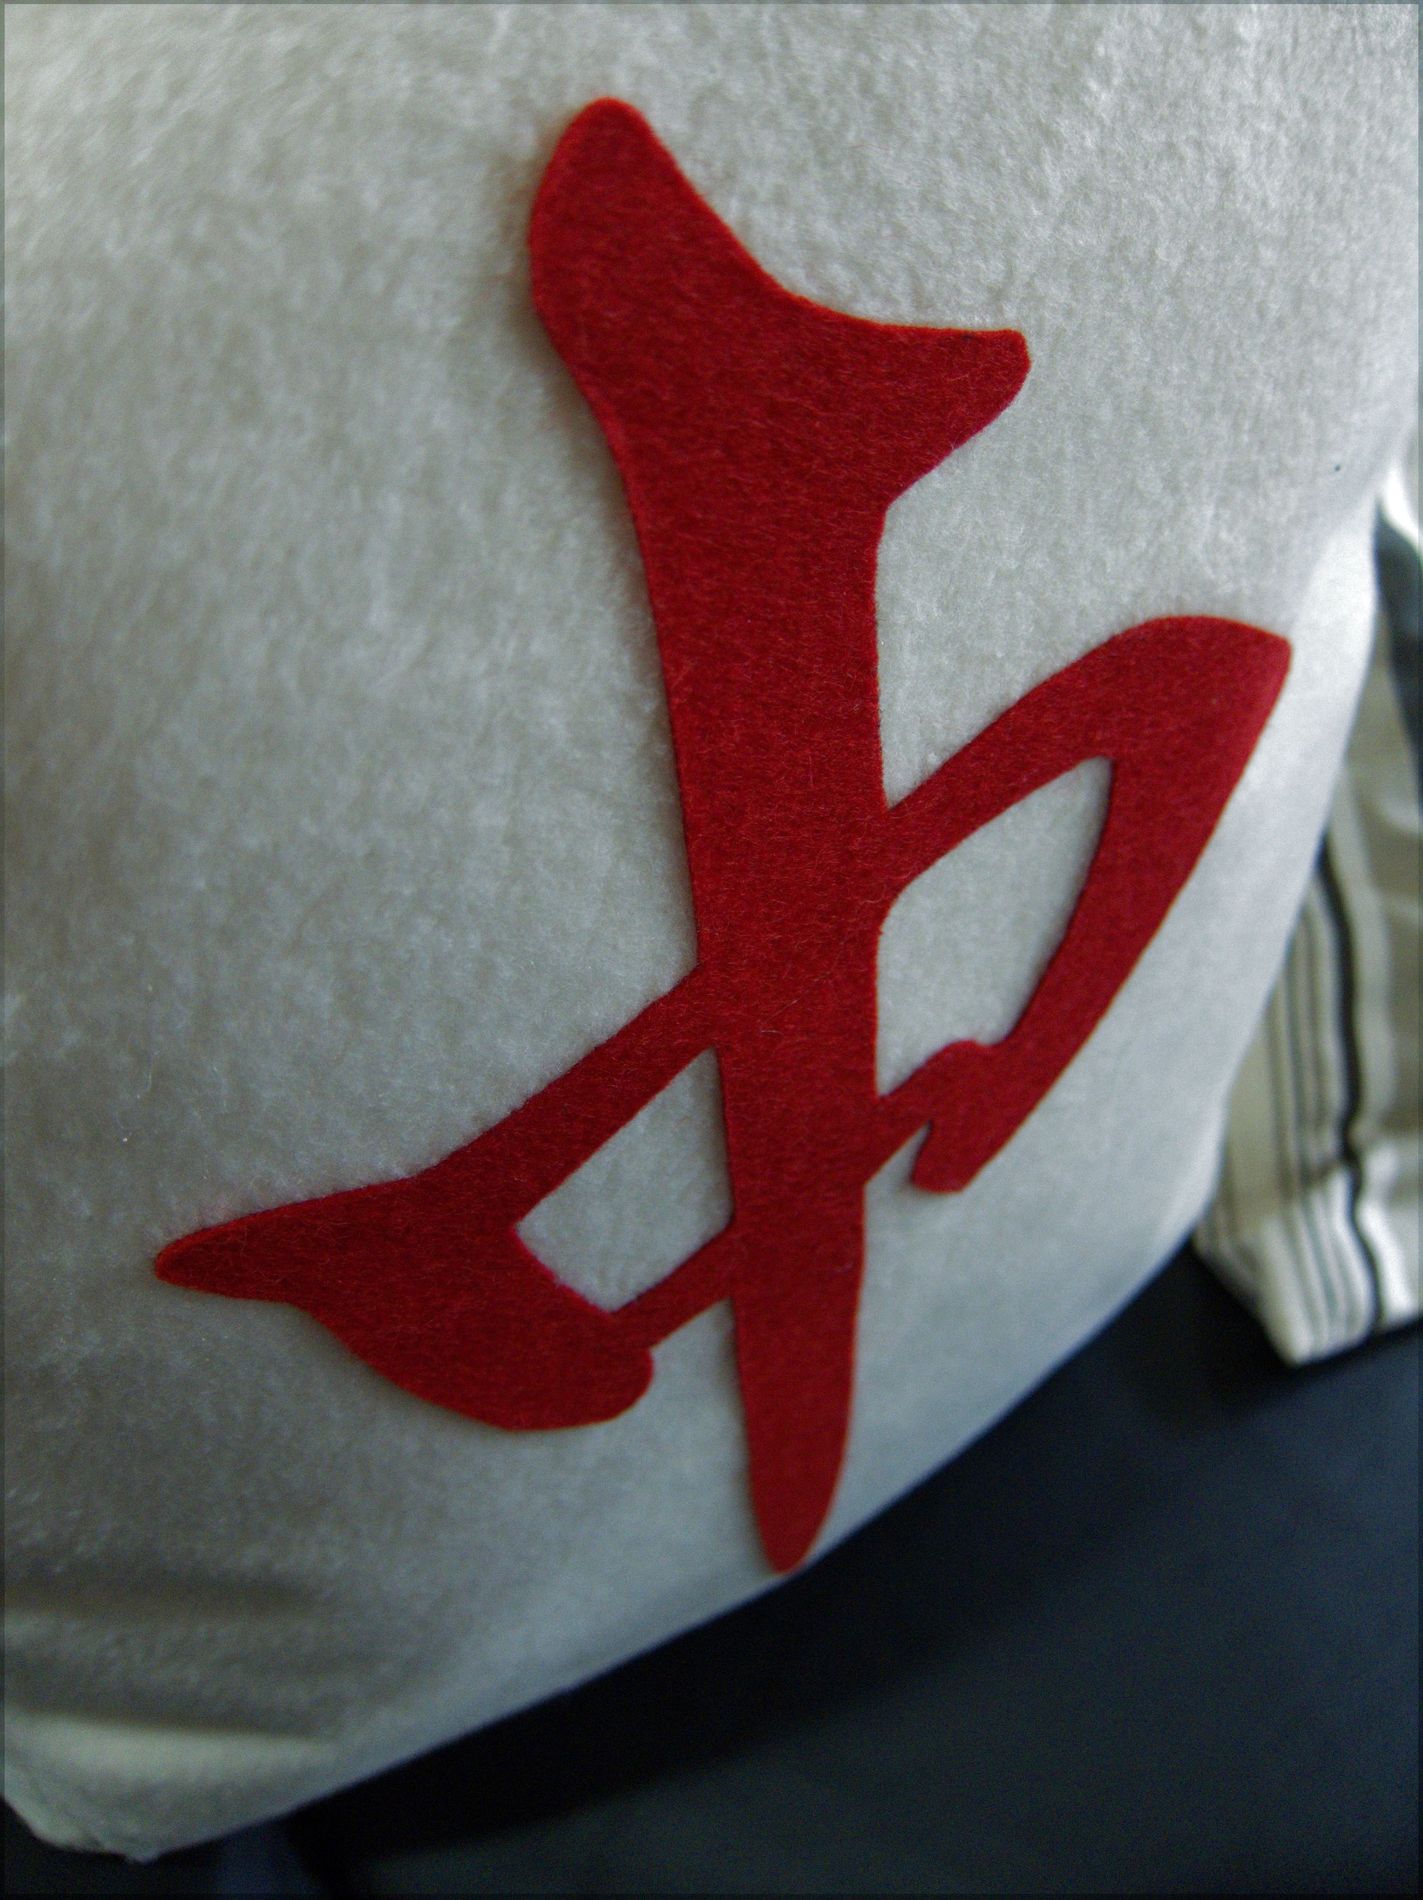
then use whatever chun tile image you like, print it out on the appropriate size and pin it into the red felt
cut the paper and felt in one go
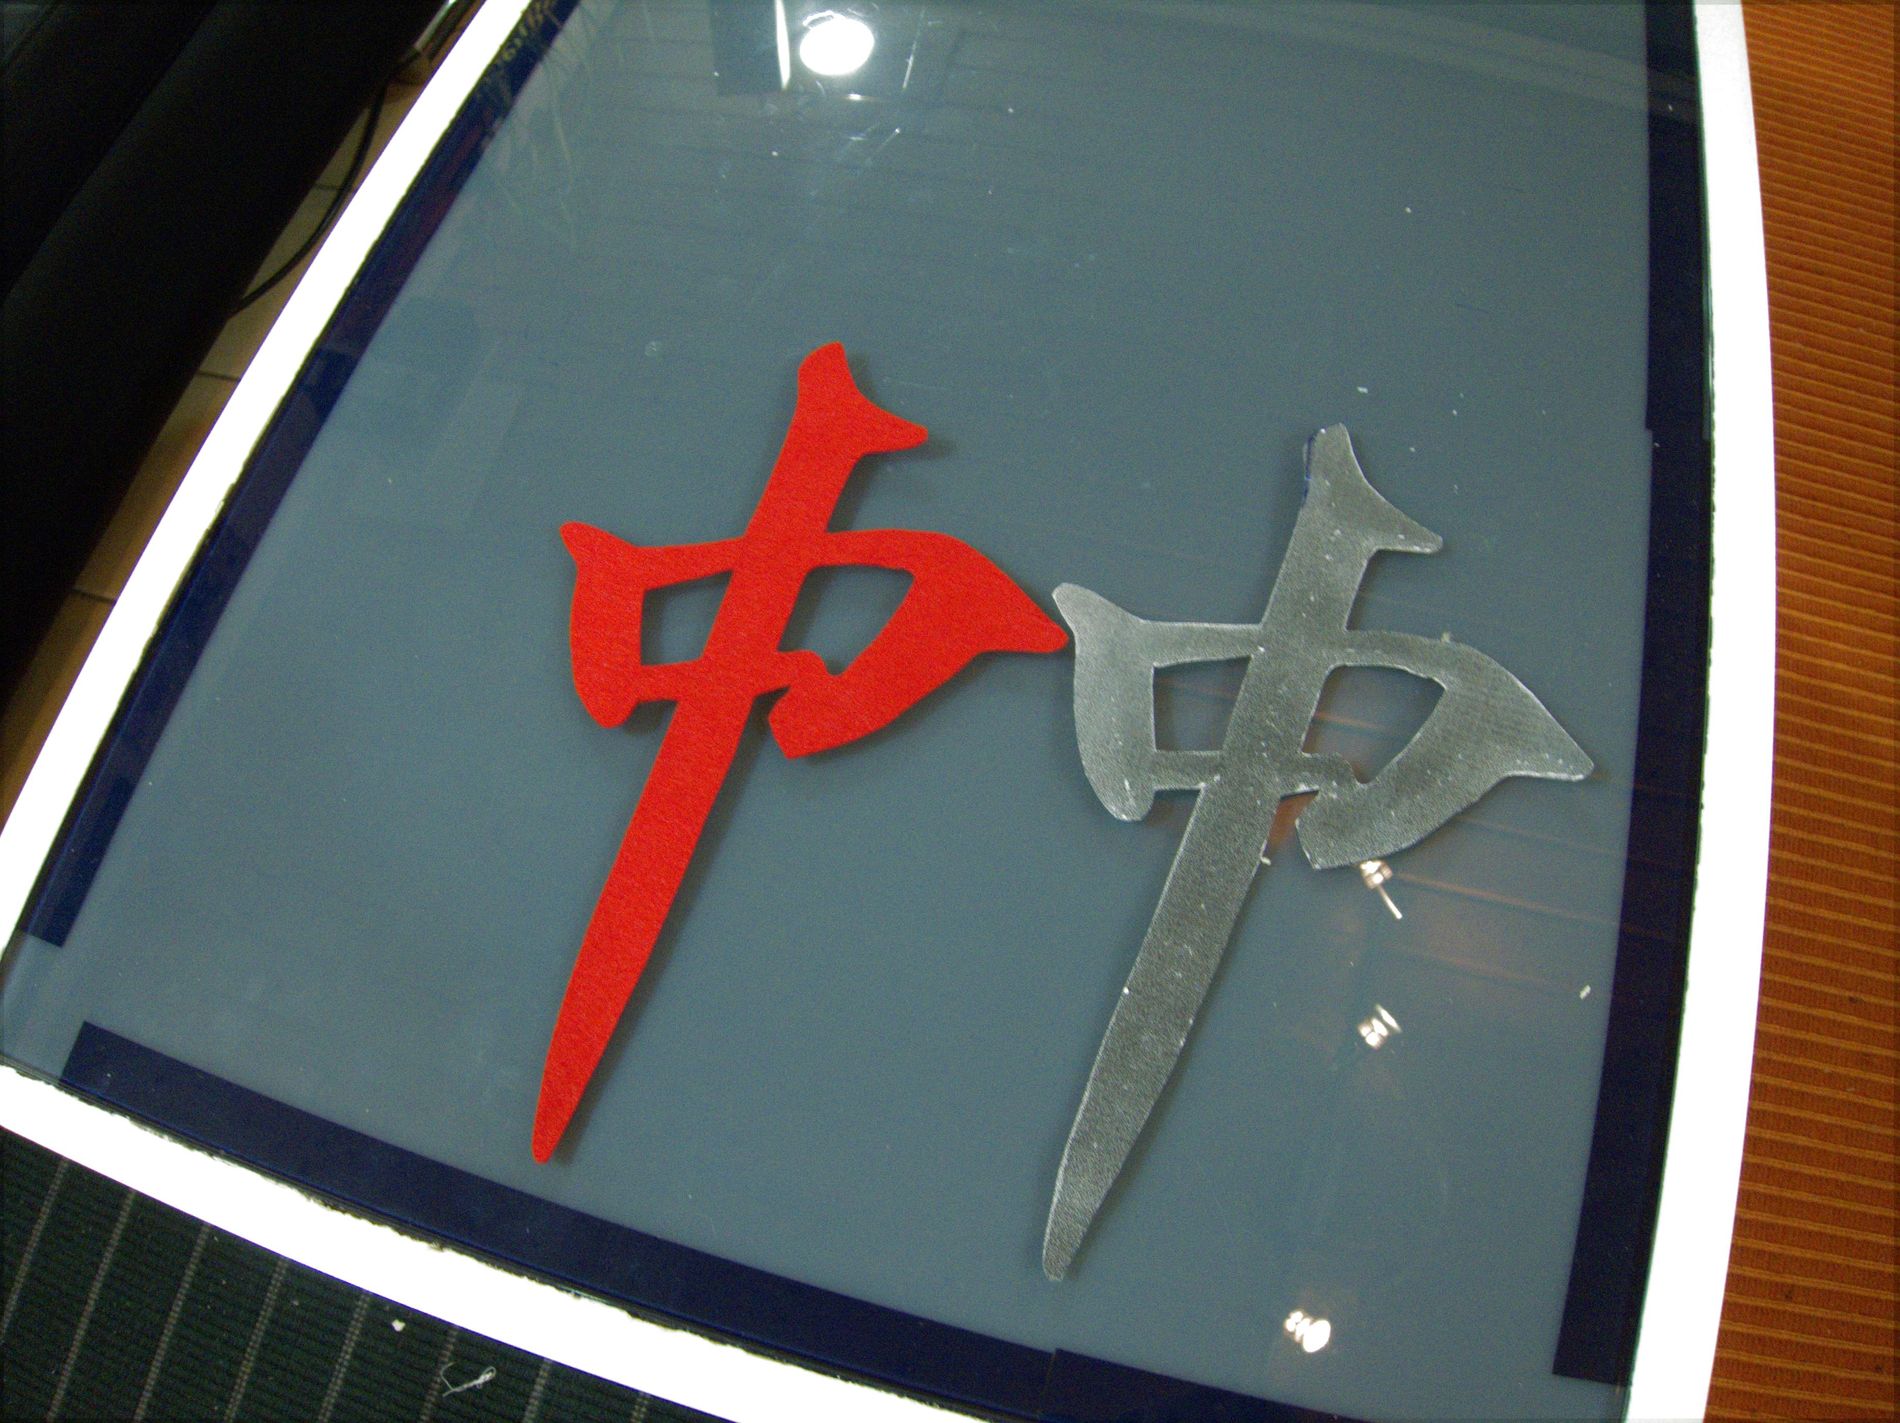
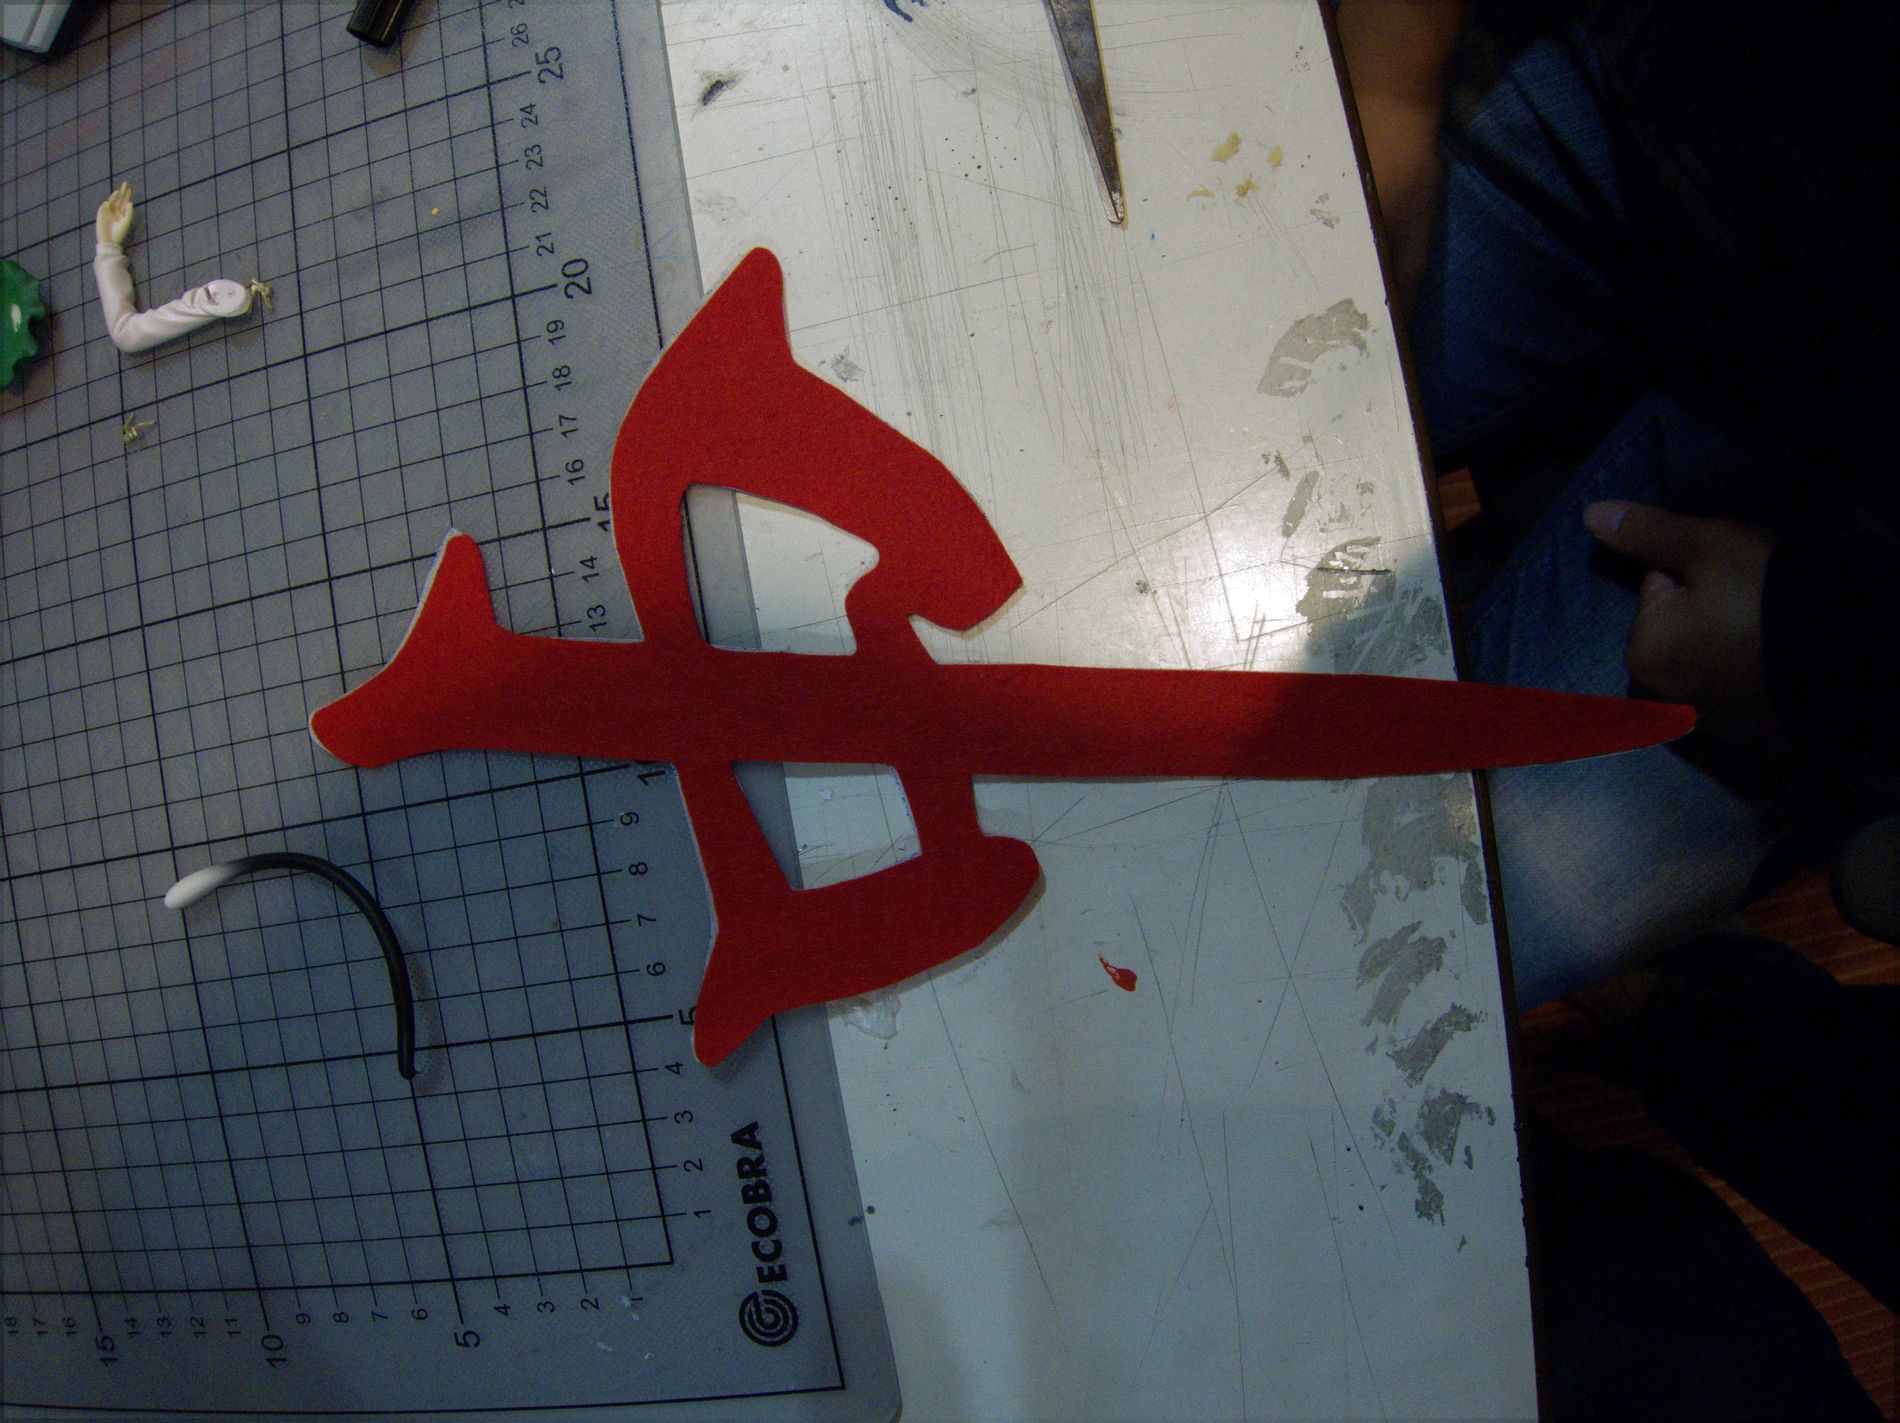
this should be the chin you get … below you can see the double-sided-glue interface.
again, the interface has been fastened to the felt using ironing.
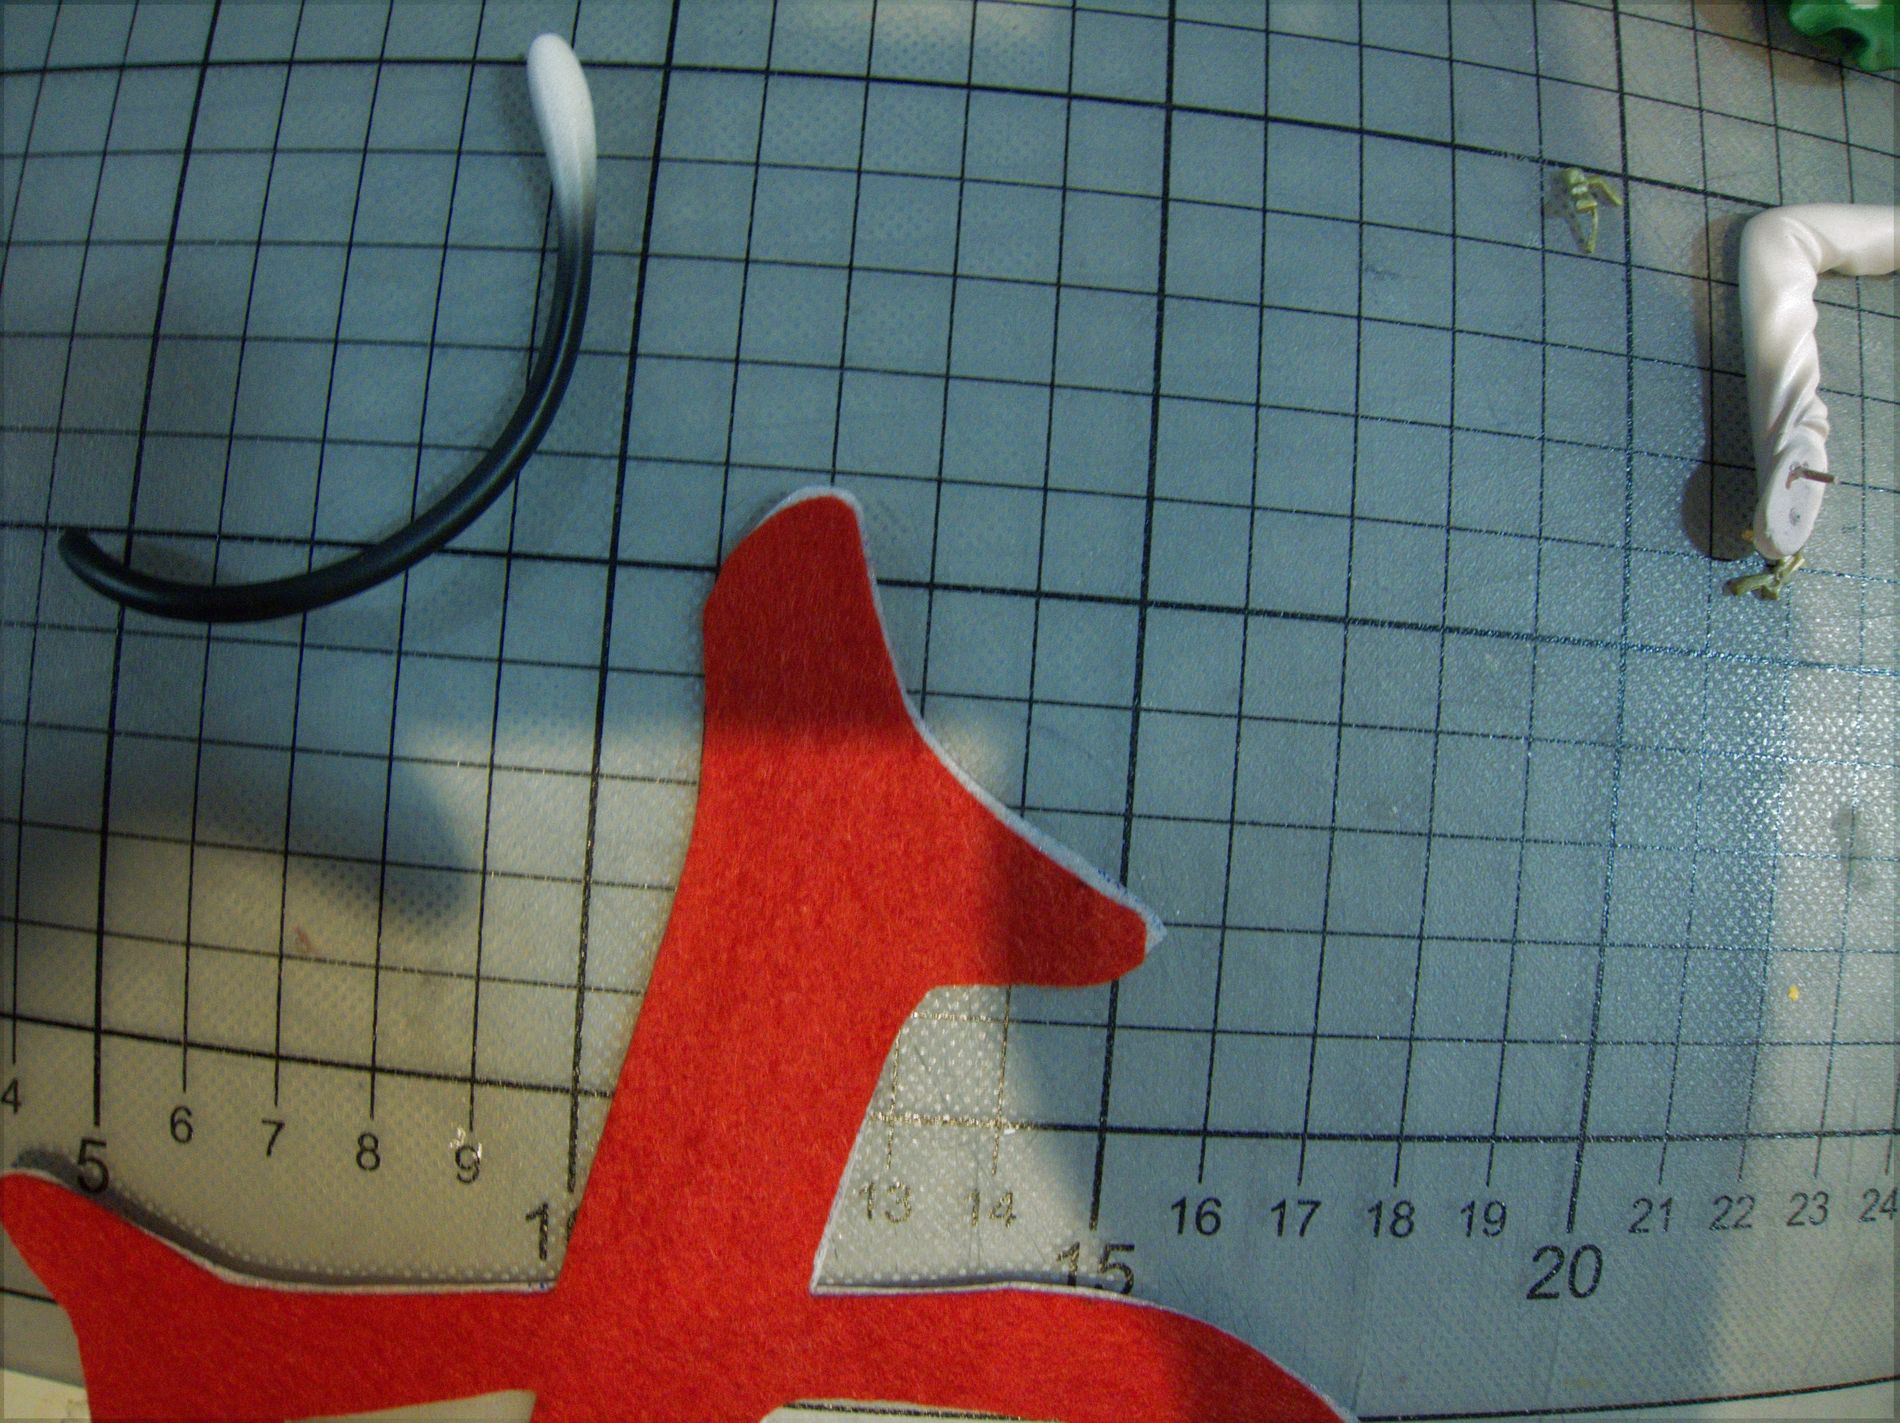
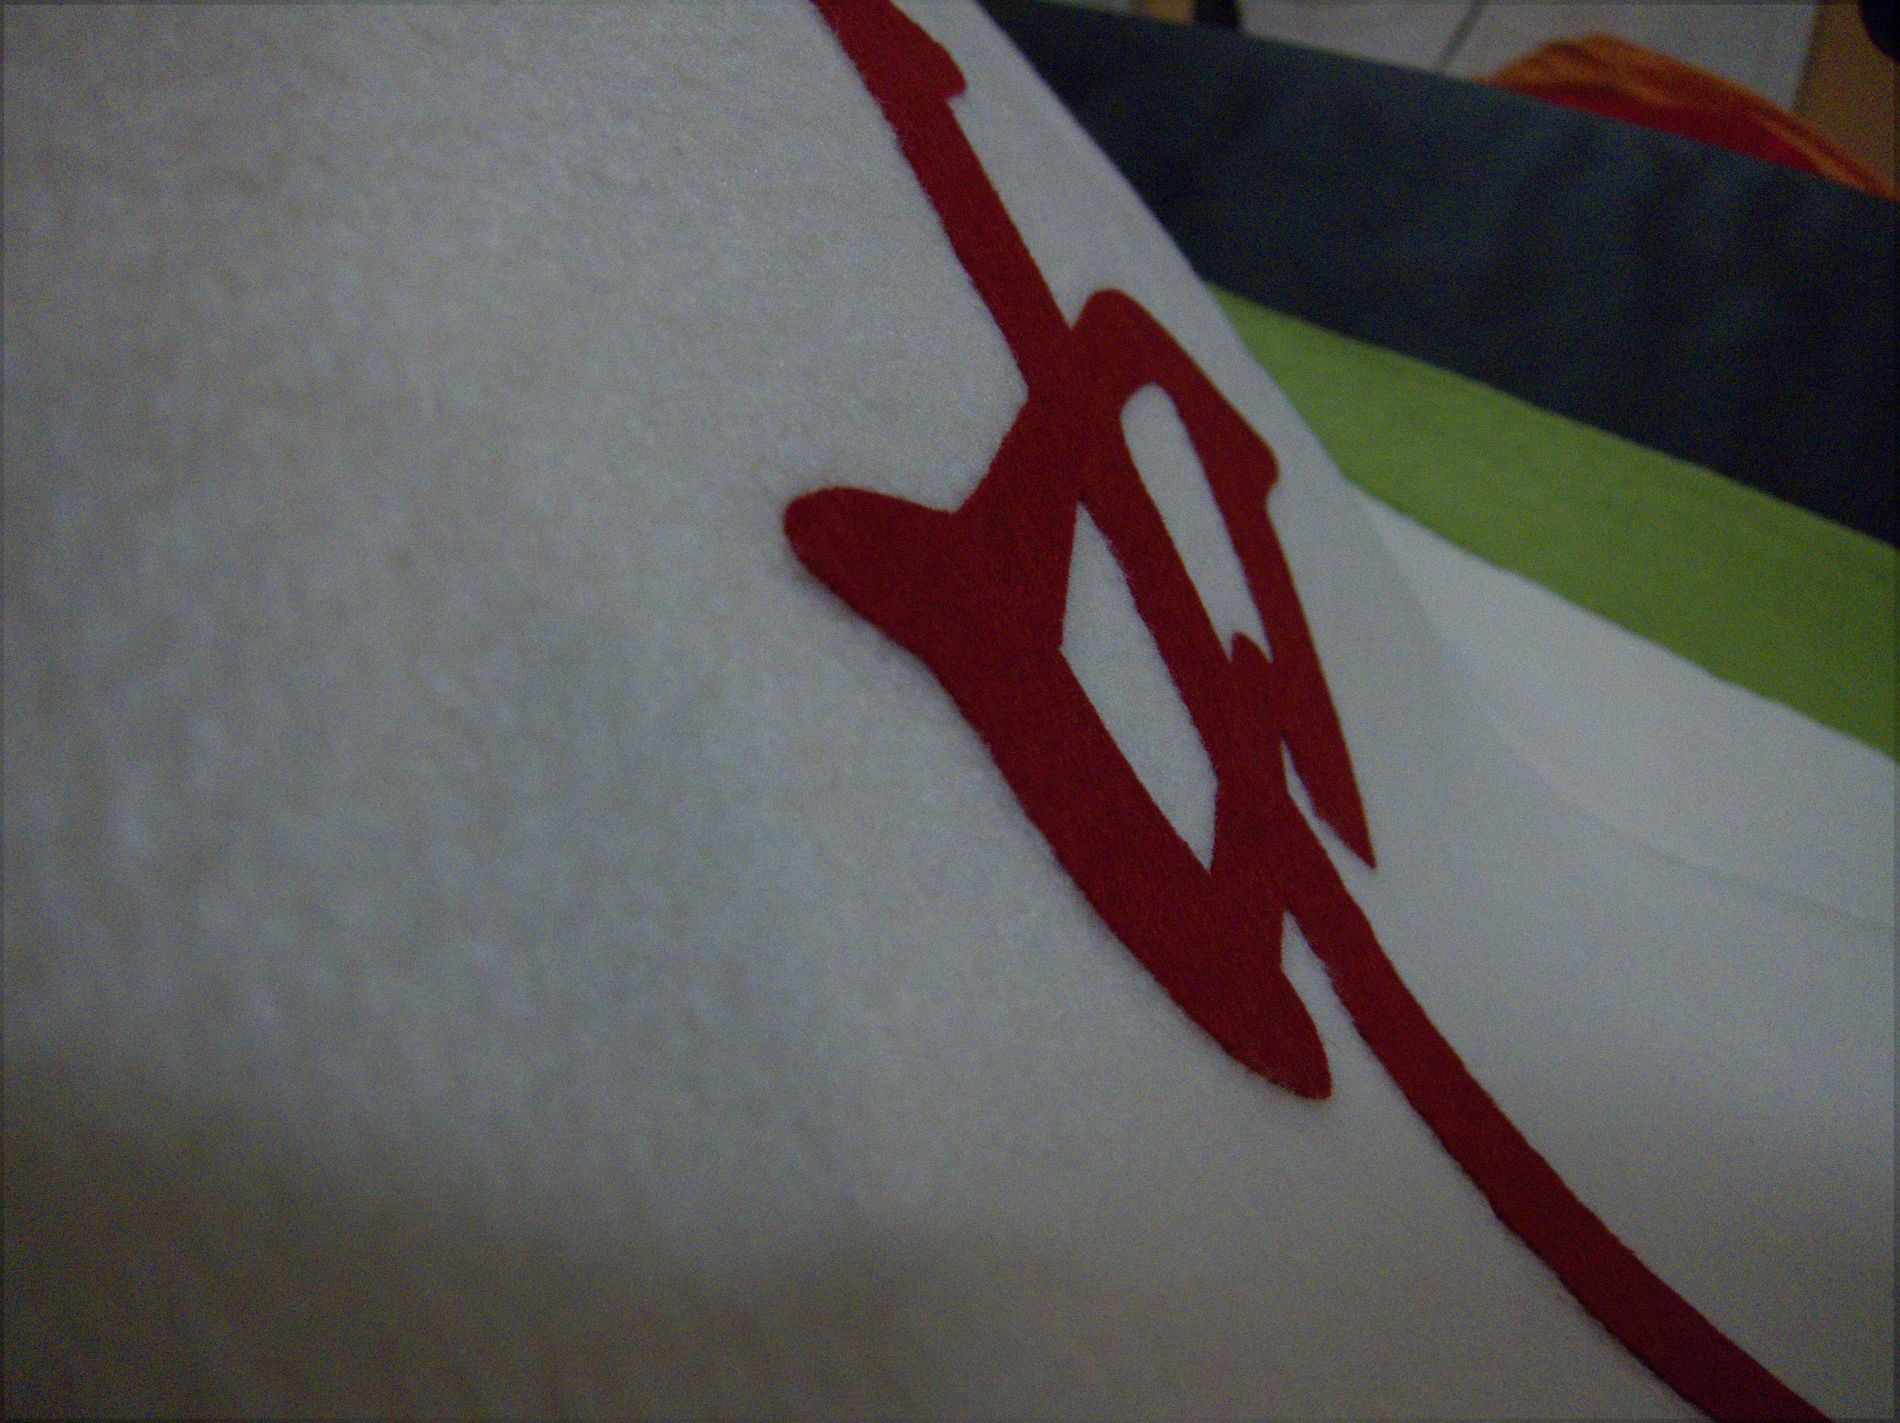
A little of the interface is still visible – cut until satisfactory!
this should illustrate the final stiffness of fabric+interface – it’s quite good!
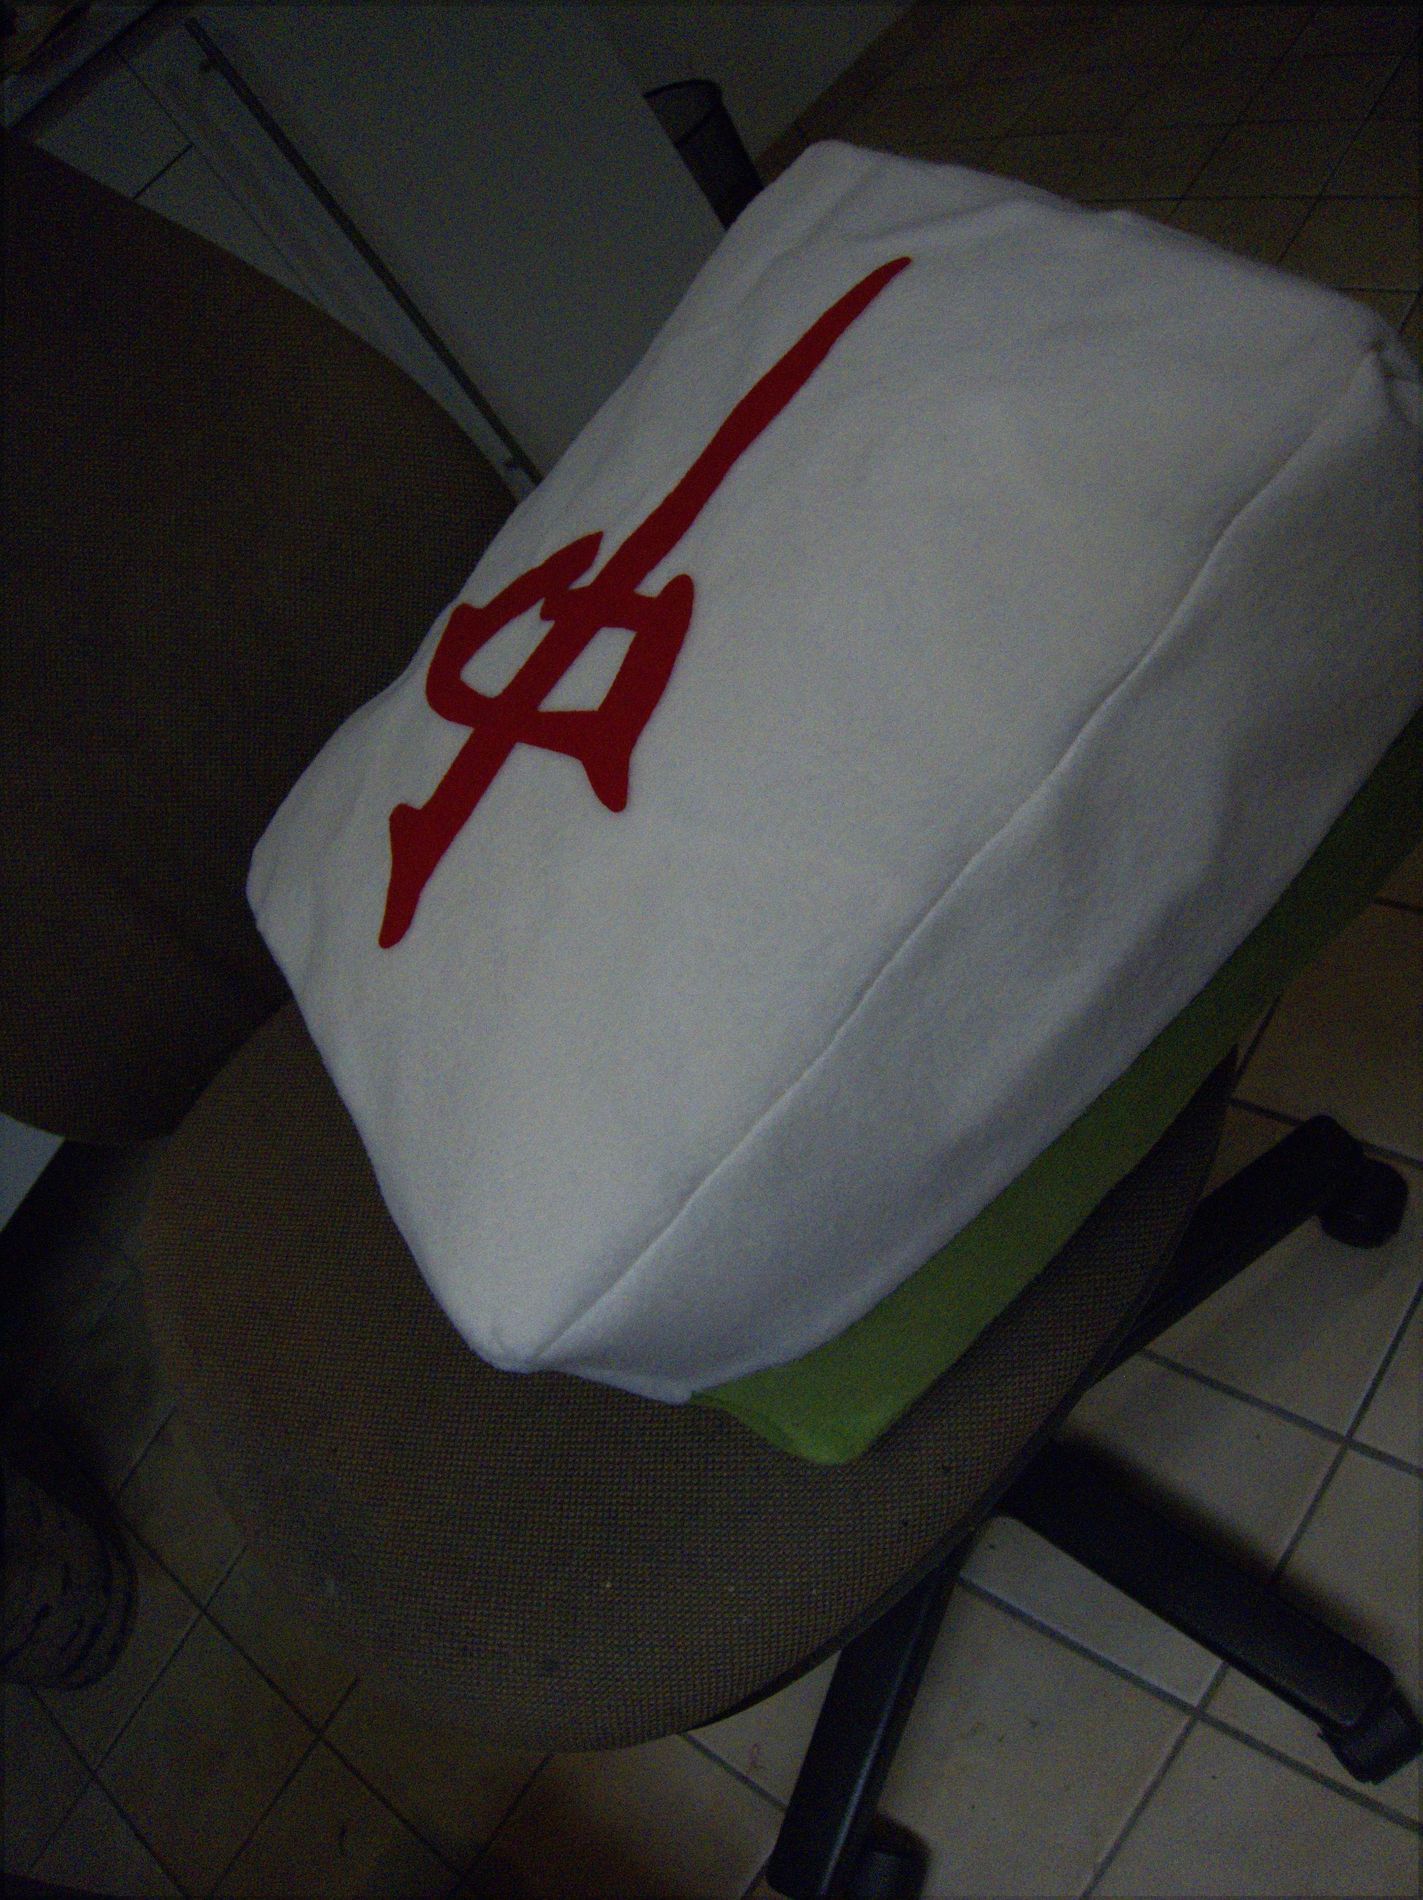
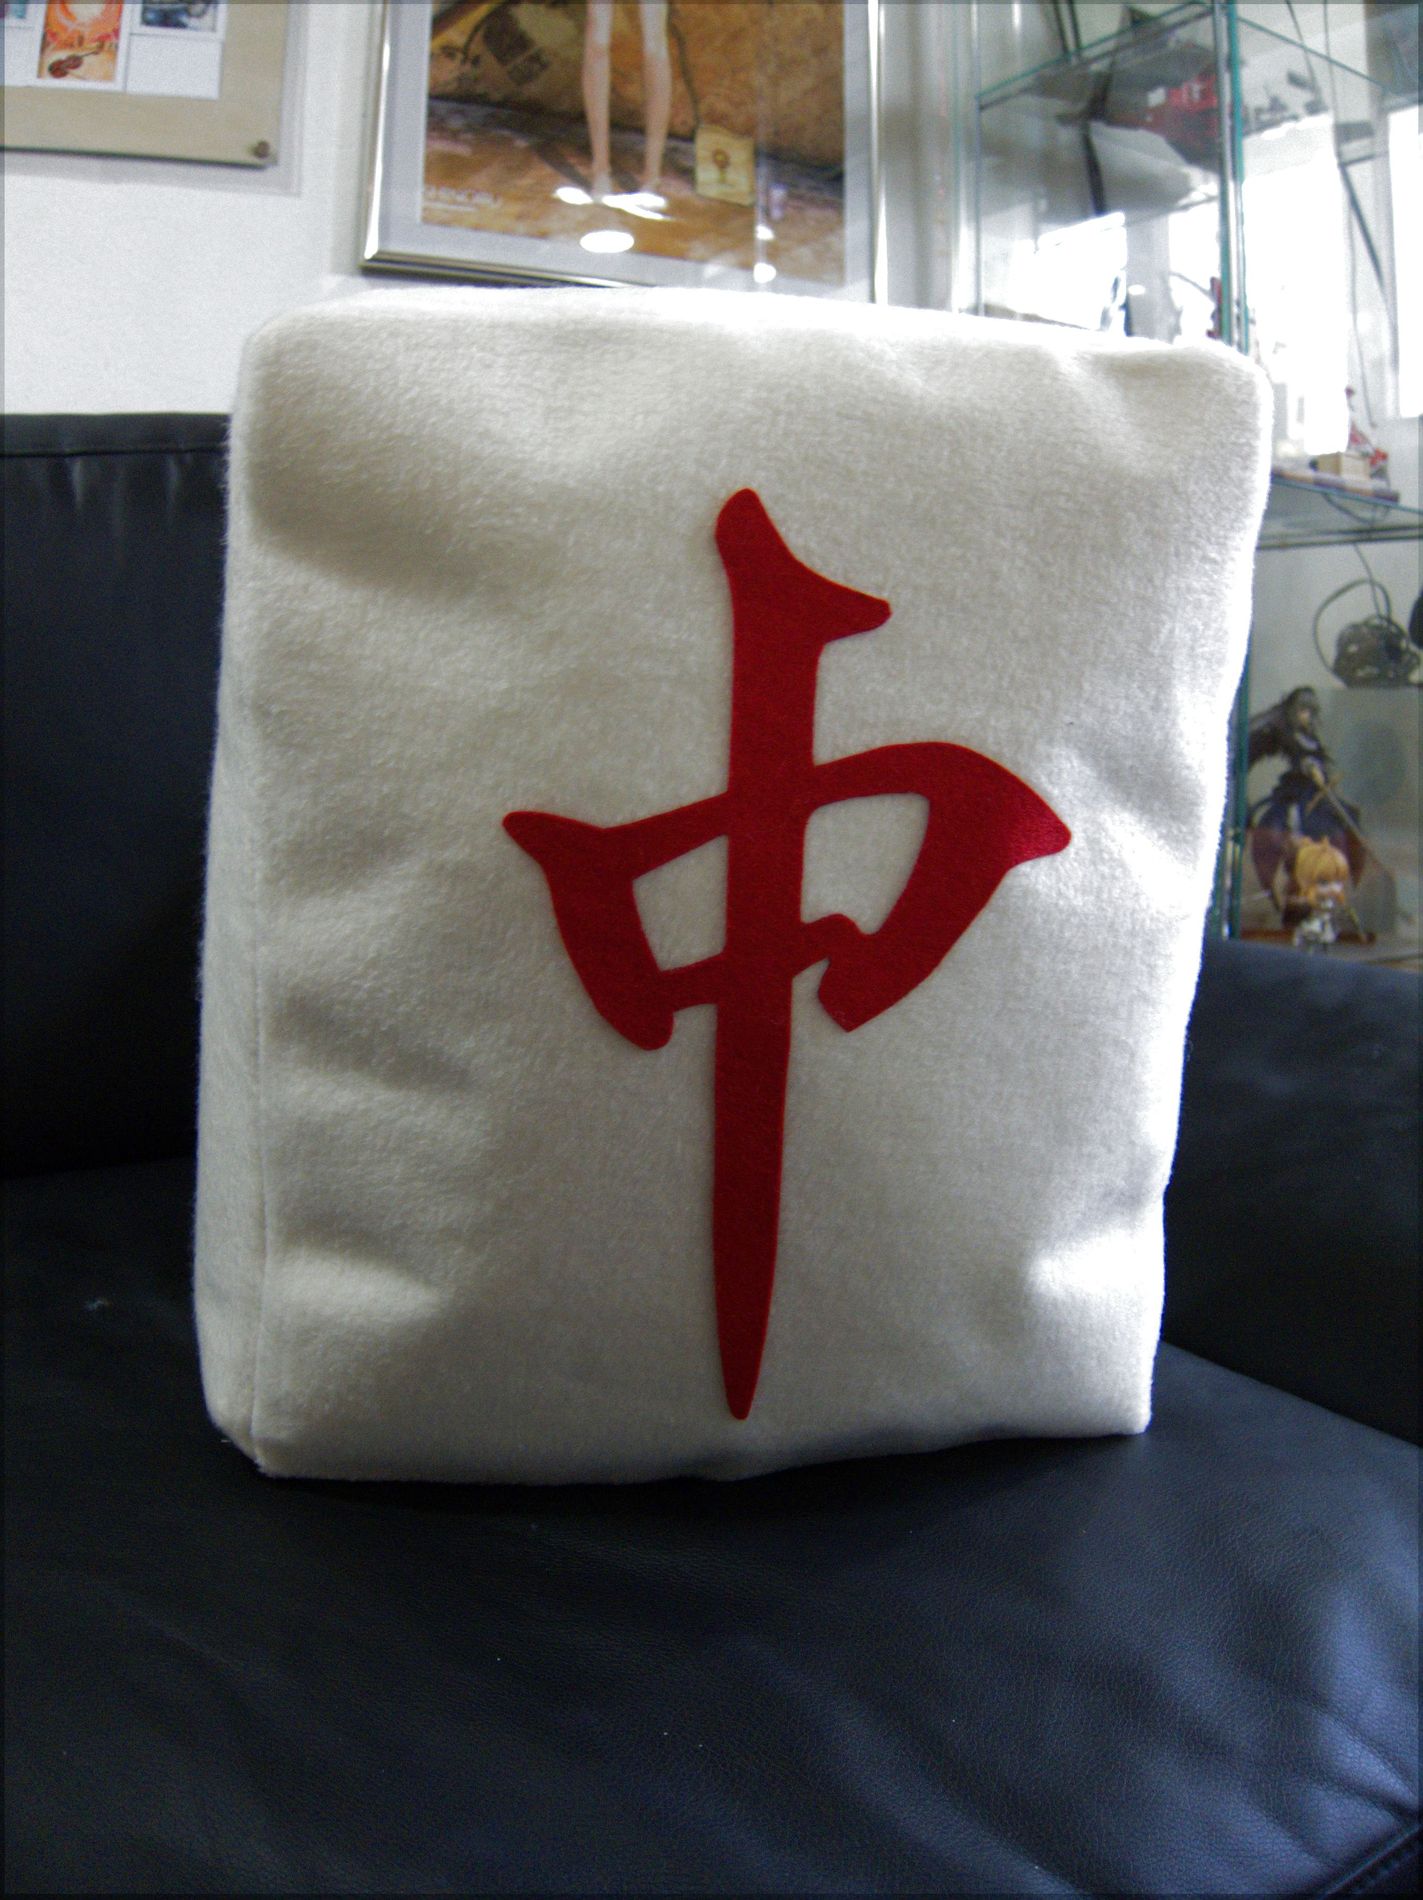
then fasten the chun-character on the front (white) – again iron it on!
i was astonished on how good the double-sided-glue interface is …
also, nice scissor-job 😛
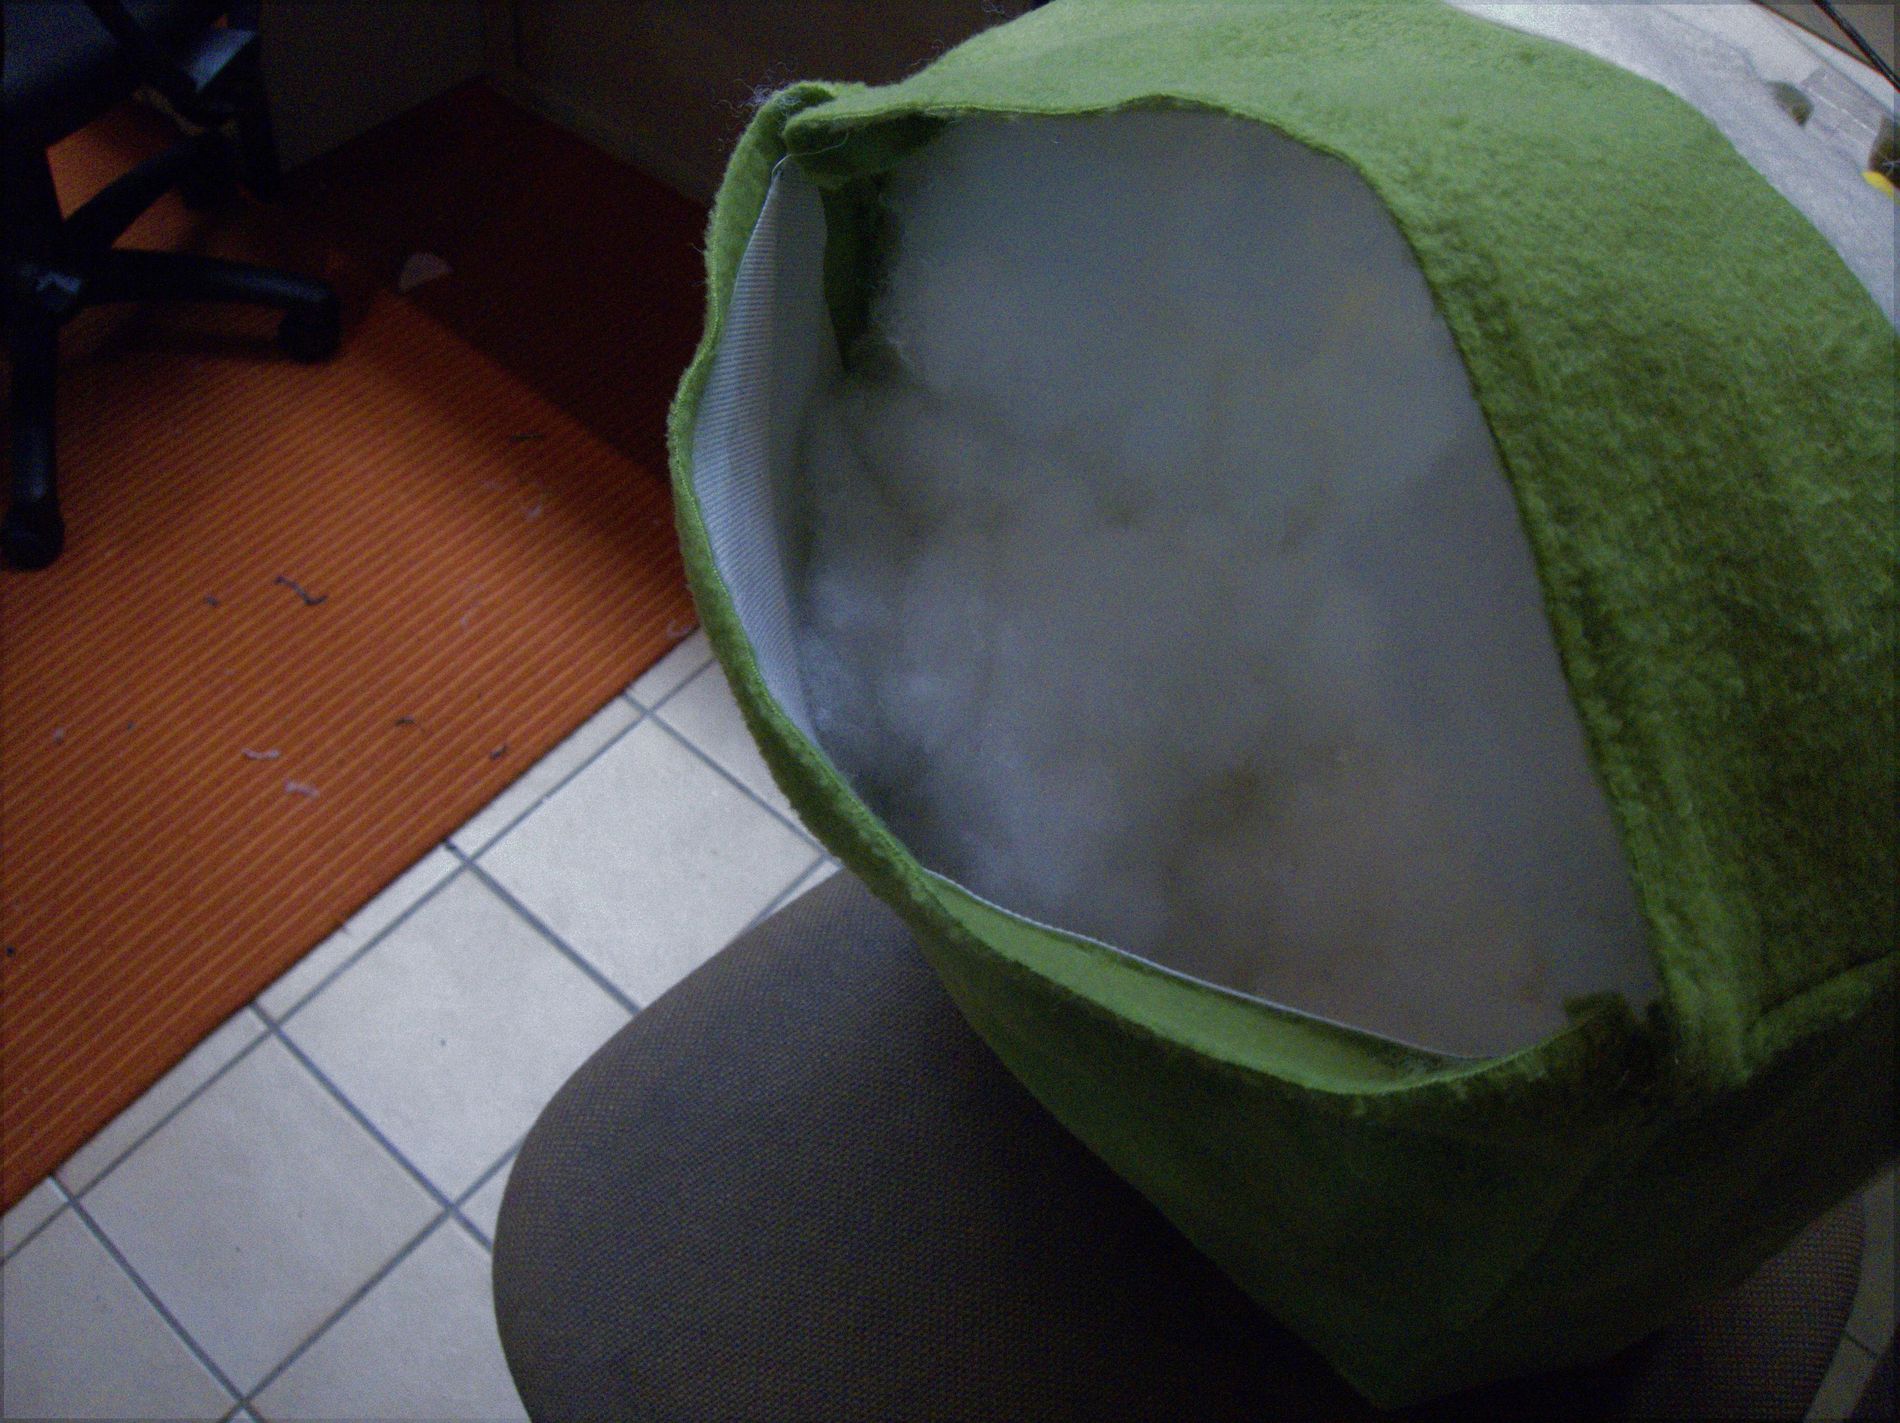
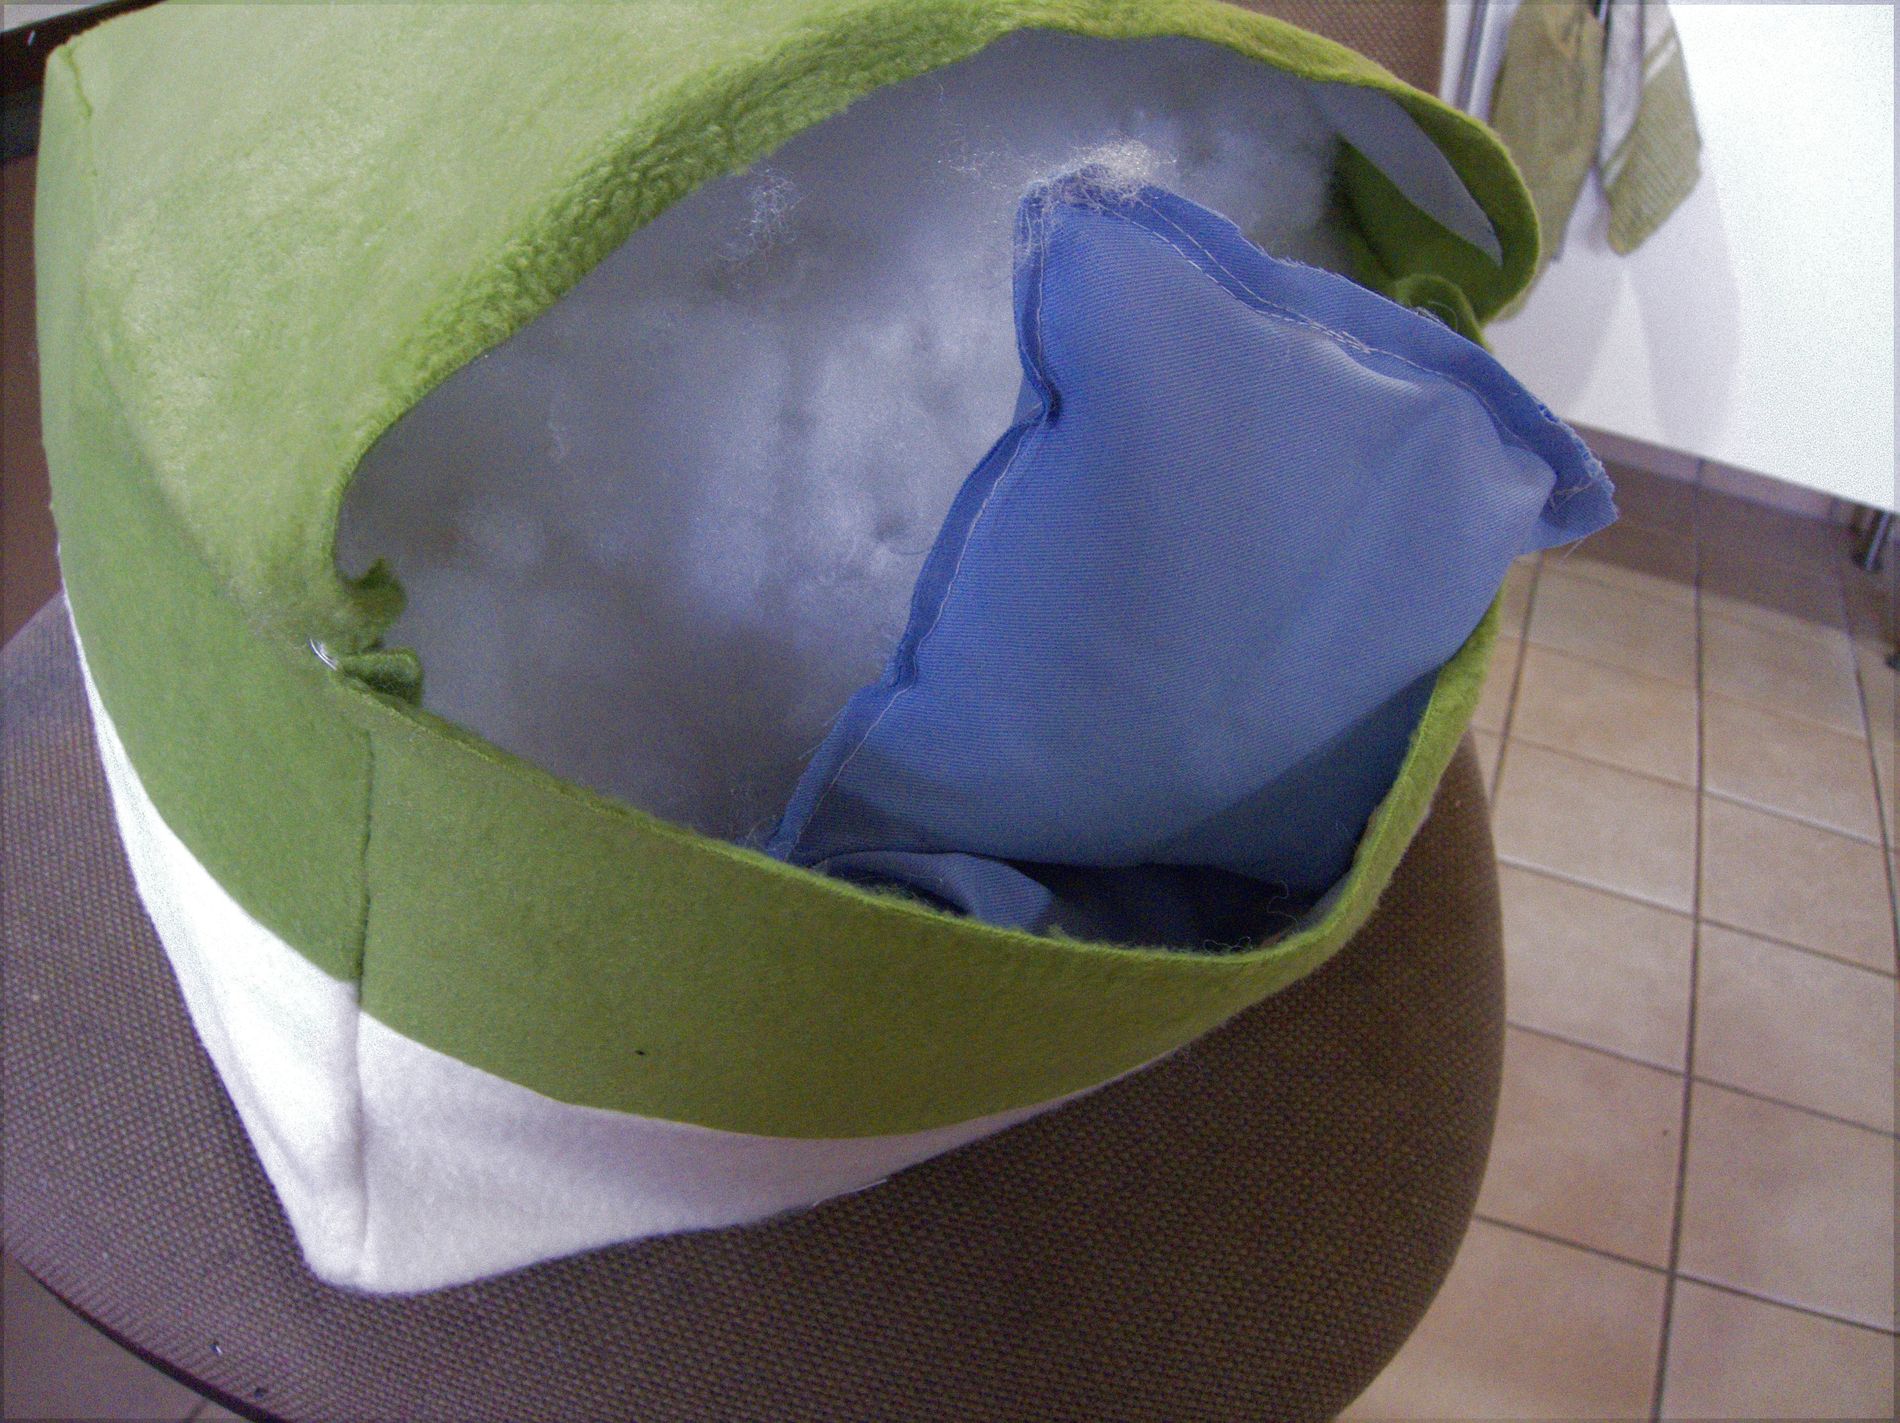
After sewing together the remaining edges (leave one open!) and turning the whole thing outside-in (as you sewed on the outside) you can fill it with almost as much stuffing as you want..
it will then look roughly like this…
then you can – if you want – sew a quick and dirty pocket and fill it with some granulated plastic…
this then goes into the tile at the bottom to make the tile stand better
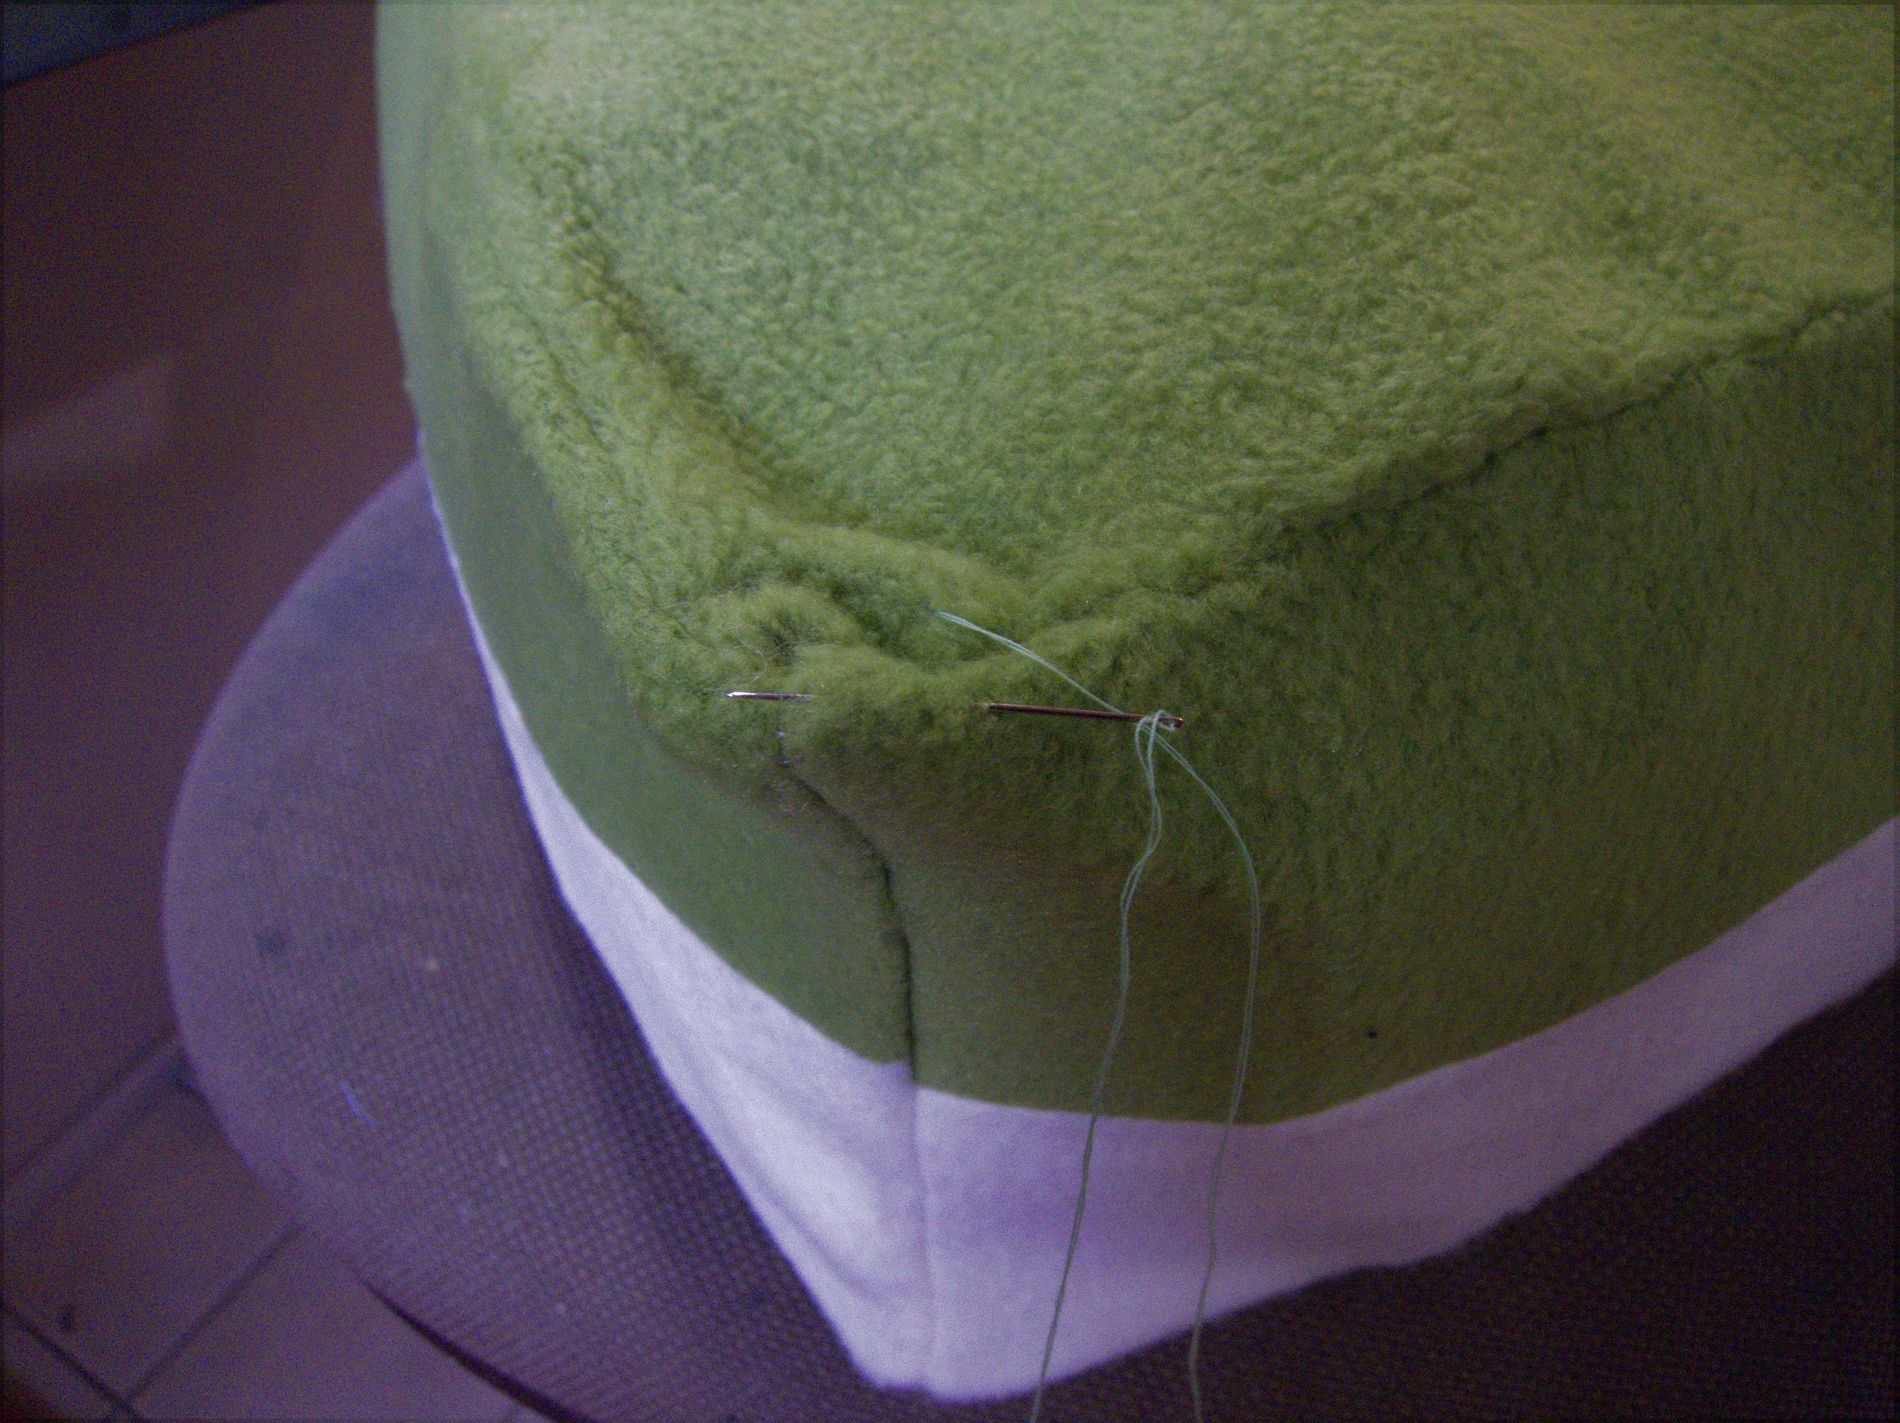
Close the remaining edge using a invisible pattern
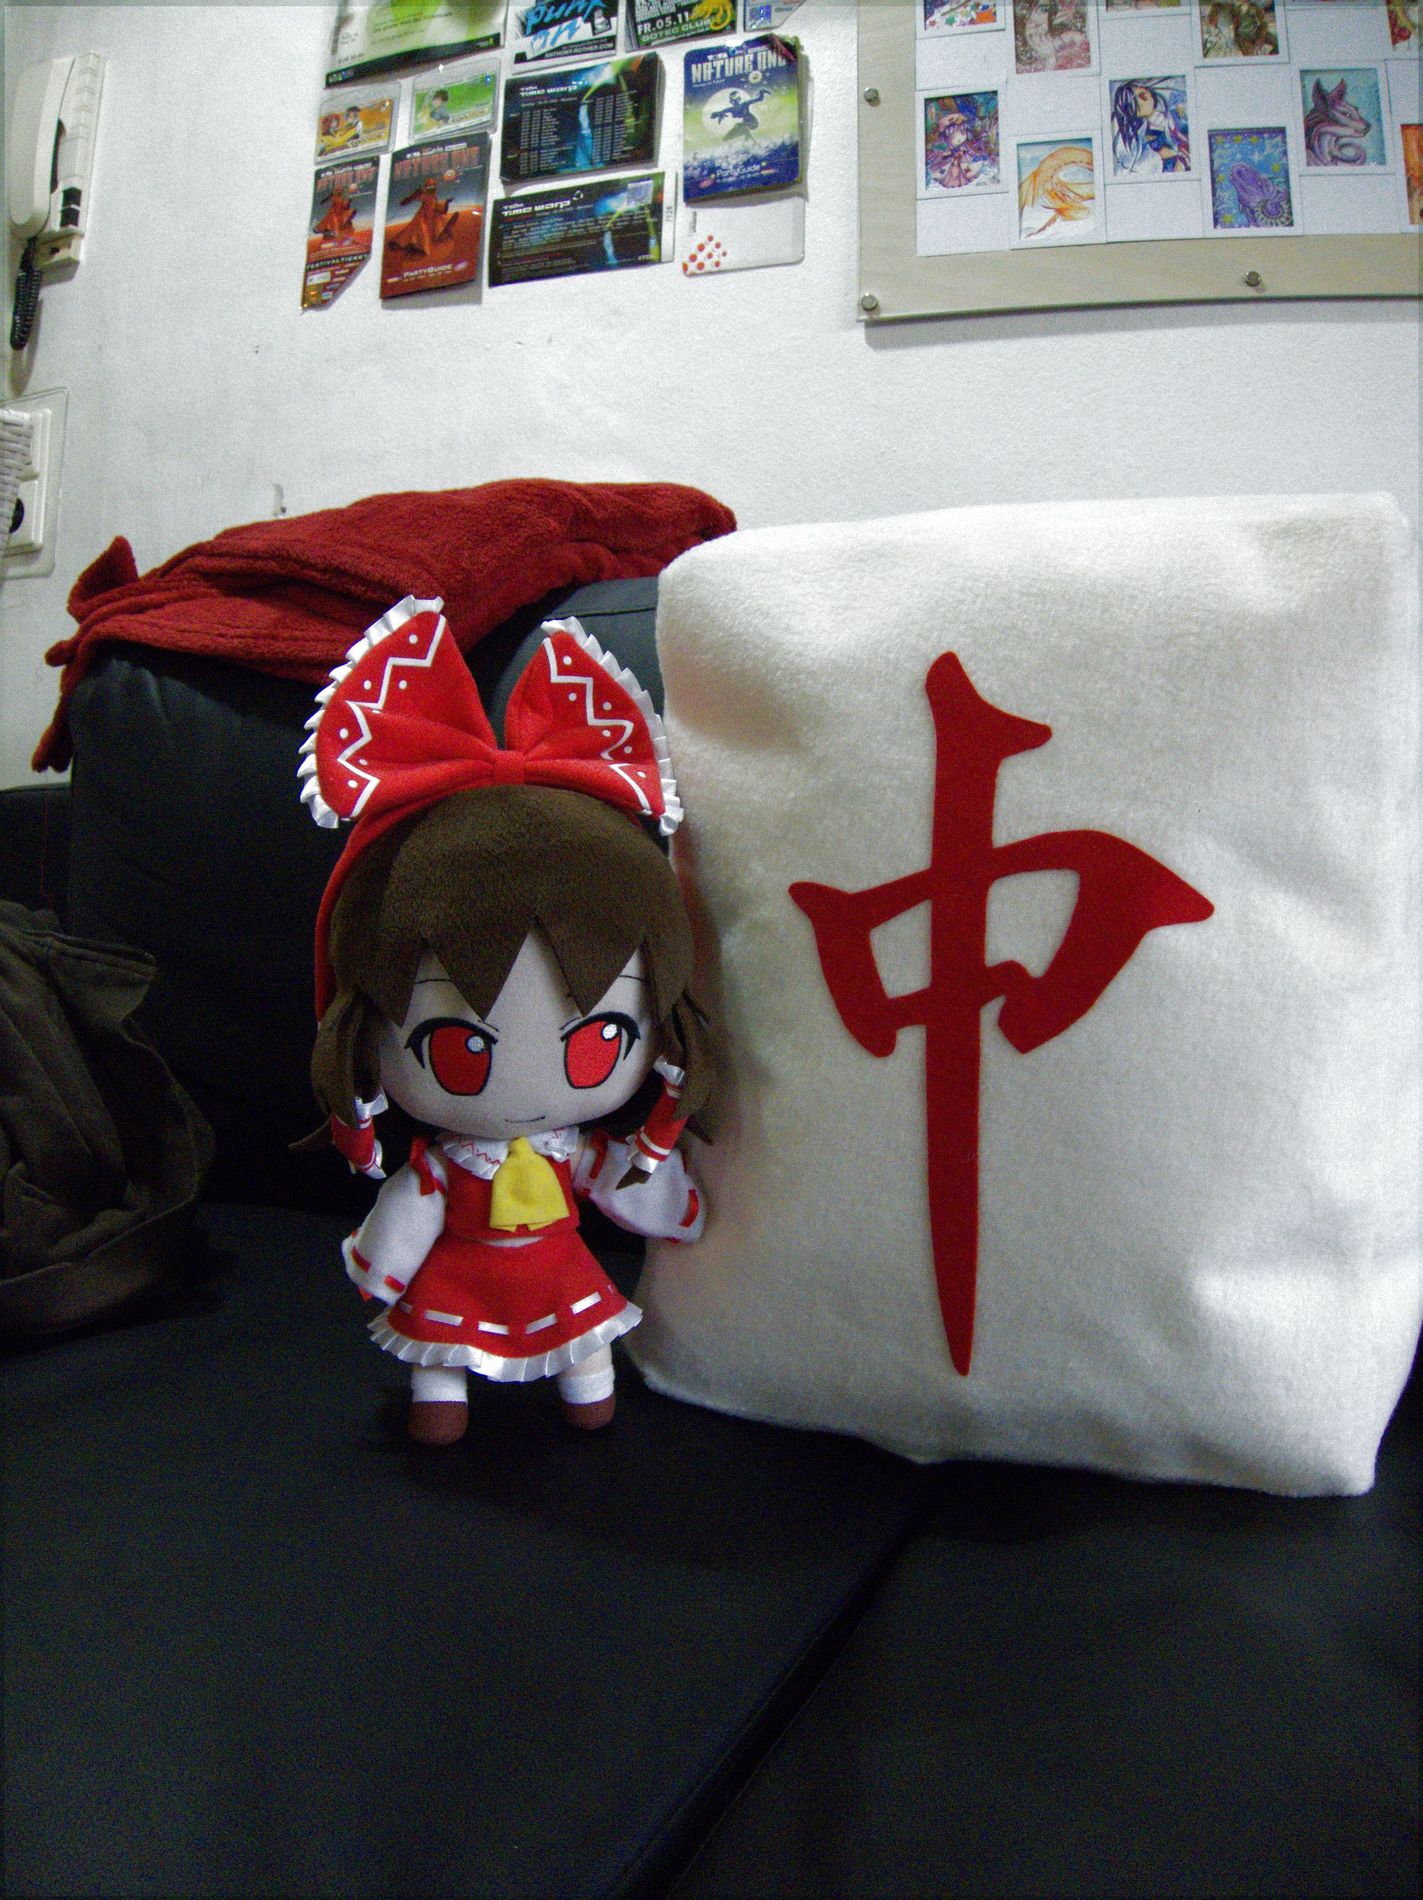
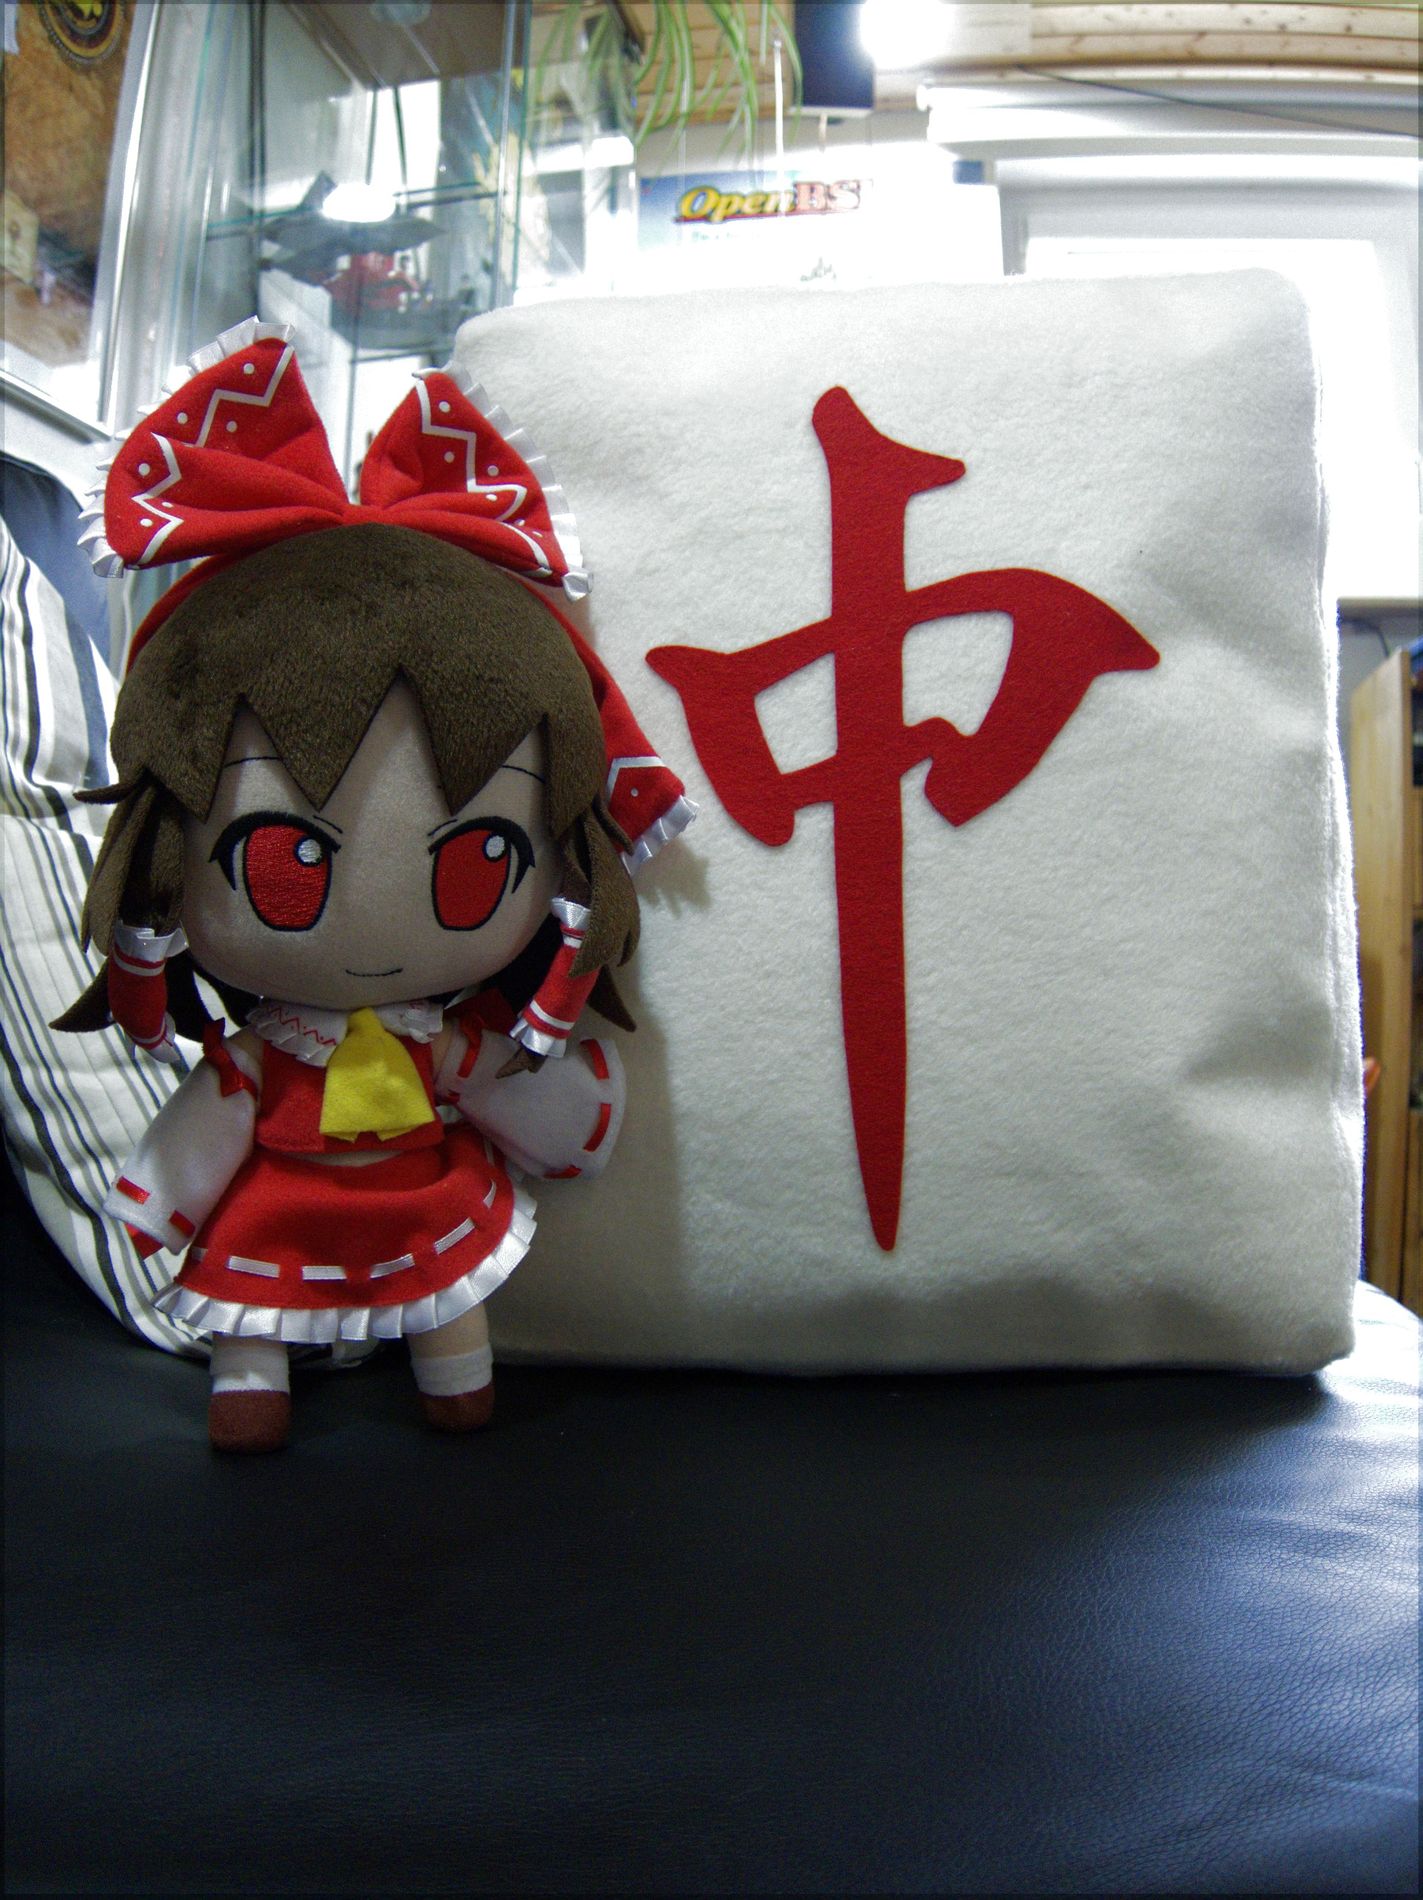
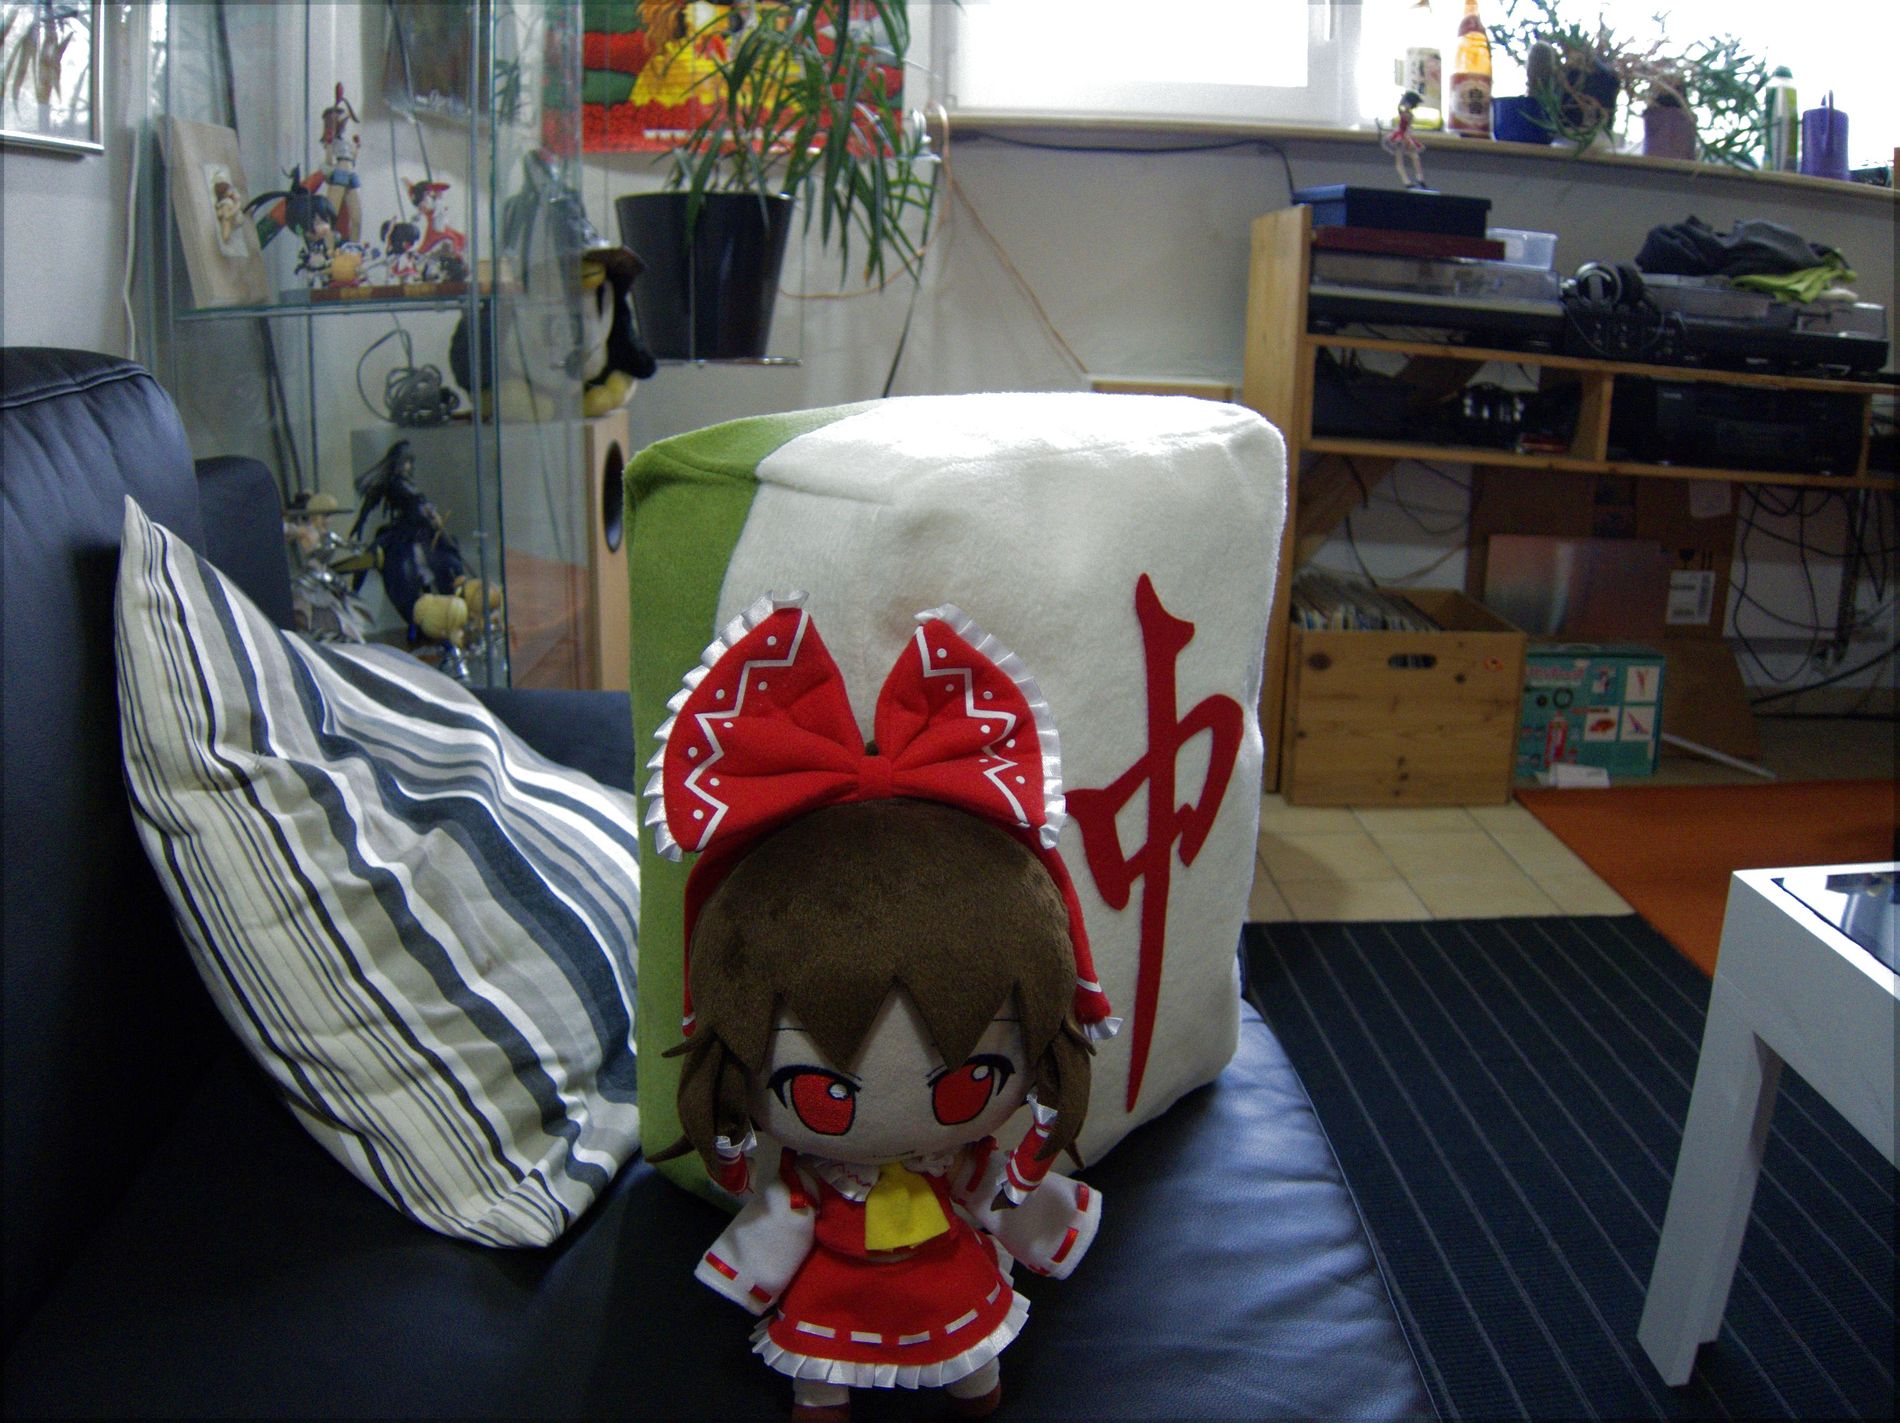
The finished product! Reimu is there as a size comparison – it’s huge! And fluffy! RON!!!
I’m quite pleased with the final result – especially the sides are as stiff as they should making the whole tile “box-y” enough to look good. A little drawback is that the thick textile interface make a “crumbling” / bending-cardboard-like noise when you rest your head on the tile, so it’s not a ideal pillow to sleep on.
As always – if you want detailed help, better measurements or more more detailed explaination somewhere, please mail in or leave a comment! Hope you enjoyed this one!
3 thoughts on “Chun Plushie – more Mahjong madness!”
Woah, looks quite adorable… now let\’s make 135 more so we can play… counting-sticks not included :3


Woah, looks quite adorable… now let\’s make 135 more so we can play… counting-sticks not included :3
This is pretty stuff, do like
Really cute. (`◔ ‿ ◔´)
Nice work by fluffy craftsmanship.