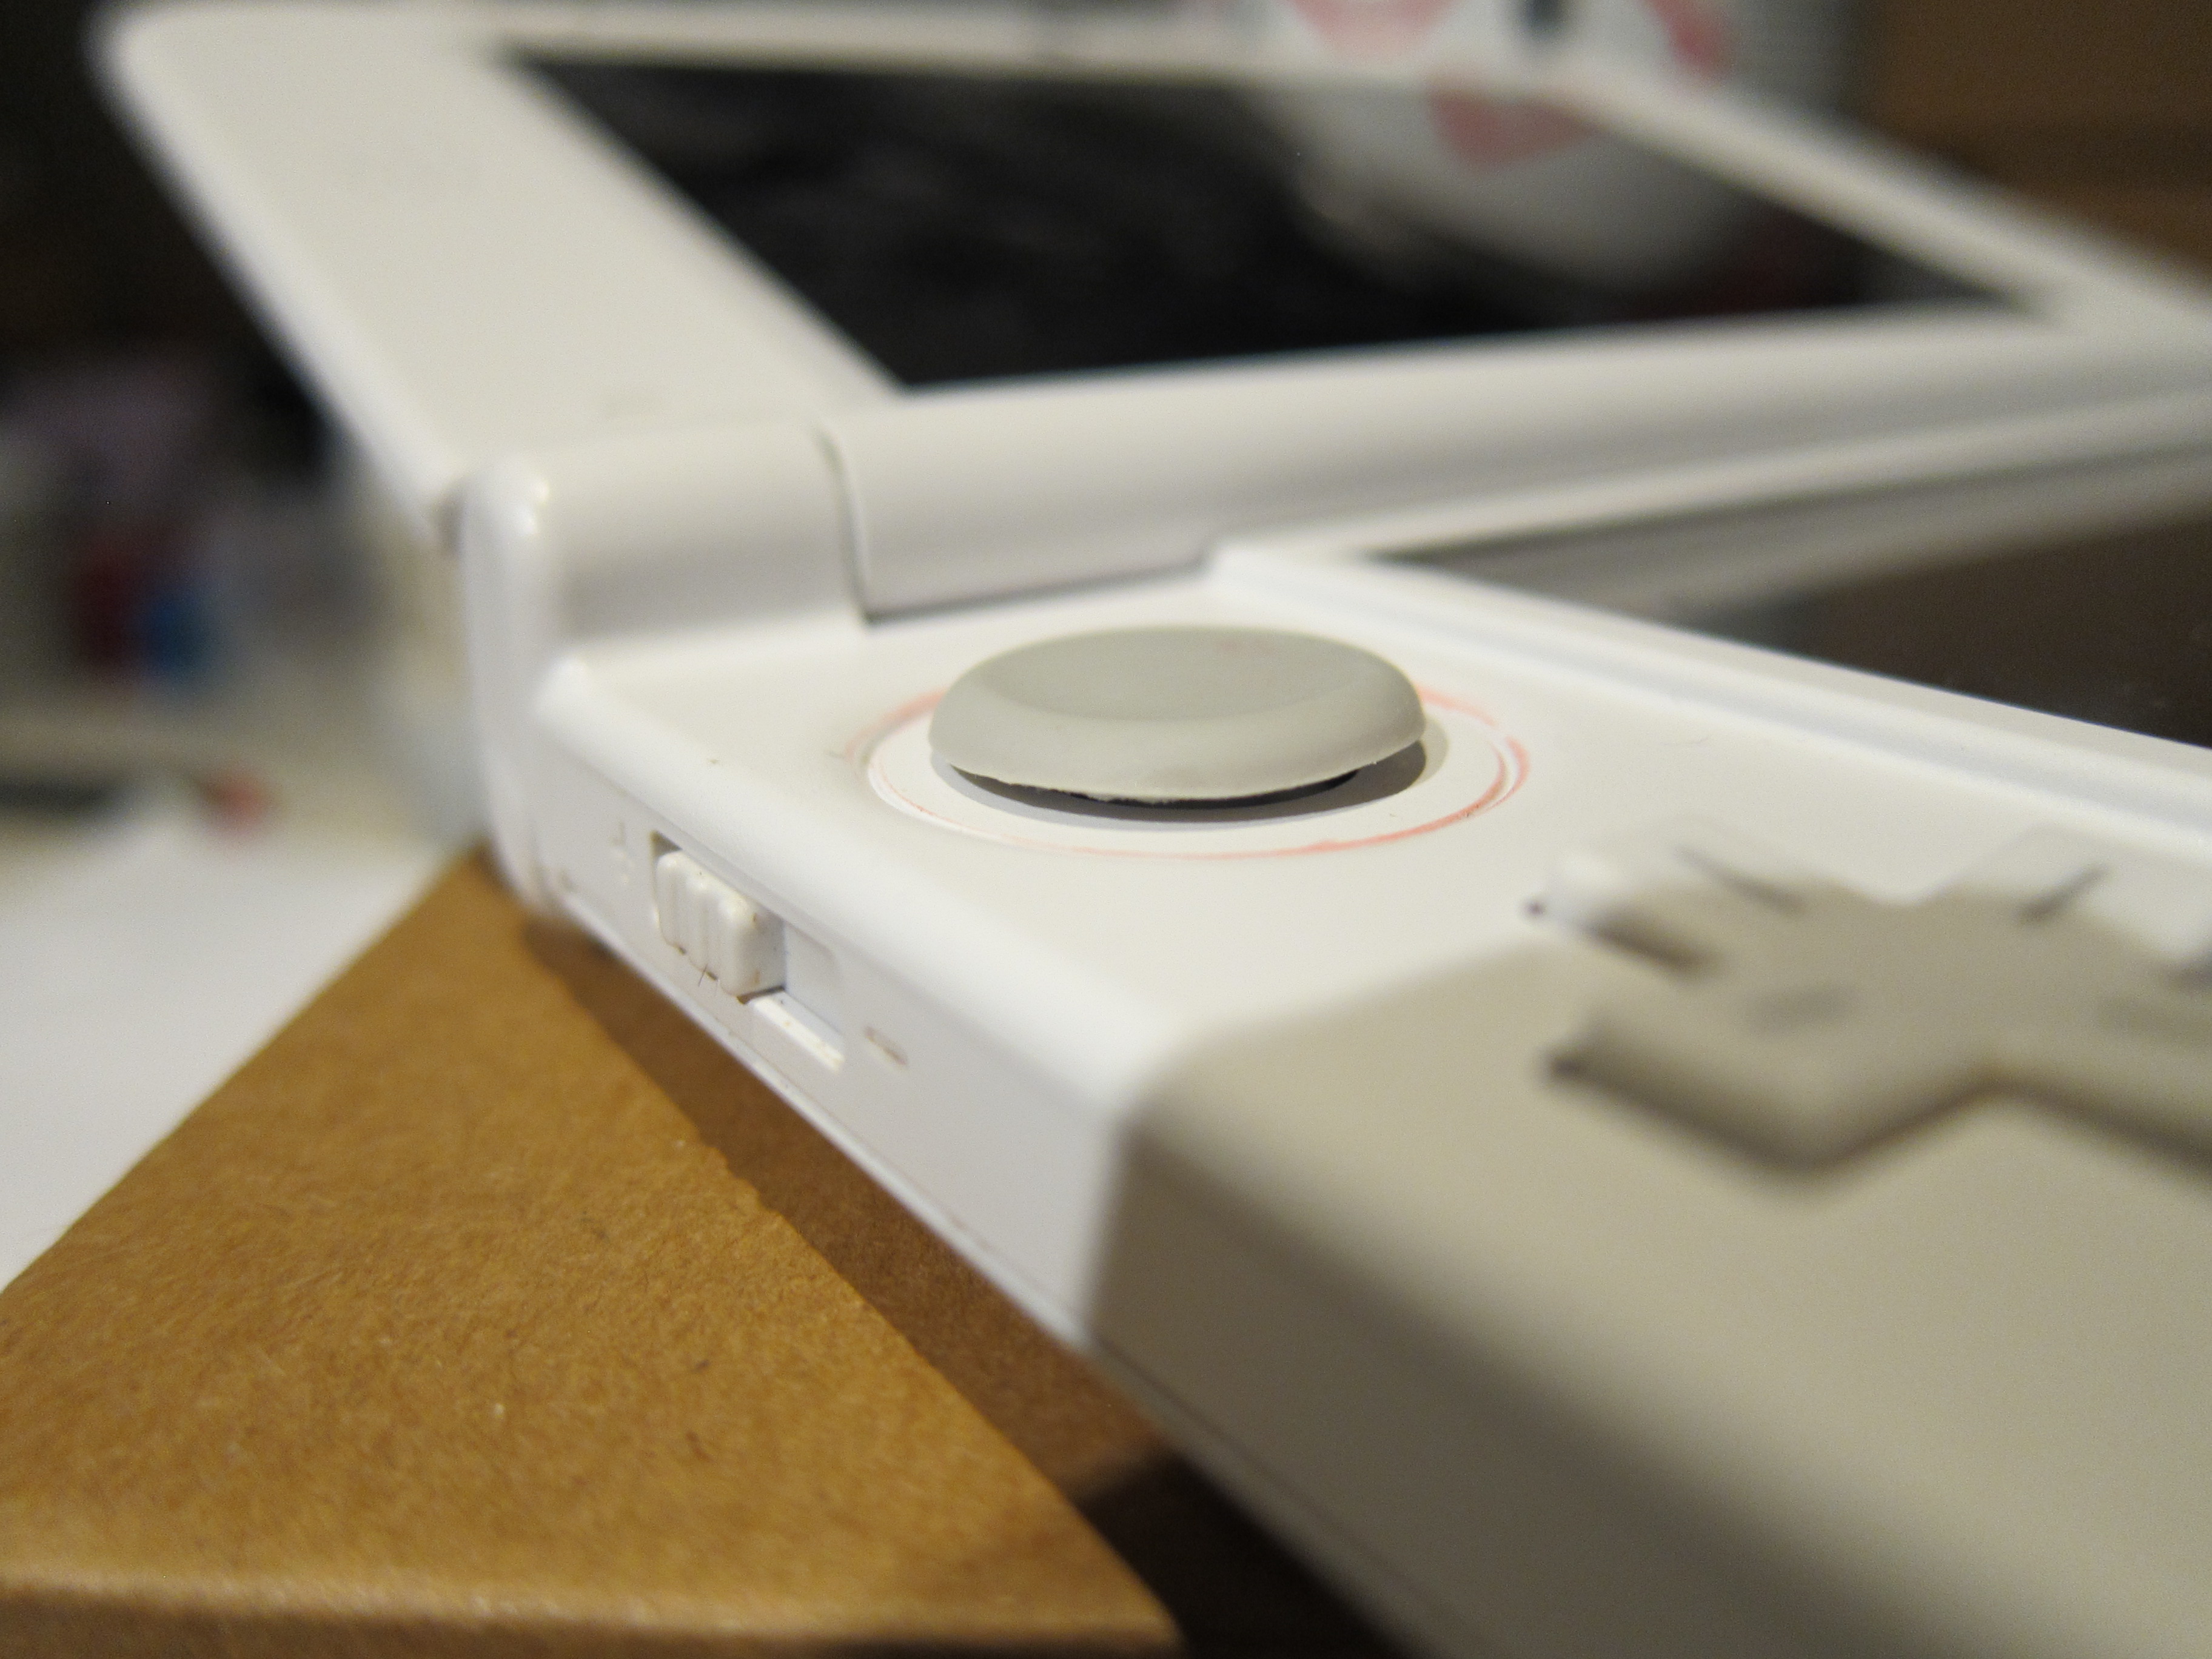
If you’ve also bought the new “Super Smash Brothers” on the 3DS, chances are that your Analog-Stick also suffered some major or minor damage. From various source on the Interwebs it seems that many people suffer from completely breaking-off analog pads, whereas others report “sluggish” or “stuck” pads. We got the “sluggish” version. And i will show you how to fix it…
What seems to happen is this: Inside the linear / flat scroll mechanics of the pad there seem some holders which hold it at the right vertical height. These broke on us, resulting in the “pad” part of the analog stick sinking (“clicking”) into the device another 0.5mm or so. This again resulted in the rubber-cap rubbing on the case, which led to the pad not centering anymore. For SSB, this was … unnerving.
So i started to take off the rubber cap carefully, only to reveal this that the thin plastic carrier that was underneath the rubberbroken, causing it to “mushroom” down at the other edges, making the problem worse. Additonally there was the internal mechanic problem.
So, i considered just building a new rubber-pad-carrier, and glue that one on top of the leftovers of the old carrier on the DS-side. This will make sure that there’s plenty of ground clearance for the pad so it won’t get stuck anymore, as well as … well, make me have some kind of pad at all.
Here’s what i did:
The broken parts and the rubber cap turned upside down. Notice the small nib inside there? I’ve used these cutting-pliers to flatly remove the nib, so the glue will have a smooth surface later.
Nib removed from rubber cap.
Now carefull use a (slightly dull) and pointed hobby knive to remove the old glue marks and plastic debris from the outer ridge, again to give us more surface for glueing later.
This is what we will make a new plastic carrier from: An old credit card or similar, some printed 13mm templates and spray-mount, to fixate the templates to the plastic card.
Carefully cut out a piece of plastic that is slightly larger than needed — we will slowly sand it into shape now.
Proceed with multiple iterations of sanding-checking-sanding-checking-… until you get a nice, tight fit. Please also sand the “flat” surfaces to make them more workable for the glue.
… like this :D.
The cap is slightly deformed by the not perfectly round new carrier, but when gaming you’ll hardly notice this.
Now make a protection for the DS-side. I’d probably also recommend covering the other buttons as well as screen with something to prevent accidental glue dropping into it.
Now also sand the DS-side leftover of the old carrier.
Back to the new carrier — thoroughly clean it with some acetone or similar fat-solvent.
And use thick CA, preferrably the aggressive “oh-god-it-stinks-and-stings” type, to glue in the new carrier.
Add a small drop…
… and distribute evenly and thinly with a toothpick. Take care to also press it into the outer ridge.
Then add the new carrier and remove the excess glue carefully.
For the DS-side, drop some thick CA on a paper and carefully “spoon” it to the DS with another toothpick.
… like this, also use only a very small amount. Also take care to clean the remaining carrier with acetone beforehand.
And finally put on the new cap. I’ve roughly marked the outlines of the pads field to be able to place it in the center.
And after an hour of drying (better be safe… thick CA can take a long time to dry), you can see the result.
The result feels and moves fine so far. I expect the glueing to be rather sturdy due to selecting the right kind of CA, and sanding/cleaning all the surfaces well. While the new pad is slightly askew and not 100% perfectly centered, this is something that you could certainly improve, but won’t notice as serious problems while gaming.