
With the advent of higher definition Television, growing demand for high quality lossless audio as well as general madness the need for a reliable as well as flexible and large home storage solution grew rapidly for me. Just hammering more disks into your home router / server just won’t nail it over the long term. So i’ve set out to build a cheap (per TB), (hopefully) longlasting as well as reasonably reliable home storage system for the enthusiast (read: “tinkering geek”). This was achieved using a custom made case for the parts as well as a lucky find for the adapter card. Read on for more…
PLANNING AND CONSIDERATIONS
So first when planning a system like this you need to decide a few things. What are the aspects that are most important to you?
- Speed?
I’ve decided that this system will be a mass-storage. A data-grave. Thus i have made no attempts whatsoever to optimize speed in any way. The result is relatively clear – not really fast.
- Security?
Does the data need special protection? For me it was simple – i’ve got a okay~ish CPU in the host box, so encrypting the whole data is no big problem. Why NOT do it?
- Reliability?
How important is the data you want to save really? RAID is nice, but it is NO BACKUP. Are there special considerations to make for desaster recovery? As this is going to be a data-grave for me i’ve opted for a “best effort” policy. I’ve got a used UPS to protect my equipment (server and this storage) from power losses and voltage fluctuations. Then i’ve decided for a RAID system, namely the old RAID 5. As i said i haven’t optmized for speed, so RAID 0+1 was no option since you’d need more disks to get the same actual storage size. As for desaster recovery i’ve decided to use a LVM layer on top of my crypto layer. This allows me for snapshots (in case of huge write events when snapshotting i think i can even use a external large disk as a snapshot device…) when i perform critical filesystem operations. If the filesystem ever fails so hard that i have to perform potentially dangerous operations (and FSCKing a “crashed” ext-filesystem IS dangerous) i can always just snapshot, toy around, if i break it revert the snapshot…
- Noise and vibration?
As for vibration (and thus much of the noise of a harddisk array) you need to trade a few things off. On one hand its really nice to mount disks with thick rubber layers to dampen their vibrations. This has the backdraw that the harddisks will always move – they’ll swing on the flexible rubber layer. Consider this article/video by Brendan Gregg to see why this is bad: Unusual Disk Latency. So basically you’d want something that is very rigid so the drives don’t move *too* much. On the other hand, to isolate each harddrive from the vibrations of the others (huge commercial raid arrays all have/need ways to deal with isolating individual drives – consider a scenario where a RAID 5 or similar level array starts writing, many drives start seeking at the same time sending a huge vibration-wave through the case disturbing (and as i’ve heared – yes, only heared) and even headcrashing other drives.
I’ve attempt to achieve this by applying my knowledge from building speaker enclosures. The scenario as well as the vibration frequency range are quite similar. To supress case movements i’ve chosen a even (internally) and dense material: MDF. While this has the backdraw that it heavily couples the drives it will do a good job at dampening the overall vibration. As a upgrade to this (which i haven’t implemented yet) one could use a additional “energy trap” consisting of a moveable, rubber-like but very stiff material. Fortuneatly this is readily available as a mat to put your washing machine on! If i’m not entirely mistaken even putting the whole construction on a piece of such a mat will not only effectively lower the (hearable) noise from the array but also further dampen vibrations by taking in the (slight) case movement and turning it into “heat” (by elastic deformation(?TODO: ASK PHYSICIST?)).
- Connection?
How do you plan to connect the device to your computer? There are basically two ways of doing this: One is to use a cheap S-ATA adapter card with enough ports (see below) which will then leave you with a large pack of cable running from whereever you place the array to into your computer (also requiring some kind of large hole in your case to route the cables through). I’ve chosen this option as it fits my needs (server standing somewhere in a drawer) better. The other thing i’ve come across are sata multiplier cards. These nifty little things implement a integral but not widespread part of the sata-specification: some kind if hub/switch. If your card supports sata port multipliers (and really REALLY check if it does!) you can get a rather cheap (~60Eur maybe) multiplier card (e.g. from “dawicontrol”) which enables you to build a completely self-contained storage – just plug one (e-)sata cable into your computer and zuuup, there are your 5 drives!
CHOOSING PARTS
Theres a bit of a philosophical question here regarding harddrives. You could either use 5 exactly same drives bought from the same store, thus having a larger probability to be from the same production batch. For one this would be great because seek and throughput performance would be the same, you wouldn’t waste bandwidth waiting for one slower drive. On the other hand this can suck because … if theres a manufacturing error and one drive dies, you replace it, start a rebuild, the rebuild puts heavy strain on the other drives, bearing the same error they’ll be likely to die too leaving you with severe data loss. So i’d recommend you either to try to get the same drives from different batches, or – that was the way i did it – buy 5 completely different drives. As speed is a non-issue for me this seemed the safest choice when it comes to per-batch production errors.

As for the adapter card i was very lucky to find leaf-computer.de who seem to offer quality storage controllers used on very simplistic PCBs – such as this: Marvel 8Port SATA Adapter. Exaclty what i need! And at what a small price tag! The marvel chip used on this board is known for excellent linux driver support as well as good performance and a nice feature set. Heck you could even plug sata port multiplier on this and achieve a 8x 5-disk-raid-5! It does also support staggered spinup (spinning up one drive after another putting less load on the PSU)
As for the other components i’ve simply tried to choose reasonable at a good bang for the buck ratio. A simple 450W PSU with 85% efficiency even in the medium power range, a reasonably silent and powerful large fan… thats about it.

IMPLEMENTATION (hardware)
Taking the measurements at the drives and calculating the case sizes was a bit of a hassle, but in the end it worked nicely. Here you can see a the parts of the case loosely put on each other.


As for the parts needed – heres the list:
- 1* 306x186mm
- 2* 102.2x186mm
- 1* 219x186mm
- 2* custom measures parts of ??x105.4mm
everything is made of 16mm MDF.
Here you can then see how the PSU will be mounted (it has two mounting holes where that square timber is) and the two custom measured parts. They close the edges of the fan and depend on the outer sizes of your fan – so first mount/measure the fan, then cut the MDF.

The case itself is assembled by using simple wood glue, then reinforced (as seen below) by counterbored screws to make the vibration-transfer better and distribute it throughout the whole case.


Now comes the most tricky part, and i must admit that i’ve forgotten to make detailed notes of this. You need to measure the harddrives (they’re more or less 25.4×146.5×101.6mm by specification) and where their screw-holes are, then measure it on the top of your case, drill a hole that’ll just fit your screw, then drill a little with a larger drill to countersink their heads…


After finishing the holes i’ve found a nifty little gadget in my old hardware scrapbags – a simple fan control pcb! Woo! I’ve just mounted it where it looked nice – please note that this is totally optional :P.


The next trick was to get the PSU to start and stay always running without attaching a mainboard or switch. Thanks to Wikipedias ATX Article this was very simple. Find the PS_ON pin, some random ground (the one above/beneath PS_ON for example), rip them out of the poor connector and solder them together… magic works, the PSU runs!


Now its time to mount the harddisks. This turned out to be a little more difficult than expected as you need to place the drives exactly under the drilled holes without looking. In the design i proposed there is a little space between the drives making this a little harder yet. I’ve had luck with using a led flashlight on the backsides (the one with the PCB) of the HDDs and looking through the holes from the top of the case…

… and having a hand in the front of the case is also very handy 😛

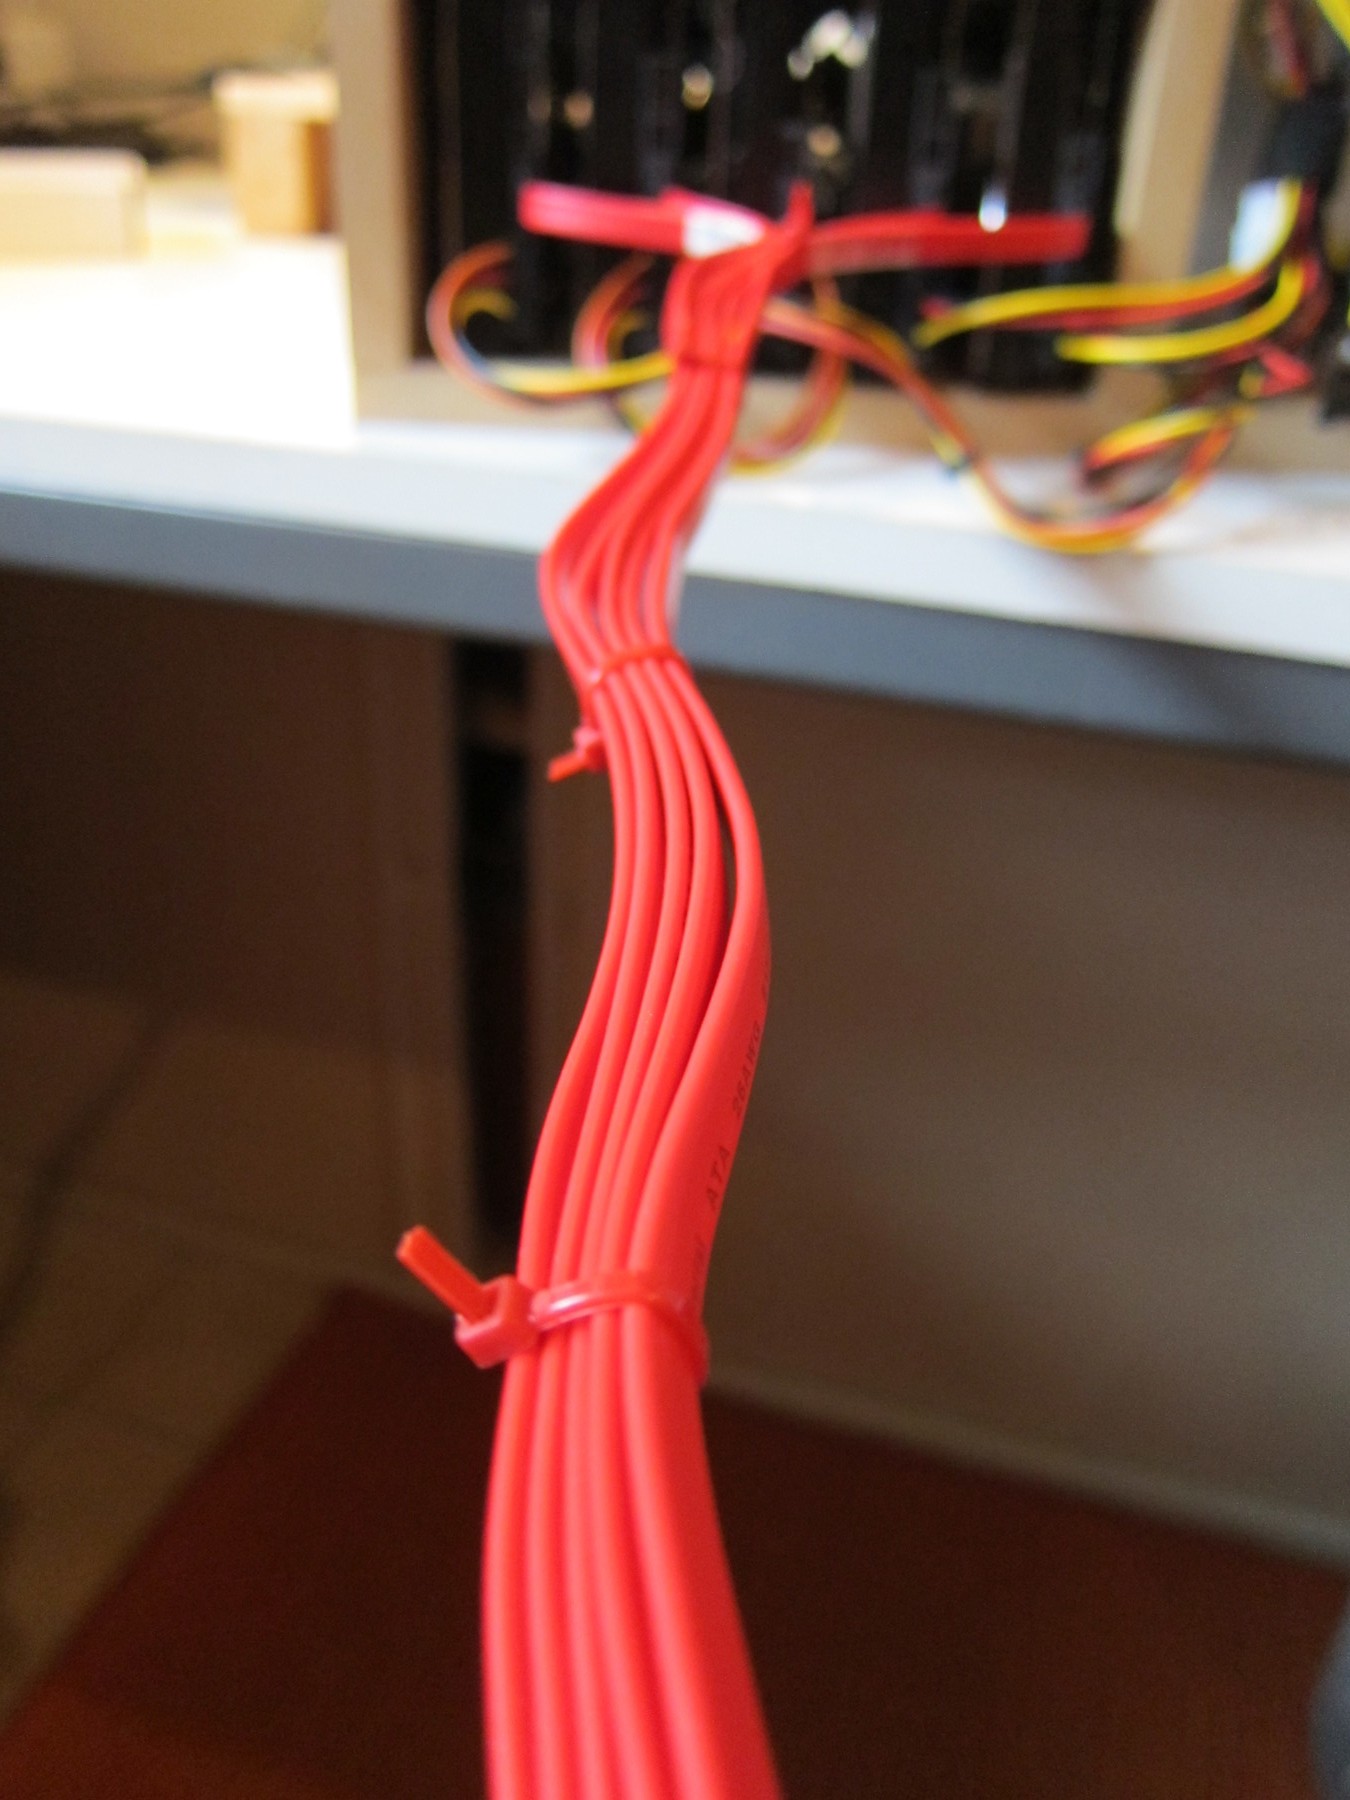
Then i’ve packed all SATA cables into a nice large batch (wow, this looks SO professional :P)


and finally placed it where it belongs – in my drawer above my server!


After using it a few days i must say that both noise and heat is very good. Even with the fan on full i can barely hear the array even under full load (seek-hell). The drives report temperatures of 25-41*C through smart, which is really okay. When feeling with your hand it only barely warm…
IMPLEMENTATION (software)
Now as the hardware is completed, up and running lets head for the software. This was a little harder than i expected to get right. As already said i’ve chosen a design like MD <-> CryptSetup (LUKS) <-> LVM <-> EXT4 to have maximum flexibility, data security as well as a little more help in case of a data corruption.
The main problem with the software setup was to get all those abstraction layers neatly aligned. However, first things first. If you got new drives, what do you do? Right – badblocks and smart. The thing with badblocks on a new drive is that it almost in all cases will NOT yield badblocks. This is because a modern harddrive has some free blocks that are not mapped at the start of its livetime. As the drives firmware finds bad blocks while operating it’ll replace them with those replenishment-blocks. Only when you run out of those you’re in serious trouble. However, as smart prints the “Reallocated_Sector_Ct” field you’ll identify a defective harddrive after a exhaustive badblock test even if there are replacement blocks left.
badblocks -s -w /dev/sd[efghi]
Is what you want to run now (assuming dmesg agrees that your new drives are sde,f,g,h,i). Do expect it to run quite long, if you want the RW test as proposed around 2-3 days. After that we’d want to start a smart long selftest (smartctl -t long /dev/sd[efghi]) and then read and try to interpret the results (smartctl -a /dev/sd[efghi]).
 The next thing is … naming your array! Its important for such hardware to have a good name. I’ve chosen the name “dantalian” of the recent anime “Dantalian no Shoka” (The Mystic Archives of Dantalian, ダンタリアンの書架). Its basically that this
 cute tsundere little girl here to the left does contain a large library of magic books in her chest, making her a library (the magic library dantalian). And as its magic it is HUUUGE. What is this array? HUUUGE! Nice fit!
Anyways, back to the software setup. Now that the drives are tested we can start to initialize the array. This can be done with:
mdadm –create -x 0 -l 5 -n 5 dantalian /dev/sde1 /dev/sdf1 /dev/sdg1 /dev/sdh1 /dev/sdi1
after partitioning your drives so you’ll have one partition of the type “FD”, aka linux raid autodetect. For testing purposes i propose to create a smaller partition, e.g. 100gb, on each drive. That way you can run your various desaster tests (and i’ve run SOME!) without the raid rebuild taking ages each time!
Now that md is told of the array, we need to persist its configuration. This can neatly be done byletting mdadm itself create the config
mdadm –detail –scan >> /etc/mdadm/mdadm.conf
This assumes a standard debian mdadm.conf (especially containing “DEVICE partitions”, telling mdadm to probe all partitions known to the system to find raid drives…). Now you can monitor your raids initial ‘rebuild’ status by issuing
watch -n 10 cat /proc/mdstat
which will yield something like:
Personalities : [raid6] [raid5] [raid4] md127 : active raid5 sdi1[5] sdh1[3] sdg1[2] sdf1[1] sde1[0] 7814041600 blocks super 1.2 level 5, 512k chunk, algorithm 2 [5/4] [UUUU_] [>………………..] recovery = 1.4% (28754816/1953510400) finish=1590.0min speed=20174K/sec
Now, according to a good source
If the device to be encrypted is an md RAID array, you should use the –align-payload= to ensure that crypto blocks are aligned on RAID stripes. This option takes as an argument the number of 512-byte sectors in a full RAID stripe. To calculate this value, multiply your RAID chunk size in bytes by the number of data disks in the array (N/2 for RAID 1, N-1 for RAID 5 and N-2 for RAID 6), and divide by 512 bytes per sector. In the example below, /dev/md0 is a RAID 6 device with 4 data disks and a stripe size of 128 kbytes: 128 * 1024 * 4 / 512 = 1024 sectors. # cryptsetup –verbose luksFormat –verify-passphrase –align-payload=1024 /dev/md0 When prompted, supply the key you created in the step above.
So, adapted to our scenario that means that we’ll create the crypt layer using:
cryptsetup –verbose luksFormat –verify-passphrase –align-payload=4096 /dev/md/dantalian
Now (after opening the device using cryptsetup luksOpen /dev/md/dantalian dantalian-crypt) lets create the LVM:
Consider this formula:
metaatasize = chunk size times number of data disks in the array
which then gives us the command to create the physical volume format on the crypto-pseudodevice:
pvcreate –metadatasize 2048K –dataalignment 4096 -M2 /dev/mapper/dantalian-crypt
now, using pvscan you can let this new volume be autodetected as:
PV /dev/dm-2 lvm2 [7.28 TiB] Total: 1 [7.28 TiB] / in use: 0 [0 ] / in no VG: 1 [7.28 TiB]
Okay, we’ve got our physical volume for LVM, so lets create one volume group containing one (or more, depends on your preferences here) logical volume on those:
vgcreate dantalian-vg-main /dev/mapper/dantalian-crypt
lvcreate –name dantalian-lv-main -l 100%FREE dantalian-vg-main
Now, after some more vgscan and lvscan you should be presented with your /dev/dantalian-vg-main/dantalian-lv-main device – ready to create a filesystem. This again needs to be …. ha – what is it … ALIGNED! Hell No!
Lucky for us EXT4 pretty much autodetects that it is on a raid device, what stripe-width and stride-width are, but to be sure lets ask our source from before again:
The relevant options for ext3 are stride and stripe-width. stride is identical to the md array chunk size, and stripe-width is identical to the array stripe width, except that both options are specified in units of filesystem blocks instead of bytes. The default ext3 (and ext4) block size is 4096 bytes, so simply divide your chunk size and stripe width by 4096 to get the proper values for these parameters. Here’s an example using a RAID 6 array with 6 disks (i.e., 4 data disks) using a chunk size of 128k (stripe size is therefore 512 kbytes)
So for us its now:
stride = chunksize / blocksize, (512*1024)/1024 = 128.0
stripesize = stride * datadisks = 128 * 4 = 512
which will then result in the following mkfs command:
mkfs.ext4 -n -m 0 -E stride=128,stripe-width=512 -b 4096 /dev/dantalian-vg-main/dantalian-lv-main
leaving us (when removing the -n option) with a nicely aligned filesystem that is aware of the striping/striding. The last point is then again a data-security thing. If ever the unlikely case should happen that the crypt layers metadata get corrupted it is really handy to have a backup. This can be achieved by
cryptsetup luksHeaderBackup –header-backup-file DANTALIAN-LUKS-HEADERS /dev/md/dantalian
cryptsetup luksDump /dev/md/dantalian > DANTALIAN-LUKS-HEADER-DUMP
with all its backdraws. Those can be found in the cryptsetup/luks FAQ!
Now after some while of using the array i’m quite fond of it. Its not only faster than i’ve feared (i do get 25-30MB/s over my gbit lan) its also proven to be quite sturdy in case of bad(TM) events. I’ve tried killing the power of the array, the host computer, tried unplugging single harddrives or even more than one harddrive – all even with heavy random access (compiling a kernel). I haven’t succeeded in creating a situation that would’ve lead to data-loss.
Again, if you’re interested in more details, would like to know the exact locations of the holes you need to drill for the harddisks or something else – just write a email or leave a comment!
Crazy! Amazing Diy project, I have always wanted to increase the storage capacity for my video files since my buddy created a similar system with an old pc. But he has no where the storage capacity you do. I will show him these plans and see if we can do something similar for use. Thanks for the TUT.