A common problem with most of the figure display case solutions out there is lighting – how do you put enough (and nice) light in your display so the figures look good but the whole place doesn’t get filled by bulky bulbs, PSUs, cables and the like. We like to show a method of building cheap yet good looking lighting for custom glass displays as well as the common and popular IKEA DETOLF using inexpensive led-strips.
Also, as we (and probably many many others) like to use plain glass shelfs (as they’re easy to mount and look good) to display figures there is the very common problem of dust and dirty laying down on the figures. The other thing we propose here is a nice method to build sturdy yet good looking glass cover you can simply place on the shelf over the figures (a box with two open sides: backside and bottom).
For building and setup instructions for those two cool concepts, please look inside :).
First things first, so what we’ll cover here is a method of building custom glass display cabinets of precut glass (we’re still using the method from http://blog.kanojo.de/2010/10/04/custom-modelkit-display-part-2/ – just that we switched to a hardmetal-wheeled glass cutter which is a huge improvement!).
We do this using regular silicone as used for sealing off edges in bathroom/kitchen. You can probably get it in any DIY/Hardware store near you for just a few Euros (2.50Eur seems a common price in germany). The cheapest clear you can get will suffice :P. Aside of glass and silicone a little crepe-tape and a razorblade and/or cutter (for scrubbing off excess silicone) as well as a silicone pouring gun and a silicone peel (optional) are the only materials/tools needed.
Lay out the glass as you would like it to be glued together. Mask off the edges with the tape as shown (leave ~0.3-0.6cm space to each side)Detail of the masked glassDetail of the masked glassThis is the layout of our masked glass pieces. Make sure they will fit in this order :P.A nice trick for protecting both your workspace and your parts from the silicone is to use plastic bags which have been cut open beforehand - silicone will not stick to them.Tools used to pour and peel the silicone.We'll use the "edgies" part of the silicone peel tool for this - we don't want too much of that stuff sticking in our corners and edges.Another nice little trick is to cut a little angle into the nozzle of the silicone - this will act as a guide along the edges of the glass when pouring the siliconeNow very slowly pour nice rolls of silicone on all the edges. Remember to loosen the spring of the pouring gun just a half cm before the end of the glass so you won't pour any excess silicone....Then after placing a roll of silicone on all the edges put up the glass, best using two persons. Hold for just a few seconds and make sure that there is a little gap between all the glass parts. a gap <1mm will work, but with no gap it won't get as sturdy as it could...Another sample of how the edges and corner can look like when dryingAnother sample of how a (more or less) nicely poured roll of silicone will look....As you can see here you will get ugly blobs of silicone here and there. This is why you want to pull your silicone peeling tools slowly and carefully along all edges. Be sure not to remove the silicone completely - a small roll of silicone should remain in the edges!This is what the outsides will look like - this is where you want to use a razorblade or cutter to carefully remove excess silicone.
Now would be the time to let your silicone dry. Normally it takes up to 15-30minutes for a initial outer Skin. Every conseccutive 3mm take 24h to dry – so as we normally use rolls < 3mm let’s just wait a long night…
Also compared to the previous attempts to glue glass to glass this is extremely sturdy. Even the long 1.15 meters case can be held on one corner using only one hand without any signs of weakages!
But now for the lighting…. For this we used cheapo LED-Strips from the german electro-crap supplier “pollin” – they can be found here:
http://tinyurl.com/63ogqja
International readers may want to check dealextreme.com for “led-strip”s, examples could include:
which all sound reasonable. All those have in common that you can (just a “probably” and given a tad of skill for the dealextreme ones!) cut them, even if stated otherwise and that you may want to peel them out of their crappy housing. The Strips themselves want to be supplied with a standard 12V voltage, so use any switch-mode powersupply you can get your hands on. Don’t buy too cheap – we tried, we regret it!
Our first tests with those nice led-strips were kinda successfully, so now for the moutingAfter determining the positions of the strips place small short rolls of silicone in the edgesAnd press the strips into the silicone. You may want to hold them "in" for a few minutes depending on how deformed the strips were (some are quite deformed!). Also note that this is a great use for your razorblade and cutter to remove the excess silicone once it's dryThe cable is made of painted (so it's isolated) wire which we twisted so it'll look nicer. Here it's still mounted using clear tape for testing, later we'll mount it using small blobs of silicone.For nicer looks the backside of the strip is beeing covered with white e-tape.which you need to press on thightly - also note the nice "twisted pair" cable 🙂Cut off the excess tapeand fasten using silicone as shown above.These are the small mounting blobs for the cable. Still need to cut off some excess....
One late addition was using 10x10mm aluminum L-Profiles to nicely conceil both the backscatter of the LEDs and the led-strips themselves. Looks even better! 🙂
Yay, it's finished. You still see the strips and the irregular light they sometimes scatter back into the room - looks like just some tape wasn't enough :/.but the translucency of the silicone-glued glass and light inside is just great!Look, even Marissa is blinded by all the light and randomly starts to masterspark-shoot-people!Nice effect :).
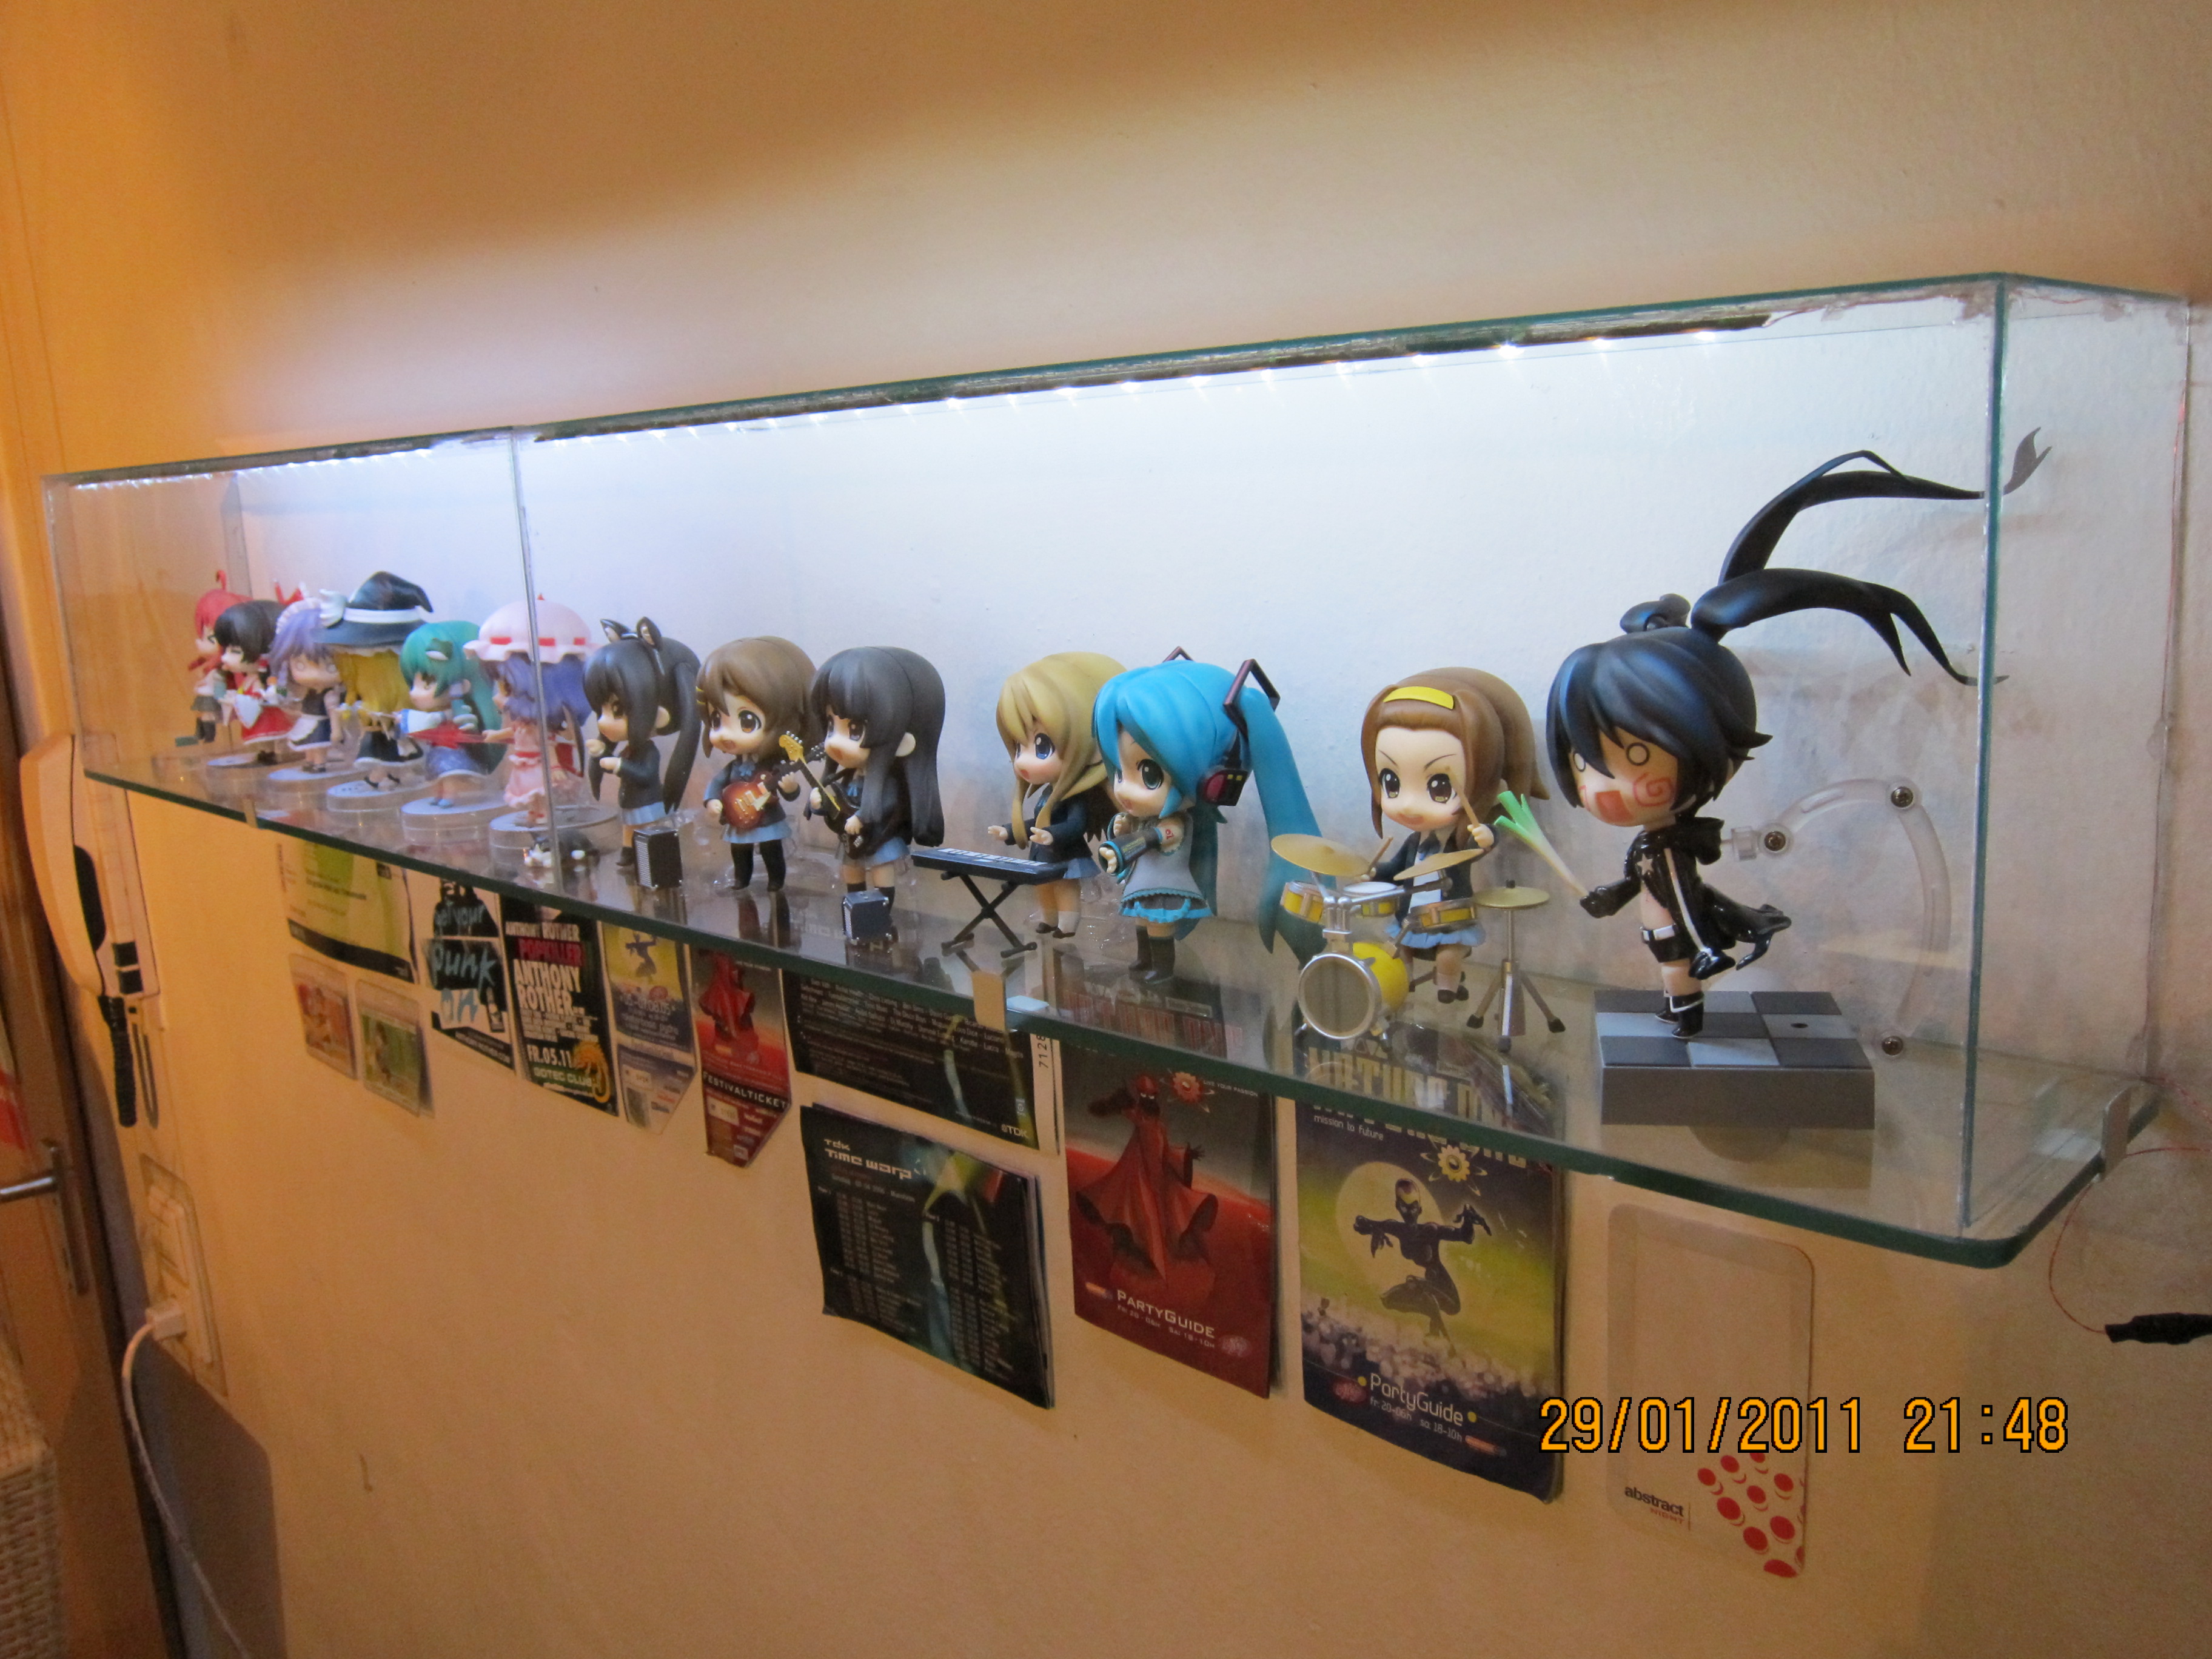
And, as promised – we used the same LED-strips to light our DETOLF – the whole construction is kinda simple, a 12V SMPSU, some twisted pair painted wire (as before) and three strips per side…
Full shot of the lit DETOLFBoth reflectons on the backside plate and the inner lighting looks great on the figures!the mounting was really easy - solder the 12V PSU to the led strip and fasten to using cable strapsupper cable strap.this way even blackrock shooter lights up in a whole new dimension! 🙂
we used 3*48cm of strips on each side, luckily they were easy to solder so now it's one large strip 😛
3 thoughts on “Nicely lit DIY Figure-Display-Cabinets”
Seriously good stuff!
May I ask you where you got your touhou nendroids from?


Seriously good stuff!
May I ask you where you got your touhou nendroids from?
Hi,
thanks for the comment :). I got those nendos from otacute.com. Older ones can be found on http://ekizo.mandarake.co.jp/shop/en/ sometimes…
Thanks a lot : P